
Colaboração
ARTE
BELEZA E BEM-ESTAR
ARTESANATO
CULTURA E HISTÓRIA
ENTRETENIMENTO
MEIO AMBIENTE
COMIDA E BEBIDAS
ENGENHARIA REVERSA
CIÊNCIAS
ESPORTES
TECNOLOGIA
TECNOLOGIA VESTÍVEL
Forge Blast Fan: Riveted Sheet-Iron Drum, Shrunk-Collar Spindle and Four Screwed Blades, Belt-Driven at 360 rpm (Edwinson, 1886)
Forge

Criado por

Forge

14. novembro 2026NO
5
0
0
0
0

Forge Blast Fan: Riveted Sheet-Iron Drum, Shrunk-Collar Spindle and Four Screwed Blades, Belt-Driven at 360 rpm (Edwinson, 1886)

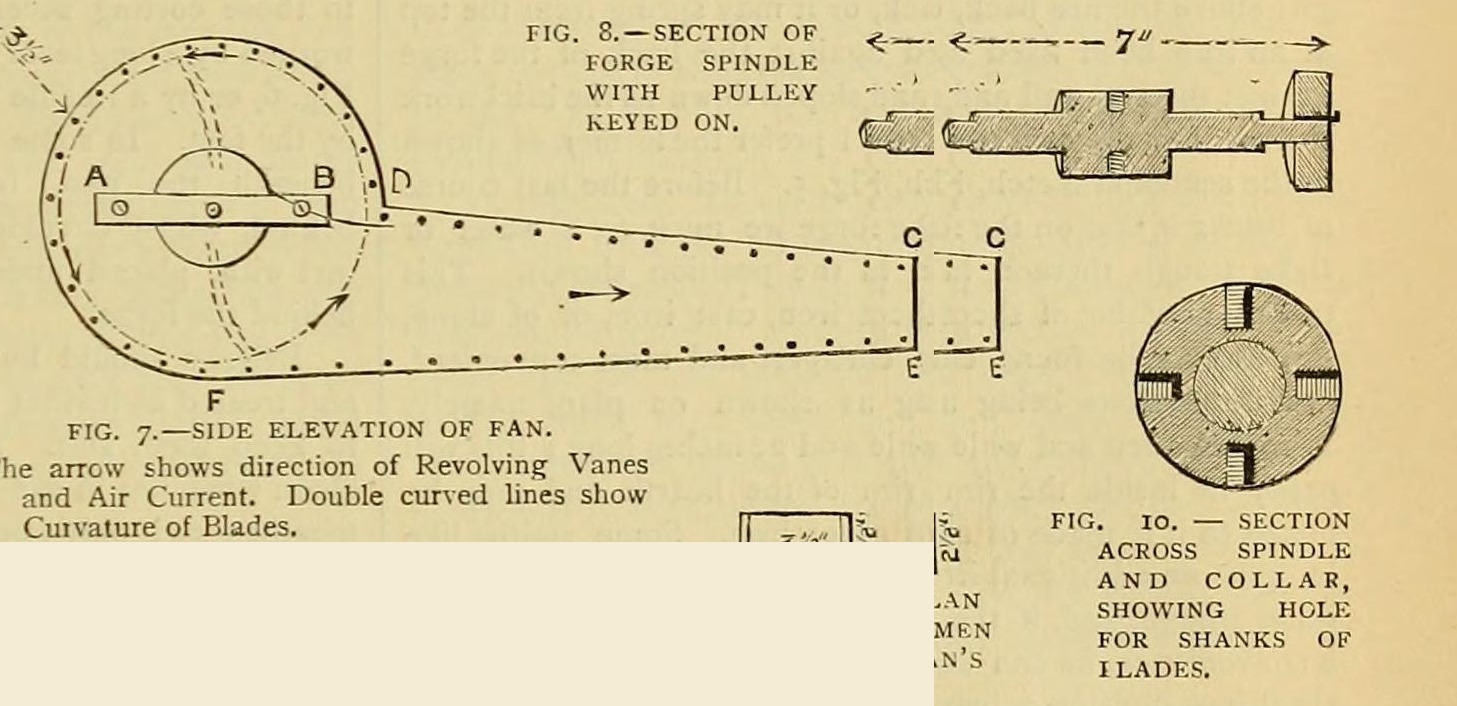
George Edwinson's home-made forge fan (Amateur Work, 1886), which he preferred to bellows: two 1/8 in. sheet-iron sides with a 3 1/2 in. intake, a riveted 1/16 in. casing, a turned 3/4 in. spindle with a shrunk-on collar holding four forged, slightly scooped blades, brass bearings, and a 2 in. pulley driven from a 2 ft hand wheel at 30 rpm for 360 rpm.
Avançado
Three to four days

Instruções

1

His sizes

A carregar o notebook Jupyter…
2

Read Edwinson

"Under no circumstances should I advise an amateur to make his own bellows, but he may be able to make a fan."
3

Cut the sides

Cut two sides from 1/8 in. sheet iron to his fig. 7: 9 in. across at the widest, 2 1/2 in. at the narrowest, 2 ft long. Cut a 3 1/2 in. hole in each for the spindle and air intake, drill two 3/8 in. holes for bolts A and B (filed square), and drill the rivet holes round the edge.

Materiais para este passo:

Chapa de aço macioChapa de aço macio1 peça

Ferramentas necessárias:

Tesoura de chapaTesoura de chapa
Engenho de furarEngenho de furar
Limas (lima de mão)Limas (lima de mão)
Punção de centroPunção de centro
4

Rivet the casing

Cut 5 in. strips of 1/16 in. sheet with 3/4 in. margins bent down (4 in. clear): 14 in. from C to D, 20 in. from E to F, and about 22 in. round the drum from D to F (measure it). Mark the rivet holes through the side holes, nick between holes so the drum strip bends without buckling, and rivet, backing each head with stout iron. Leave a foot of the drum strip open. (Easier: make the sides 2 in. larger with outward flanges and rivet the strips to them.)

Materiais para este passo:

Chapa de aço macioChapa de aço macio1 peça
Rebites de ferroRebites de ferro1 peça

Ferramentas necessárias:

Tesoura de chapaTesoura de chapa
Engenho de furarEngenho de furar
Jogo de rebitarJogo de rebitar
MarteloMartelo
Fita métricaFita métrica
5

Turn the spindle

Turn 7 in. of 3/4 in. round iron smooth. Turn one end to 1/2 in. for 5/8 in. and the other to 1/2 in. for 2 1/8 in., with sharp shoulders. Bore a 2 x 2 in. collar a shade under size, heat it red and slip it on 1 in. in from a shoulder, then cool it in water to shrink it tight.

Materiais para este passo:

Barra de ferro forjadoBarra de ferro forjado1 peça
ÁguaÁgua1 peça

Ferramentas necessárias:

Torno mecânicoTorno mecânico
Forja de ferreiroForja de ferreiro
Tenazes de ferreiroTenazes de ferreiro
6

Drill the collar

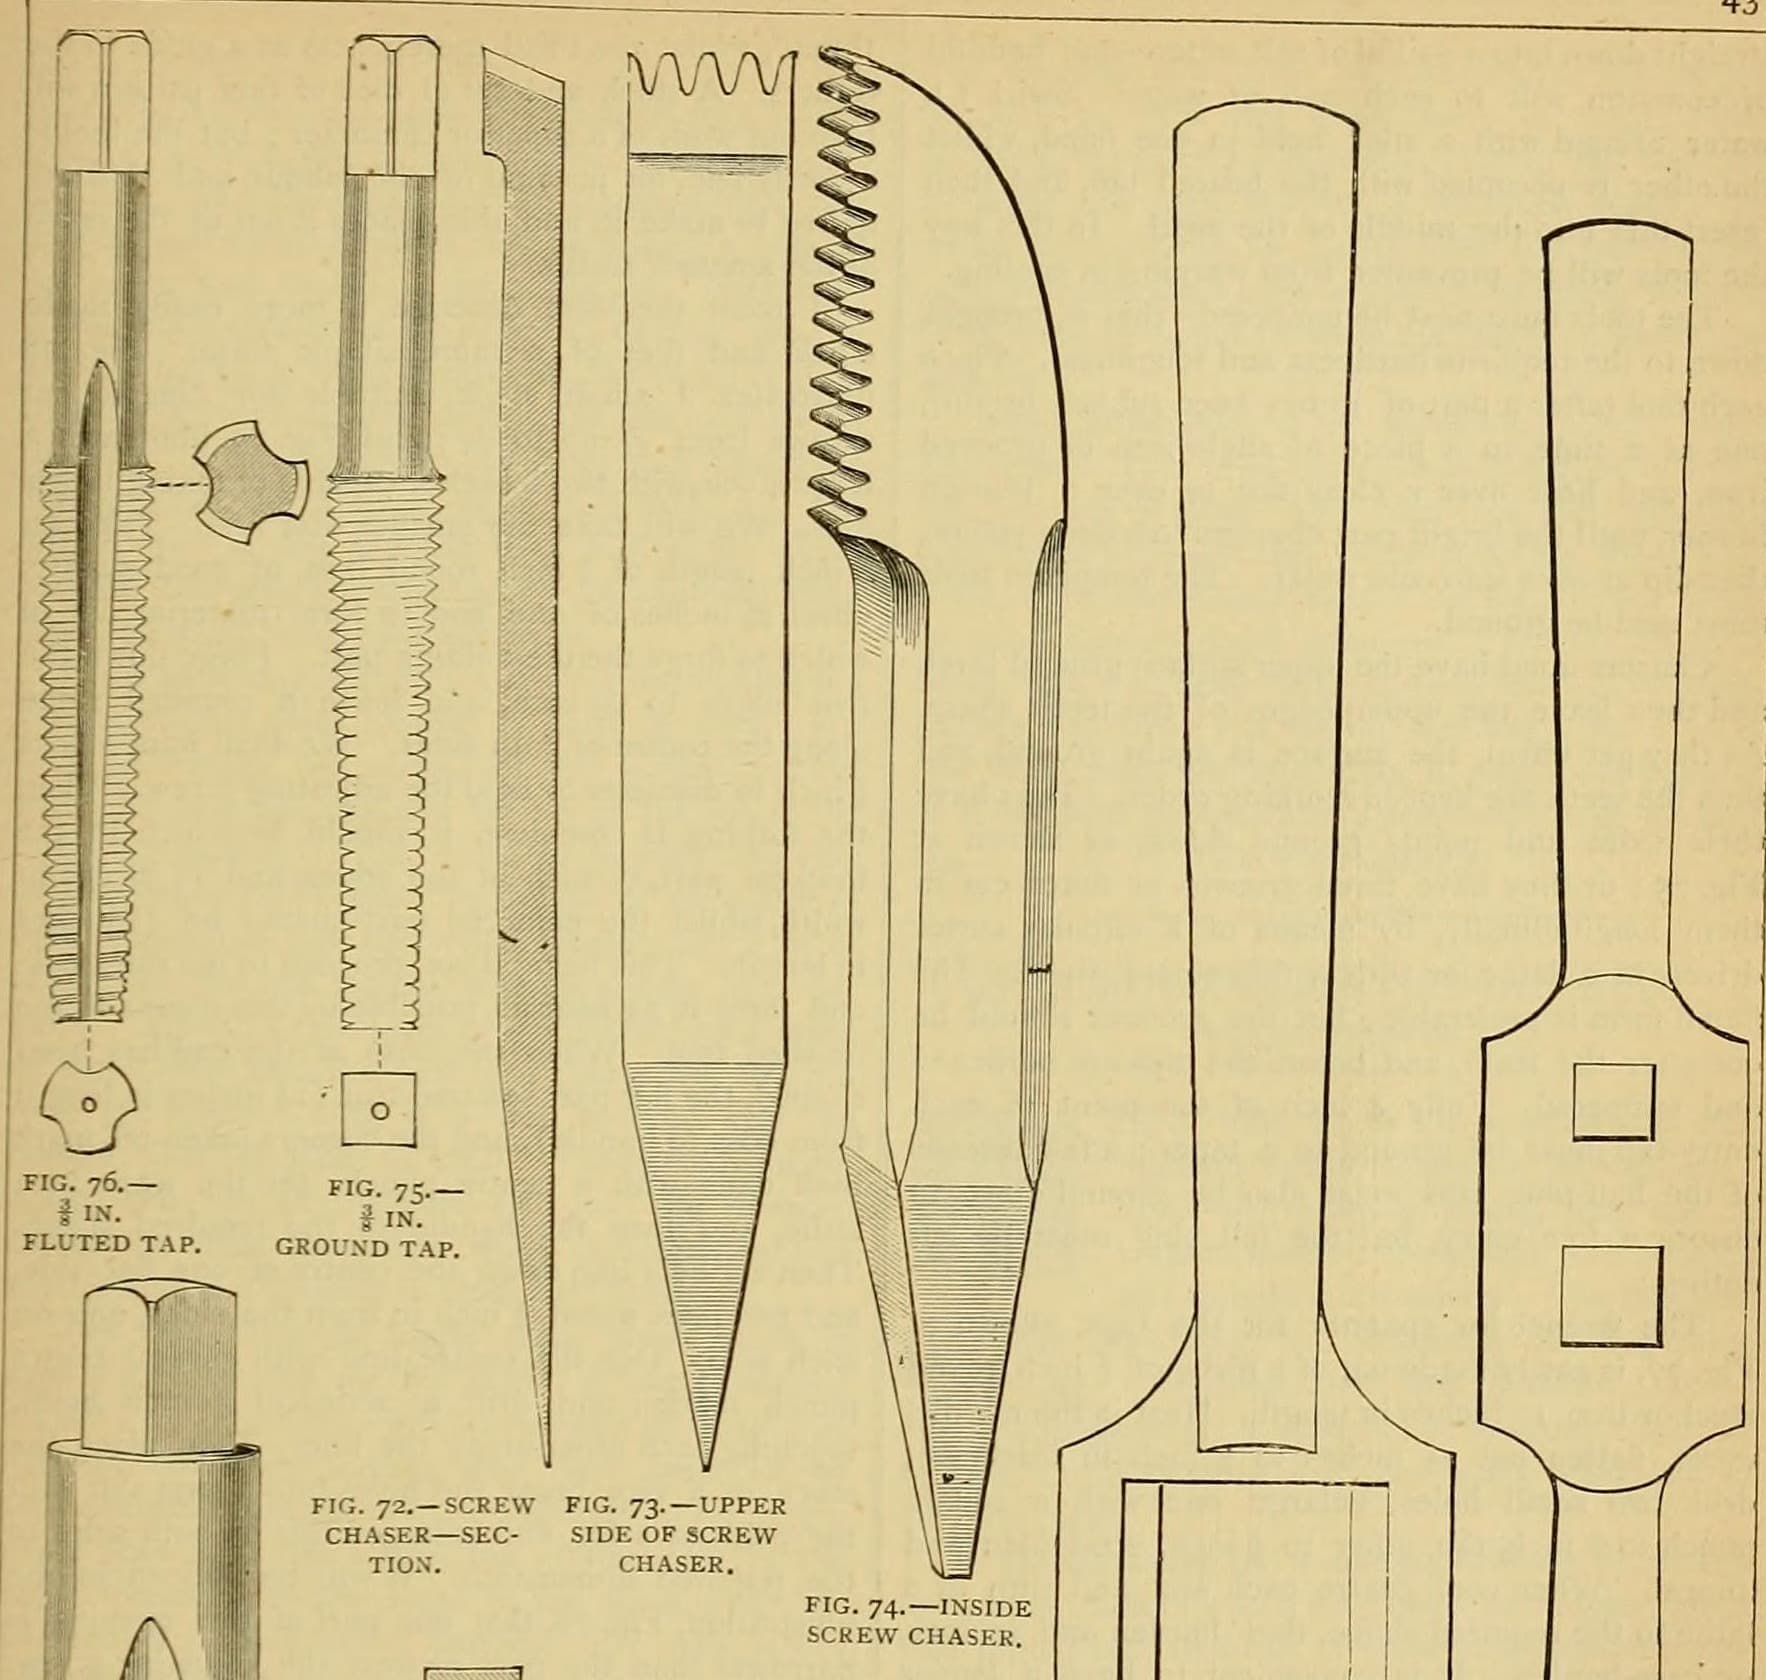
Drill four 5/16 in. holes 5/8 in. deep at quarters round the middle of the collar and tap them 3/8 in. (fig. 10).

Ferramentas necessárias:

Engenho de furarEngenho de furar
Machos de roscar manuaisMachos de roscar manuais
Desandador de machosDesandador de machos
7

Forge the blades

Forge four blades (fig. 9) from 5/8 or 3/4 in. round iron, upsetting and flattening the ends to 1/16 in. thick (or weld 1/4 in. plate to 5/8 in. arms and thin it). Thread the arm ends to fit the collar, curve the blades slightly into a scoop, and bend the arms a little off concentric for a steadier blast.

Materiais para este passo:

Barra de ferro forjadoBarra de ferro forjado1 peça

Ferramentas necessárias:

Forja de ferreiroForja de ferreiro

BigornaBigorna
MarteloMartelo
Machos de roscar manuaisMachos de roscar manuais
8

Bearings and assembly

Bolt a 1/2 in. brass bar at least 1 1/4 in. wide across each intake hole (A-B) and bore it true for the spindle. Fit one bearing, pass the spindle in, fit the other and bolt up. Screw the blades in through the open part of the drum, each slightly askew, check they turn without touching, and close the drum with thin-headed bolts, nuts outside.

Materiais para este passo:

Varão de latãoVarão de latão1 peça
Sortido de parafusos sextavadosSortido de parafusos sextavados1 peça

Ferramentas necessárias:

Engenho de furarEngenho de furar
Torno mecânicoTorno mecânico
Limas (lima de mão)Limas (lima de mão)
9

Drive it

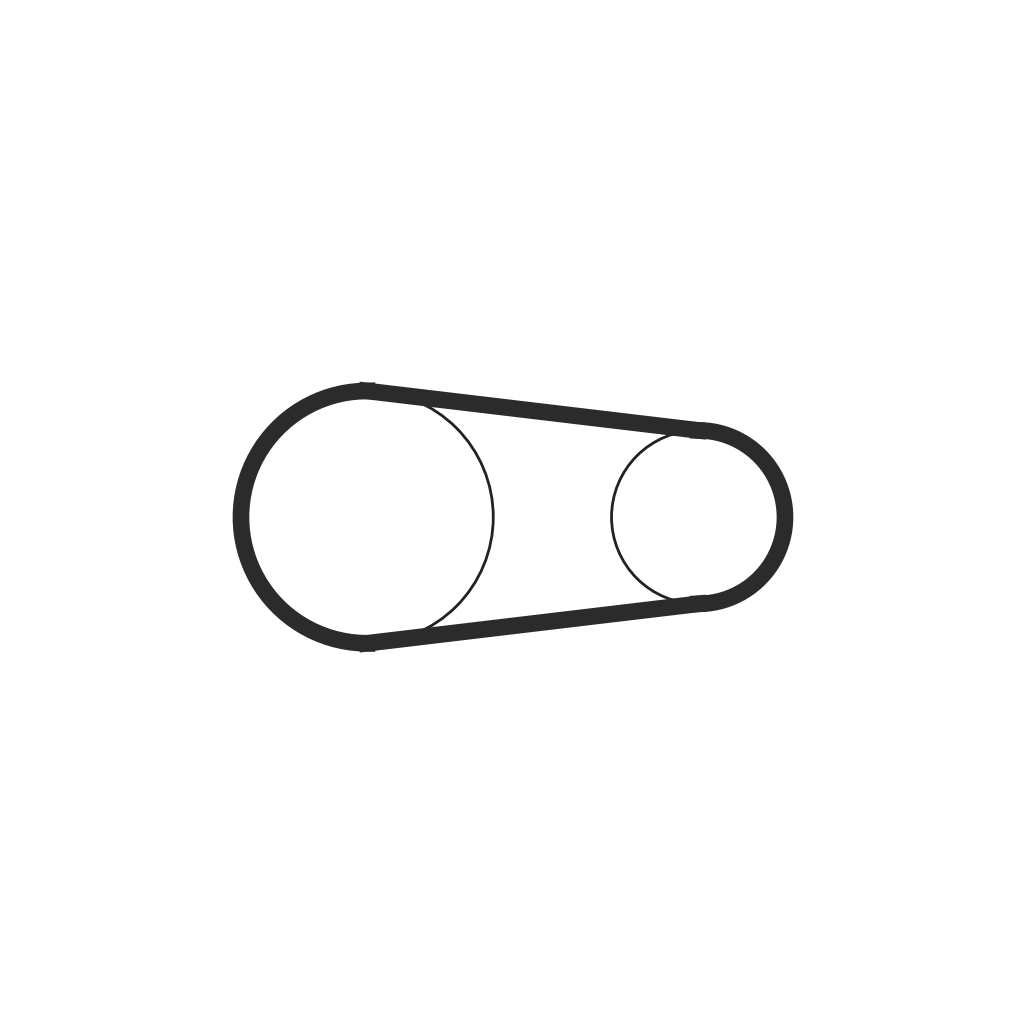
File a flat on the 1 1/2 in. of spindle that stands out on the pulley side and key a 2 in. pulley with a 1 1/2 in. face to it. Belt it from a 2 ft wheel turned at 30 rpm: the fan runs at 360 rpm. Put the crank by the forge head, worked by hand or a foot lever (ours: details left to the reader in the source), and pipe the 3 1/2 x 2 1/2 in. mouth to the tuyere.

Materiais para este passo:

RoldanaRoldana1 peça
Correia de transmissãoCorreia de transmissão1 peça

Ferramentas necessárias:

Limas (lima de mão)Limas (lima de mão)
MarteloMartelo
10

Troubleshooting

Fan troubleshooting.

Flow

Loading...
11

History and honest limits

From George Edwinson, "Smithing and Forging" I, **Amateur Work, Illustrated**, vol. V (1886), pp. 162-164 and figs. 7-11 (checked on the archive.org scan amateurworkillus05lond). He leaves the crank, wheel frame and pipe to the reader; the metric figures and tools are ours.

Materiais

8

Ferramentas necessárias

13

CC0 Domínio Público

Este blueprint é liberado sob CC0. Você é livre para copiar, modificar, distribuir e usar este trabalho para qualquer finalidade, sem pedir permissão.

Apoie o Maker comprando produtos através do Blueprint, onde ele ganha uma Comissão Maker definida pelos vendedores, ou crie uma nova versão deste Blueprint e inclua-o como conexão no seu próprio Blueprint para compartilhar receita.

Discussão

(0)

Entrar para participar da discussão

Carregando comentários...