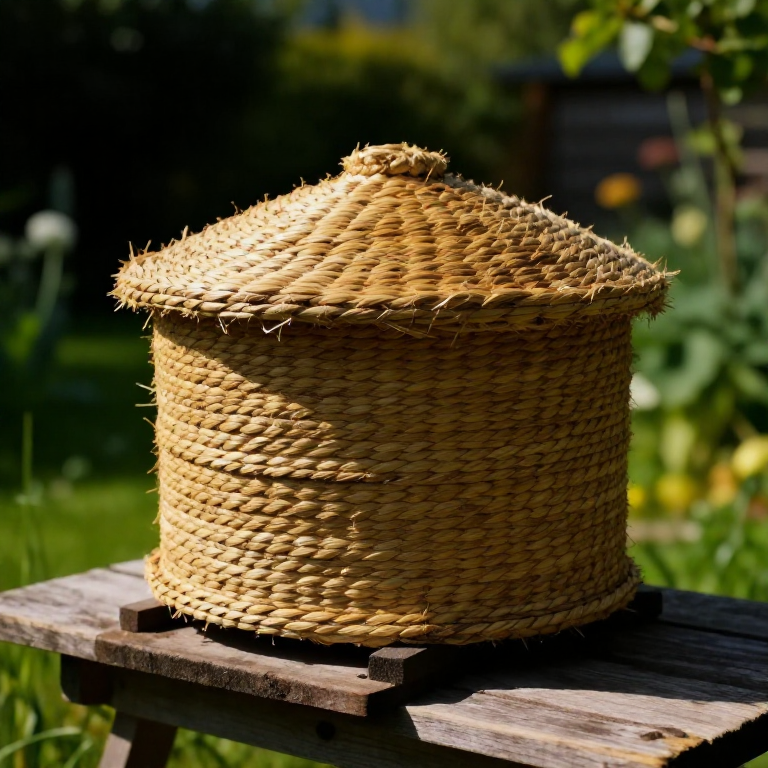
Making a Coiled-Straw Bee Skep — The Traditional Beehive Before Wooden Boxes
Instruções
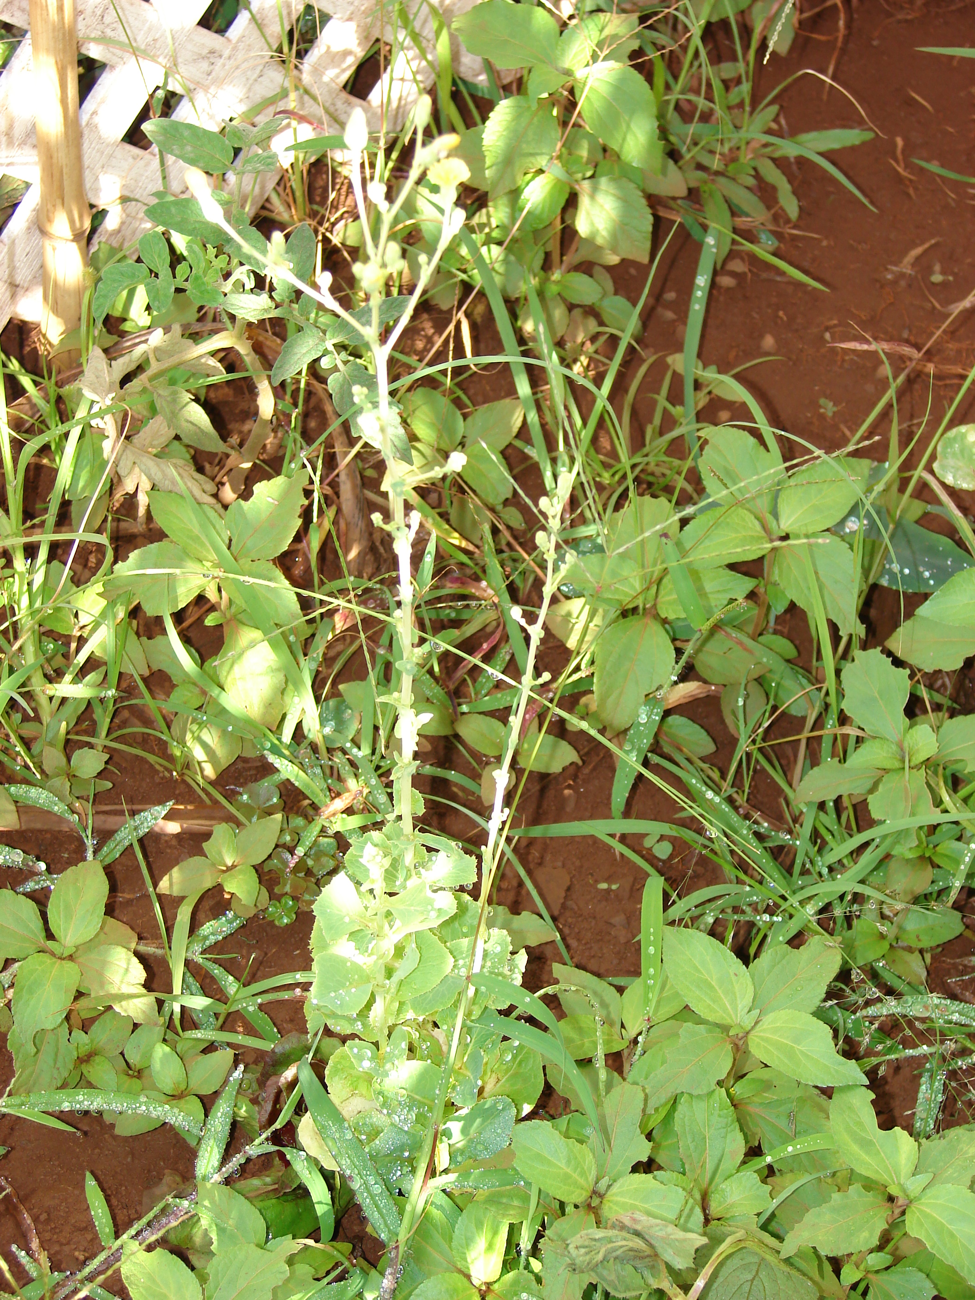
Harvest and clean long rye straw
Harvest and clean long rye straw
Materiais para este passo:
 Rye Straw1 feixe
Ferramentas necessárias:
 Knife
KnifeSplit and soak the binding cane
Split and soak the binding cane
Materiais para este passo:
 Split Cane1 feixe
 Water3 litros
Ferramentas necessárias:
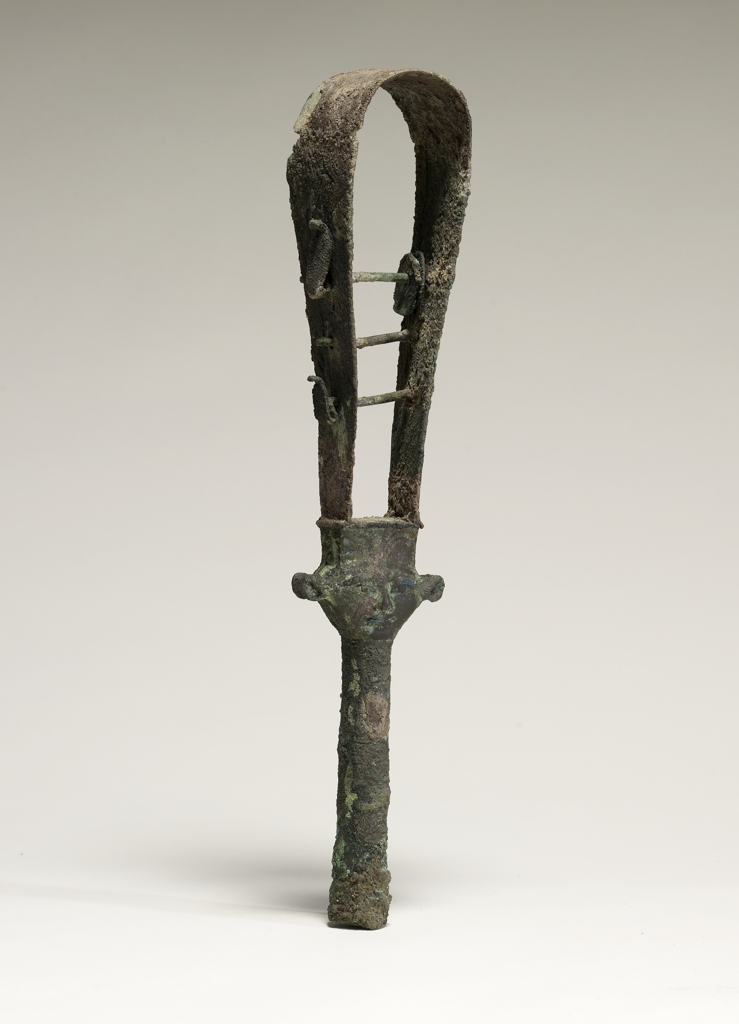
KnifeMake the girth gauge
Make the girth gauge
Ferramentas necessárias:
 Skep Girth Gauge
Bind the crown
Bind the crown
Materiais para este passo:
Rye Straw1 feixeSplit Cane1 metroFerramentas necessárias:
 Awl
AwlFeed straw into an even rope
Feed straw into an even rope
Materiais para este passo:
Rye Straw1 feixeFerramentas necessárias:
Skep Girth GaugeSew the first coils to the crown
Sew the first coils to the crown
Materiais para este passo:
Split Cane1 metroFerramentas necessárias:
AwlSpiral outward to start the dome
Spiral outward to start the dome
Materiais para este passo:
Rye Straw1 feixeSplit Cane1 metroFerramentas necessárias:
AwlBuild the domed wall downward
Build the domed wall downward
Materiais para este passo:
Rye Straw1 feixeSplit Cane1 metroFerramentas necessárias:
AwlSkep Girth GaugeKeep the courses even
Keep the courses even
Materiais para este passo:
Rye Straw1 feixeFerramentas necessárias:
AwlWiden to the finished base
Widen to the finished base
Materiais para este passo:
Rye Straw1 feixeSplit Cane1 metroFerramentas necessárias:
AwlCut the flight entrance
Cut the flight entrance
Ferramentas necessárias:
KnifeFinish and lock the base coil
Finish and lock the base coil
Materiais para este passo:
Split Cane1 metroFerramentas necessárias:
AwlTrim the skep clean
Trim the skep clean
Ferramentas necessárias:
KnifeClom the outside for weatherproofing
Clom the outside for weatherproofing
Materiais para este passo:
 Cow Dung2 kg
 Ball Clay1 kg
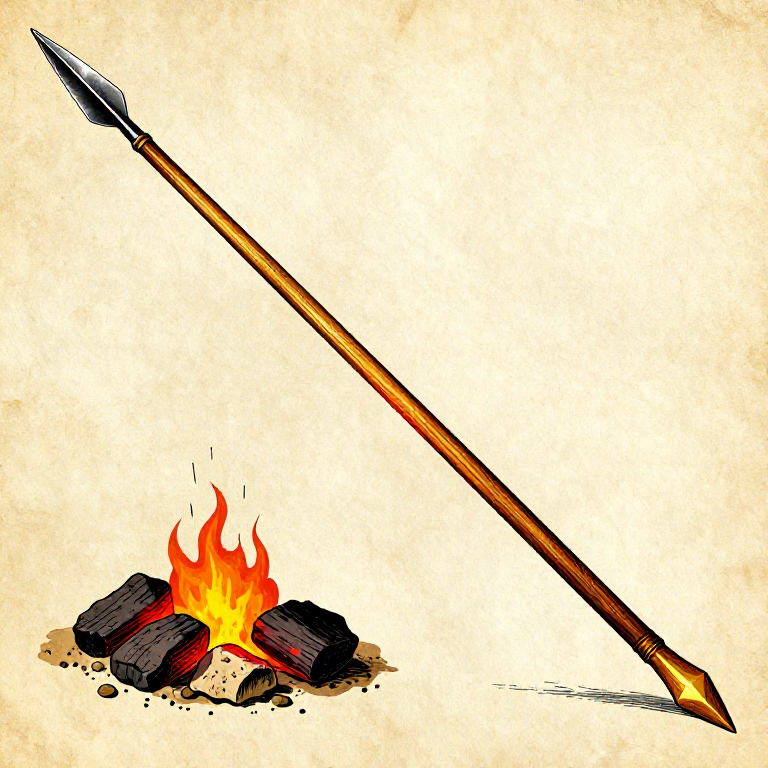
Cure the finished skep
Cure the finished skep
Materiais
6- 1 feixeReferência
- 6 metrosReferência
Materiais de Blueprints conectados
Blueprints relacionados
Estes blueprints compartilham conhecimento — técnicas, materiais ou princípios
Related blueprints
Other builds that share materials, tools, or techniques with this one.


CC0 Domínio Público
Este blueprint é liberado sob CC0. Você é livre para copiar, modificar, distribuir e usar este trabalho para qualquer finalidade, sem pedir permissão.
Apoie o Maker comprando produtos através do Blueprint, onde ele ganha uma Comissão Maker definida pelos vendedores, ou crie uma nova versão deste Blueprint e inclua-o como conexão no seu próprio Blueprint para compartilhar receita.