Colaboração
ARTE
BELEZA E BEM-ESTAR
ARTESANATO
CULTURA E HISTÓRIA
ENTRETENIMENTO
MEIO AMBIENTE
COMIDA E BEBIDAS
ENGENHARIA REVERSA
CIÊNCIAS
ESPORTES
TECNOLOGIA
TECNOLOGIA VESTÍVEL
Pin-Cylinder Box Churn: A Cylinder of Square Pins Turns Through a Row of Pins in the Lid, Then Washes the Butter in the Churn
Buttercup

Criado por

Buttercup

11. novembro 2026IE
8
0
0
0
0

Pin-Cylinder Box Churn: A Cylinder of Square Pins Turns Through a Row of Pins in the Lid, Then Washes the Butter in the Churn

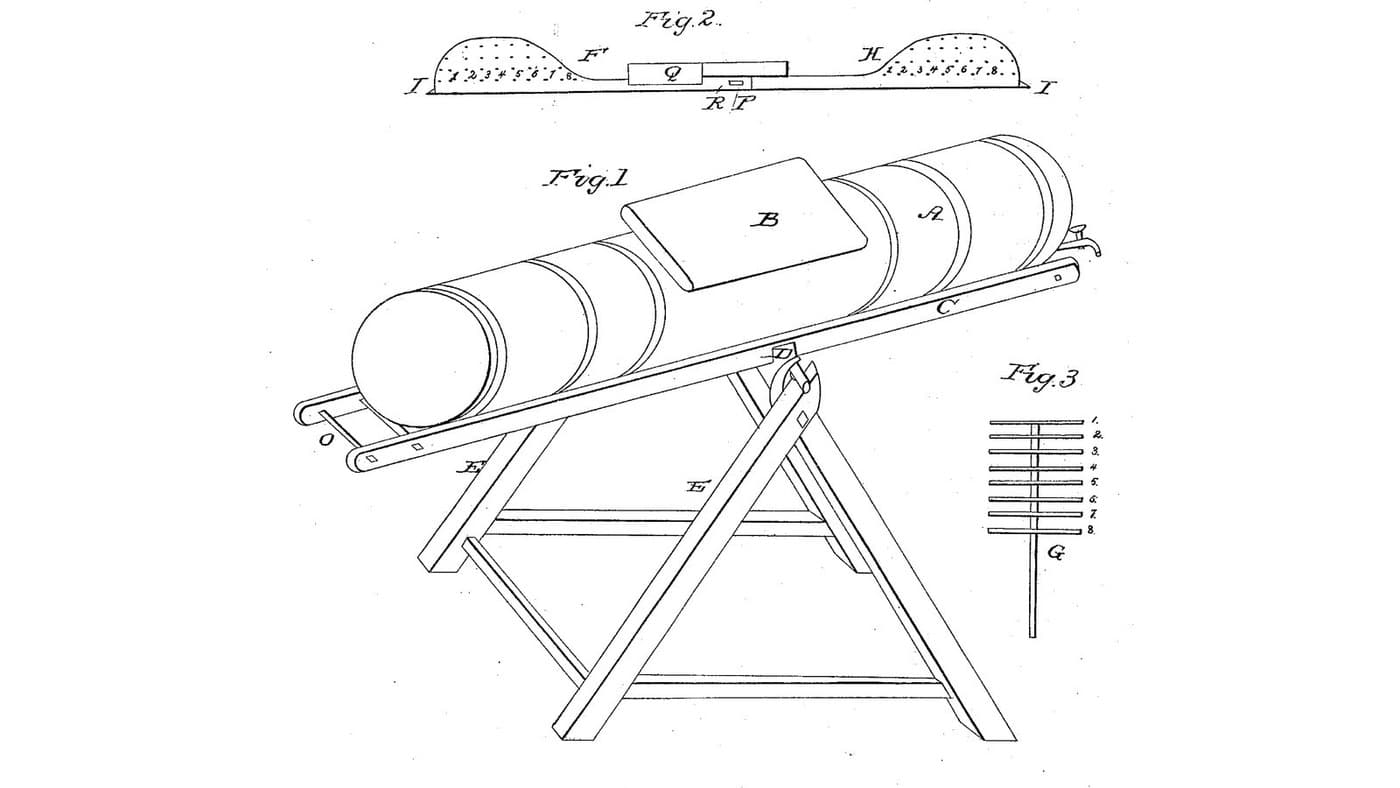
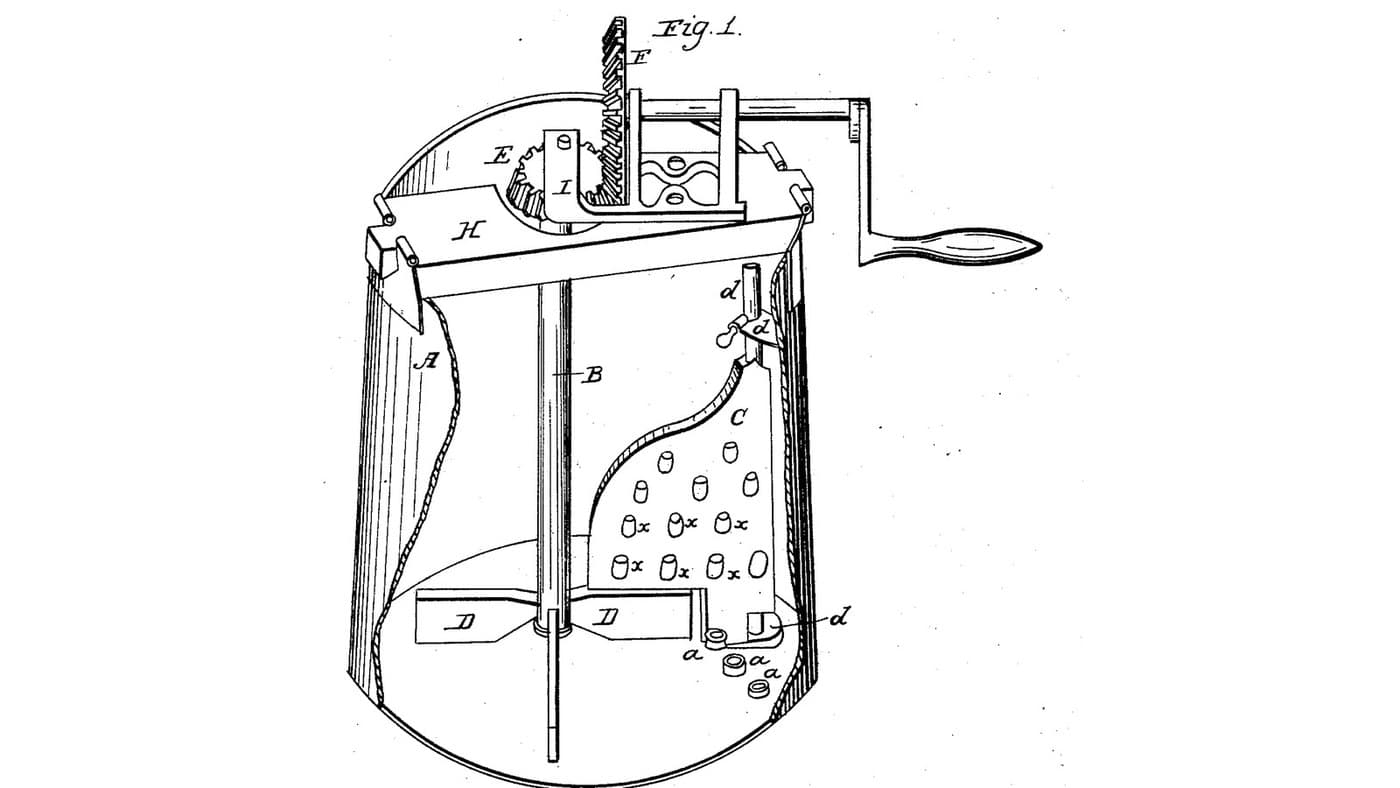
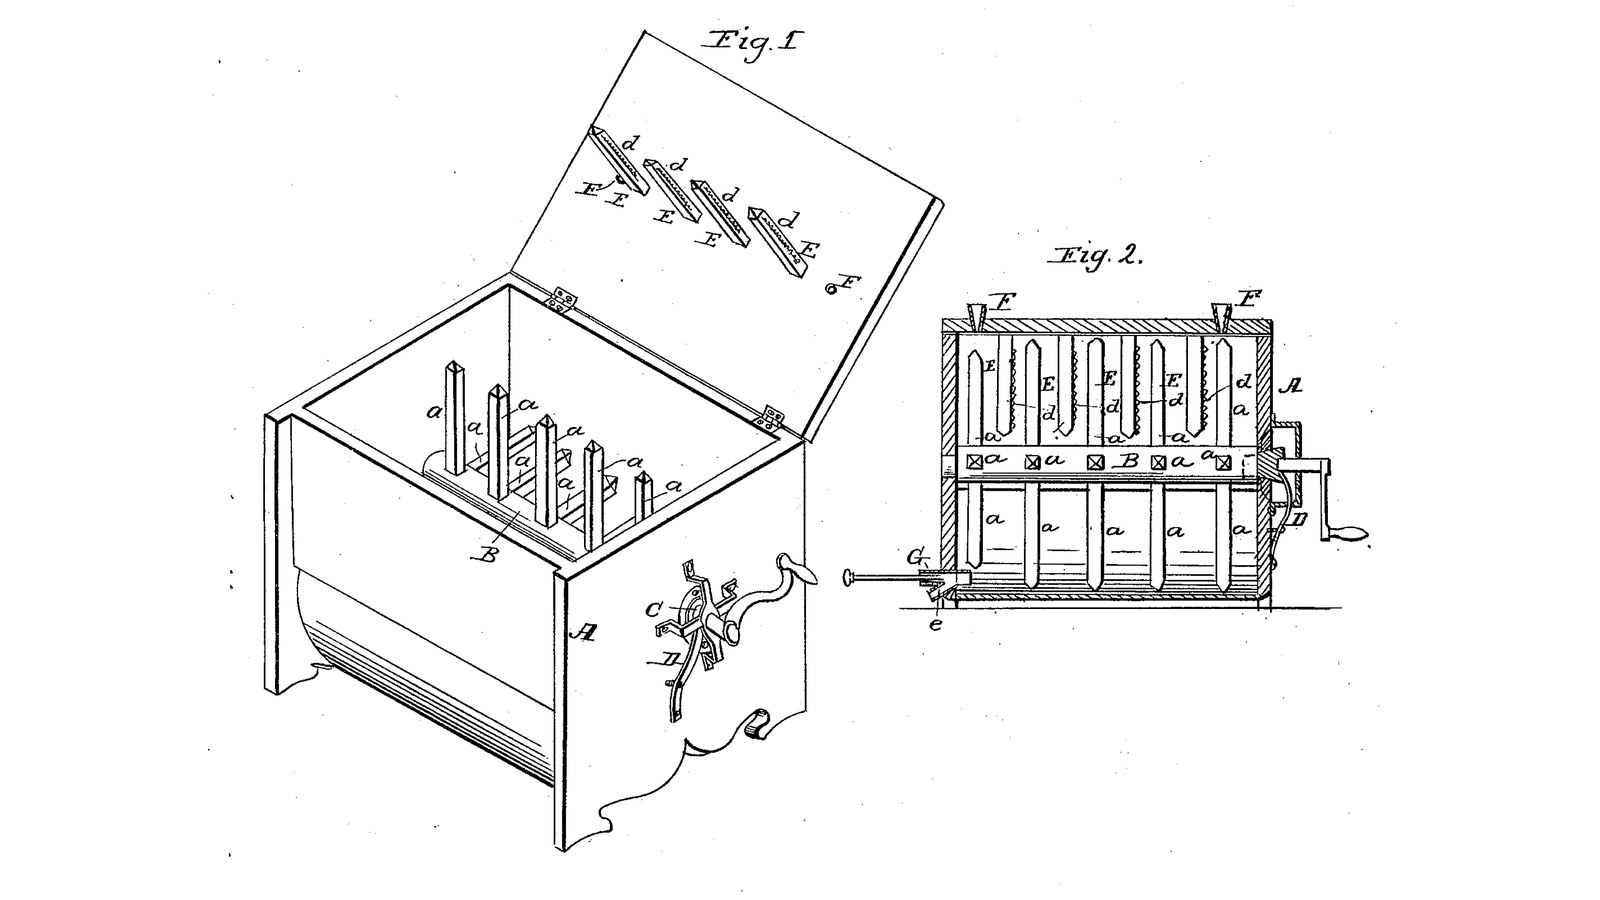
John Park of Joliet, Illinois, received US 29,397, dated 31 July 1860, for a churn and butter-dresser. A box with a half-round bottom holds a cranked wooden cylinder with four rows of square pins, which turn between a row of pins in the lid. The same pins churn the cream, then, with the buttermilk let off by a faucet and water thrown in, wash and work the butter. Toothed metal strips on the lid pins catch hairs, a cone gudgeon pressed by a spring keeps the end tight, and two tubes in the lid let in air. Where the patent gives a size we use it; the rest is ours.
Intermediário
About 3 days

Instruções

1

Pins between pins

A carregar o notebook Jupyter…
2

Cream broken on rows of pins, four months before

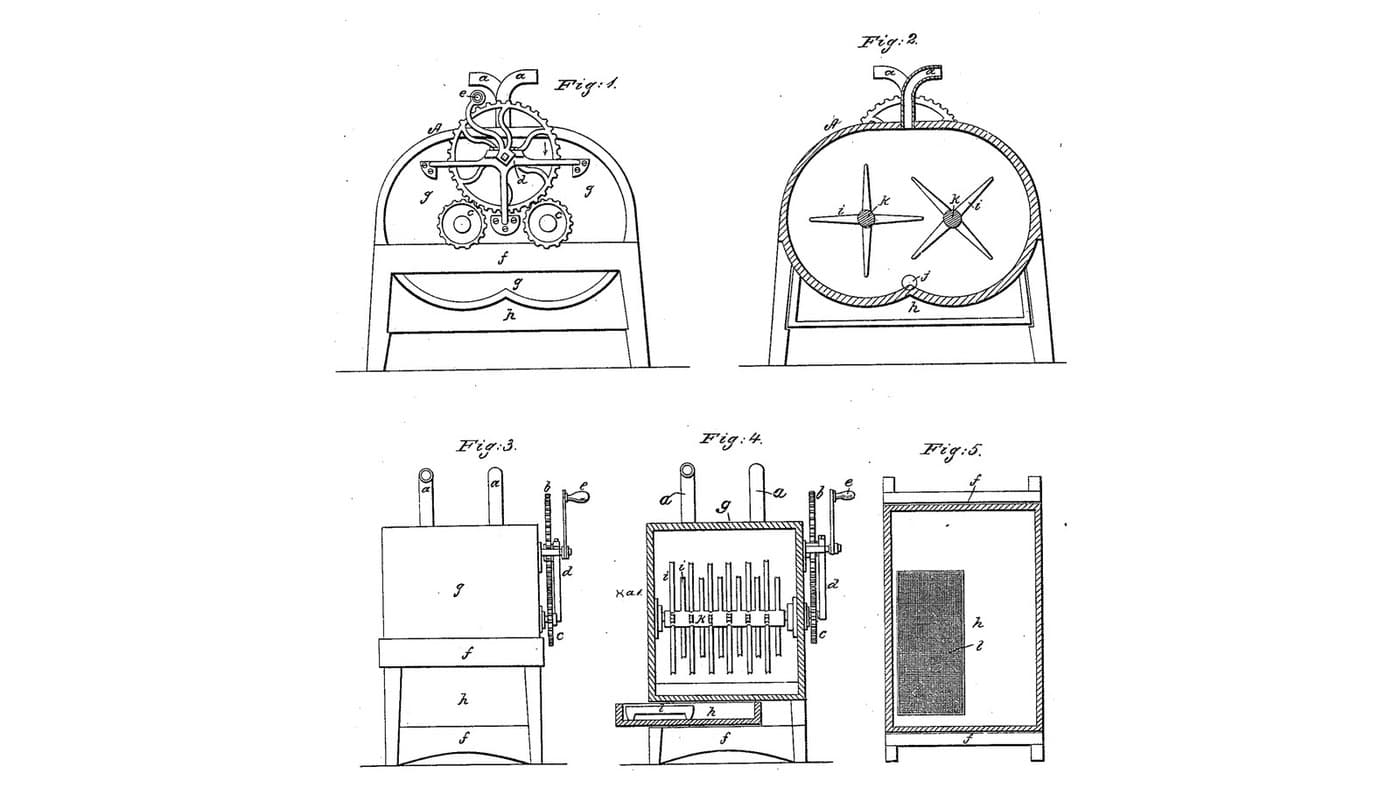
Newbrough's pins stand still and the cream rushes through them. Park's pins turn, through a row of fixed pins in the lid.
3

Read US 29,397

"So when the lid is shut the pins in the cylinder will revolve through between the pins that are in the lid, and break or churn the milk or cream; and when all the milk is let off by a faucet, and a pail of water thrown into the churn, by turning the crank eight or ten times around the pins in the cylinder will press and wash the butter through the pins in the lid."
4

Box with a half-round bottom

Glue up two hardwood ends 22 mm thick, 350 mm wide and 400 mm tall. On each draw the inside: a 300 mm half circle, its centre 250 mm up, with straight sides rising 150 mm above the centre to the top. Rout a groove 1.6 mm wide and 8 mm deep on that line, and cut the bottom edge into feet. Bend a 1.5 mm stainless sheet 516 mm long into a U to fit the line, set its edges into both grooves with silicone sealant, and screw hardwood sides 22 mm thick outside its straight parts. Join the ends through the top corners, inside, with two M8 threaded rods, nuts and washers outside: the patent's iron rods with screws and burrs.

Materiais para este passo:

Tábua de madeira de leiTábua de madeira de lei3 peças
Chapa de aço inoxidávelChapa de aço inoxidável1 peça
Vedante de siliconeVedante de silicone1 peça
Cola de madeiraCola de madeira1 peça
Parafusos para madeiraParafusos para madeira20 peças
Varão roscadoVarão roscado1 peça
Porca sextavadaPorca sextavada4 peças
Anilha planaAnilha plana4 peças

Ferramentas necessárias:
Serra de mesaSerra de mesa
BússolaBússola
Serra tico-ticoSerra tico-tico
TupiaTupia
Berbequim sem fiosBerbequim sem fios
Jogo de brocasJogo de brocas
Serra de arco para metaisSerra de arco para metais
Sargento de barraSargento de barra
Conjunto de chaves de fendasConjunto de chaves de fendas
Chave inglesa ajustávelChave inglesa ajustável
Fita métricaFita métrica
5

Cylinder and its four rows of pins

Turn a hardwood cylinder 76 mm across and 488 mm long (the patent's "about three inches"). Mark six places 80 mm apart, the outer ones 44 mm from the ends, and at each chop four square mortises 25 mm across and 25 deep, a quarter turn apart. Cut 24 hardwood pins 25 mm square ("about one inch") and 127 mm long, point their ends, and glue them in so their points stand 140 mm from the axis, each pinned with a small dowel. Bore a 30 mm hole 40 deep in the crank end for the square boxing and a 10.2 mm hole 20 deep in the other end for the centre rod.

Materiais para este passo:

Tábua de madeira de leiTábua de madeira de lei2 peças
Cola de madeiraCola de madeira1 peça
Cavilhas de madeira duraCavilhas de madeira dura1 peça

Ferramentas necessárias:
Torno de madeiraTorno de madeira
Serra de mesaSerra de mesa
Conjunto de formões para madeiraConjunto de formões para madeira
Berbequim sem fiosBerbequim sem fios
Jogo de brocasJogo de brocas
Sargento de barraSargento de barra
Fita métricaFita métrica
6

Print the gudgeon cone

The cone on the gudgeon, 19 mm across at its inner end and 27 at its outer end, 22 long, on a 16 mm bore. PETG, 0.2 mm layers, 30 % infill, 4 walls.
Arquivo de designSTLCC0 - Free
7

Print the cone boxing

The boxing the cone seats in, set in the crank end: 40 mm across, 22 long, its bore tapering like the cone. PETG, 0.2 mm layers, 30 % infill, 4 walls.
Arquivo de designSTLCC0 - Free
8

Print the square boxing

The boxing glued into the cylinder's crank end: 30 mm across, 40 long, with a 12.3 mm square hole for the gudgeon's square end. PETG, 0.2 mm layers, 30 % infill, 4 walls.
Arquivo de designSTLCC0 - Free
9

Print the faucet

The faucet: a tube 76 mm long (the patent's "about three inches"), 20 mm bore, with an outlet tube under it halfway along. PETG, 0.2 mm layers, 30 % infill, 4 walls.
Arquivo de designSTLCC0 - Free
10

Gudgeon, spring, crank and centre rod

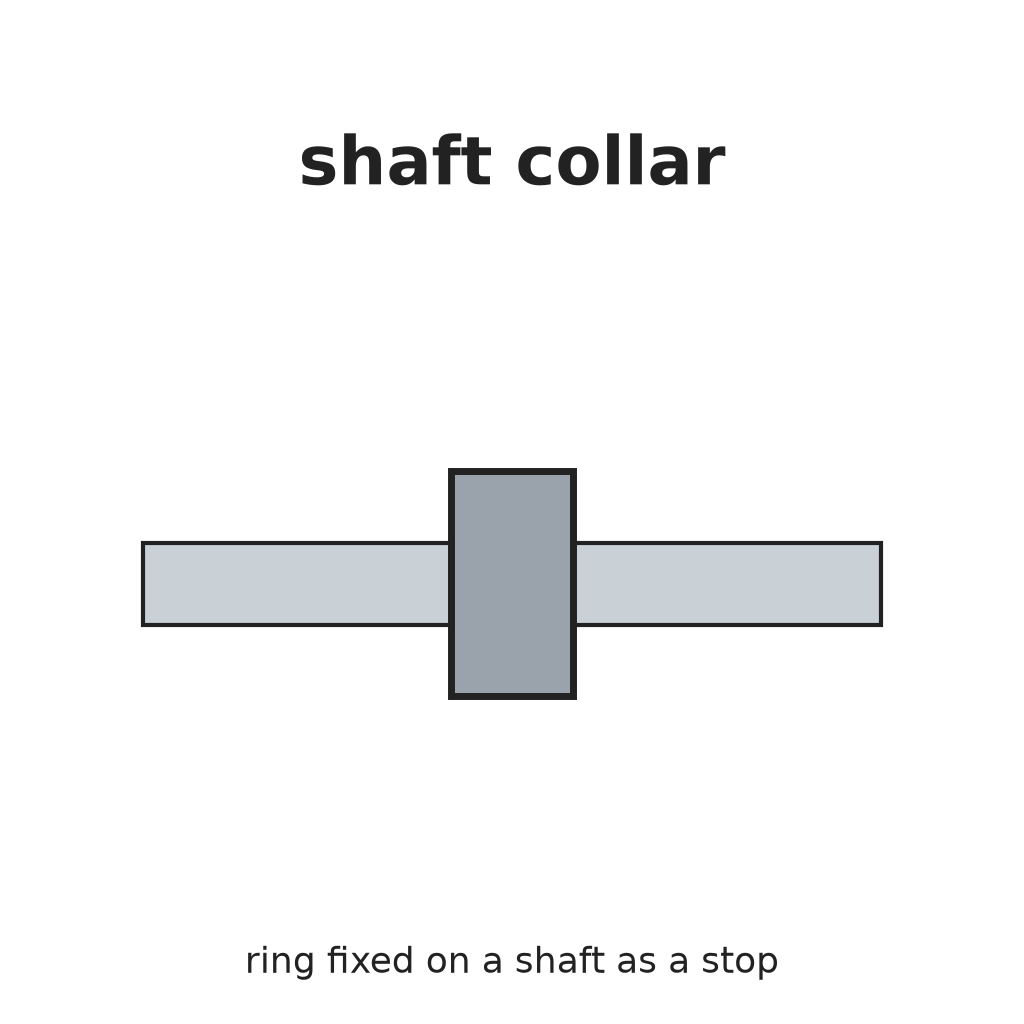
Glue the square boxing into the cylinder's crank end. Bore the crank end 40 mm at the axis, 150 mm above the half circle's bottom, and seal the cone boxing into it, its wide end outward. Cut a 16 mm stainless rod 139 mm long for the gudgeon and file 38 mm of its inner end square, 12 mm across the flats (the patent's square end is 1.5 inch long). Pin the printed cone on it where it seats in the boxing, slide on a shaft collar as the shoulder, and pin a crank of mild steel flat bar, 120 mm throw, with a hardwood handle, on its outer end. Bend a spring steel strip into a U with a slot for the gudgeon and screw its legs to the end so it presses the collar inward. Bore the other end 10.2 mm at the axis and push a 10 mm stainless rod 51 mm long ("about two inches" by "three-eighths") through into the cylinder.

Materiais para este passo:

Varão de aço inoxidávelVarão de aço inoxidável2 peças
Filamento PETGFilamento PETG1 peça
Shaft CollarShaft Collar1 peça
ContrapinoContrapino2 peças
Barra chata de aço macioBarra chata de aço macio1 peça
Cavilhas de madeira duraCavilhas de madeira dura1 peça
Fita de aço-molaFita de aço-mola1 peça
Parafusos para madeiraParafusos para madeira4 peças
Vedante de siliconeVedante de silicone1 peça

Ferramentas necessárias:

Impressora 3D de filamento (FDM)Impressora 3D de filamento (FDM)
Serra de arco para metaisSerra de arco para metais
Limas (lima de mão)Limas (lima de mão)
Torno de bancadaTorno de bancada
Berbequim sem fiosBerbequim sem fios
Jogo de brocasJogo de brocas
Conjunto de chaves de fendasConjunto de chaves de fendas
11

Faucet and its pin

Bore the other end 24 mm through at the bottom, its lower edge just above the sheet, and seal the printed faucet into it with its outlet down. Turn a hardwood pin 19 mm across and 170 mm long with a knob, cut two grooves near its point and fit two O-rings as the patent's rubber packing, so pushed in it closes the tube and drawn back past the outlet it lets the milk run off.

Materiais para este passo:

Cavilhas de madeira duraCavilhas de madeira dura1 peça
O-ringO-ring2 peças
Vedante de siliconeVedante de silicone1 peça

Ferramentas necessárias:

Torno de madeiraTorno de madeira
Berbequim sem fiosBerbequim sem fios
Jogo de brocasJogo de brocas
Limas (lima de mão)Limas (lima de mão)
12

Lid with its pins, hair strips and air tubes

Cut a hardwood lid 544 x 350 x 22 mm and hang it on two butt hinges along the back. Cut five hardwood pins 25 mm square, set them in mortises in the lid on its centre line, midway between the cylinder's pin places, reaching 105 mm down with pointed ends, so they stop 7 mm off the cylinder. Cut five strips of stainless strip 12 mm wide, file fine teeth along one edge, and screw one along a corner of each lid pin so the teeth stand about 3 mm ("about an eighth of an inch") proud. Fit two stainless tubes 38 mm long ("about an inch and a half") through the lid near its ends as air tubes.

Materiais para este passo:

Tábua de madeira de leiTábua de madeira de lei1 peça
Dobradiça de livro para móvelDobradiça de livro para móvel2 peças
Fita de aço inoxidável laminada a frio (420)Fita de aço inoxidável laminada a frio (420)1 peça
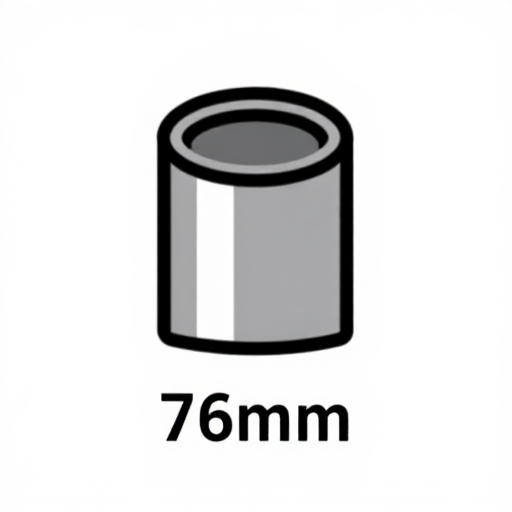
Tubo de aço inoxidávelTubo de aço inoxidável1 peça
Cola de madeiraCola de madeira1 peça
Parafusos para madeiraParafusos para madeira20 peças

Ferramentas necessárias:

Serra de mesaSerra de mesa
Conjunto de formões para madeiraConjunto de formões para madeira
Tesoura de chapaTesoura de chapa
Limas de agulhaLimas de agulha
Serra de arco para metaisSerra de arco para metais
Berbequim sem fiosBerbequim sem fios
Jogo de brocasJogo de brocas
Conjunto de chaves de fendasConjunto de chaves de fendas
13

The build in 3D

FreeCAD model of this build, its front half cut away: the half-round stainless bottom in grooved ends, the pinned cylinder, the lid with its row of pins and hair strips, the air tubes, the faucet and its pin, the cone gudgeon with its spring and crank, and the centre rod.
Arquivo de designBLENDCC0 - Free
14

Churn and dress the butter

Pour about 15 litres of heavy cream at about 15 °C, checked with the thermometer, into the box, shut the lid and turn the crank steadily, timing it. When the butter comes, draw the faucet's pin and let the buttermilk run into a bowl. Shut it, throw in a pail of cold water, and turn the crank eight or ten times so the pins press and wash the butter through the lid pins; let the water off and repeat until it runs clear. Sprinkle in the salt and turn a few times to work it through. To take the cylinder out, draw the gudgeon back against its spring and the centre rod back. Lift out the butter and weigh it.

Materiais para este passo:

Natas para baterNatas para bater15 l
ÁguaÁgua1 peça
Sal marinho grossoSal marinho grosso1 peça

Ferramentas necessárias:

Termómetro de sonda permanenteTermómetro de sonda permanente
CronómetroCronómetro
Balança digital de cozinhaBalança digital de cozinha
Taça grande de aço inoxidávelTaça grande de aço inoxidável
15

Troubleshooting

Pin-cylinder churn troubleshooting.

Flow

Loading...
16

History and honest limits

**John Park** of Joliet, Will County, Illinois, US 29,397, 31 July 1860, "Churn", a churn and butter-dresser. He claimed the rows of pins in the cylinder and lid "for churning, and dressing the butter ready for use while in the churn", the faucet, the cone gudgeon, the spring, the tin strips for catching hairs and the air tubes. His text describes the gudgeon, boxings and spring from a Fig. 3 that is not on the drawing sheet, and some of its letters do not match the two figures; the gudgeon parts here follow the text, in our own form. His strips were tin, his faucet and boxings zinc; ours are stainless and printed. The sizes in quotes are his; all others are ours.

Materiais

22

Ferramentas necessárias

22

Ficheiros de design

5

CC0 Domínio Público

Este blueprint é liberado sob CC0. Você é livre para copiar, modificar, distribuir e usar este trabalho para qualquer finalidade, sem pedir permissão.

Apoie o Maker comprando produtos através do Blueprint, onde ele ganha uma Comissão Maker definida pelos vendedores, ou crie uma nova versão deste Blueprint e inclua-o como conexão no seu próprio Blueprint para compartilhar receita.

Discussão

(0)

Entrar para participar da discussão

Carregando comentários...