Colaboração
ARTE
BELEZA E BEM-ESTAR
ARTESANATO
CULTURA E HISTÓRIA
ENTRETENIMENTO
MEIO AMBIENTE
COMIDA E BEBIDAS
ENGENHARIA REVERSA
CIÊNCIAS
ESPORTES
TECNOLOGIA
TECNOLOGIA VESTÍVEL
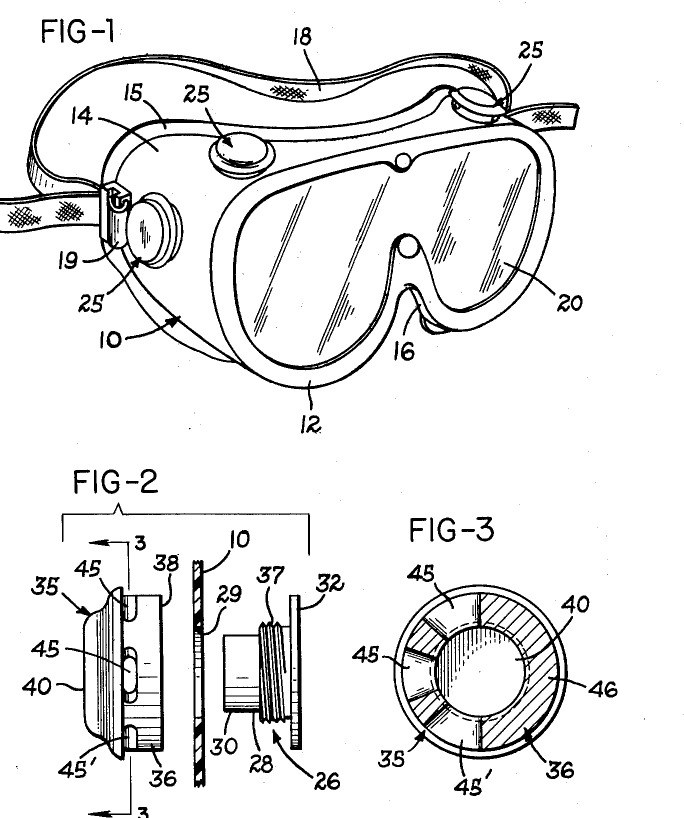

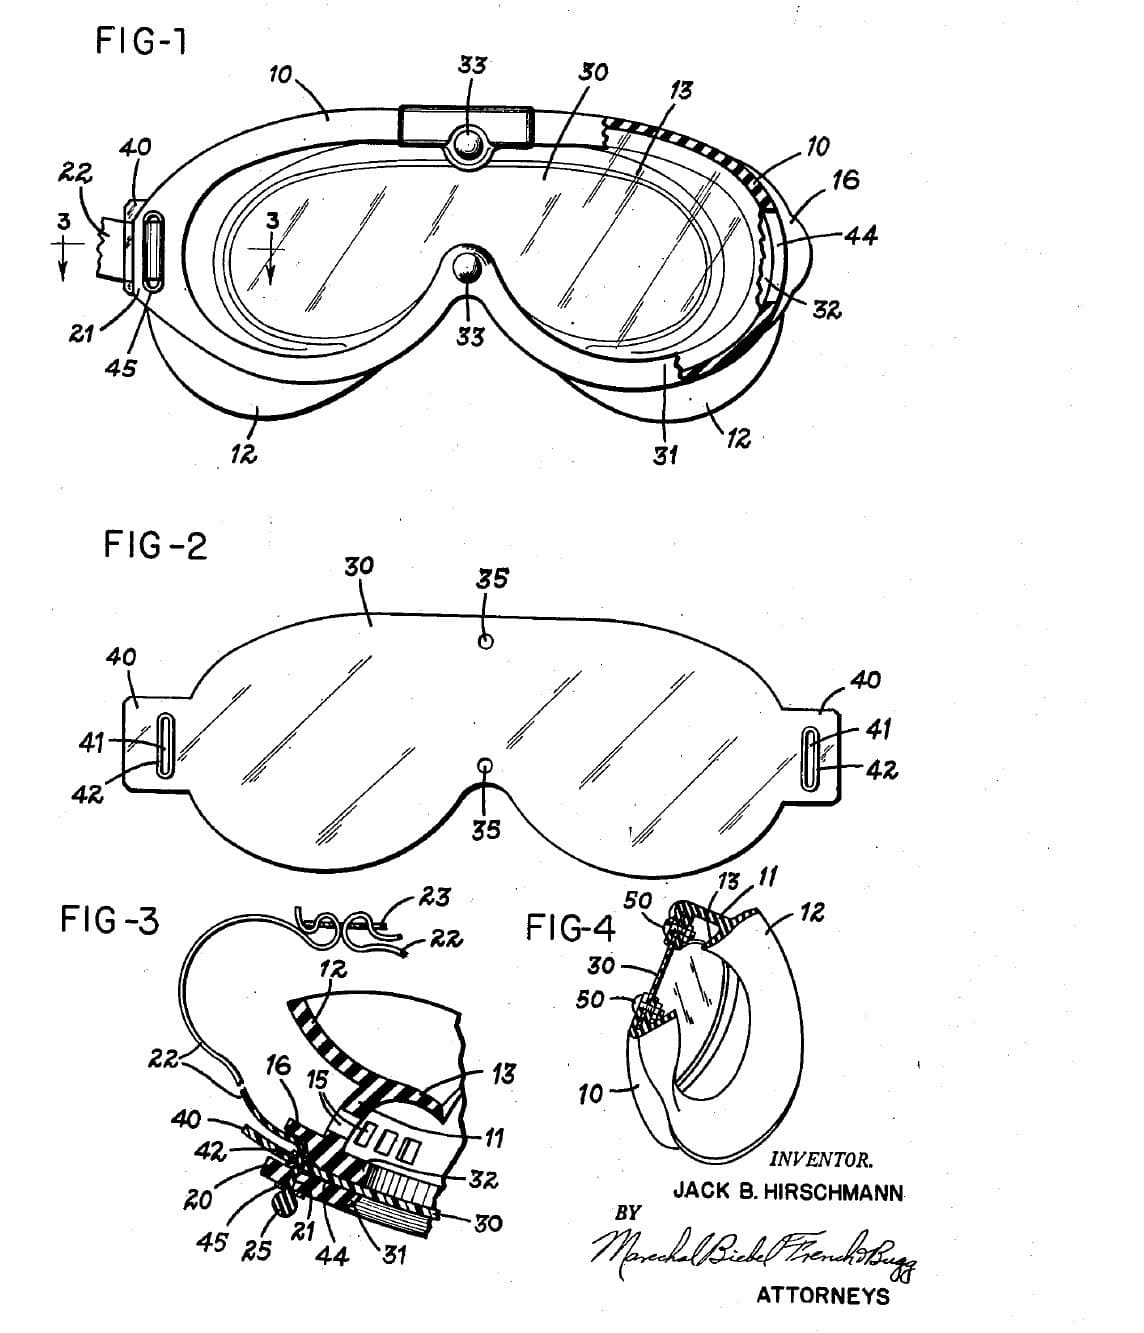
Safety Goggles: Soft Plastic Frame with Turnable Splash-Proof Vent Caps (Hirschmann, US 3,141,172, 1964)
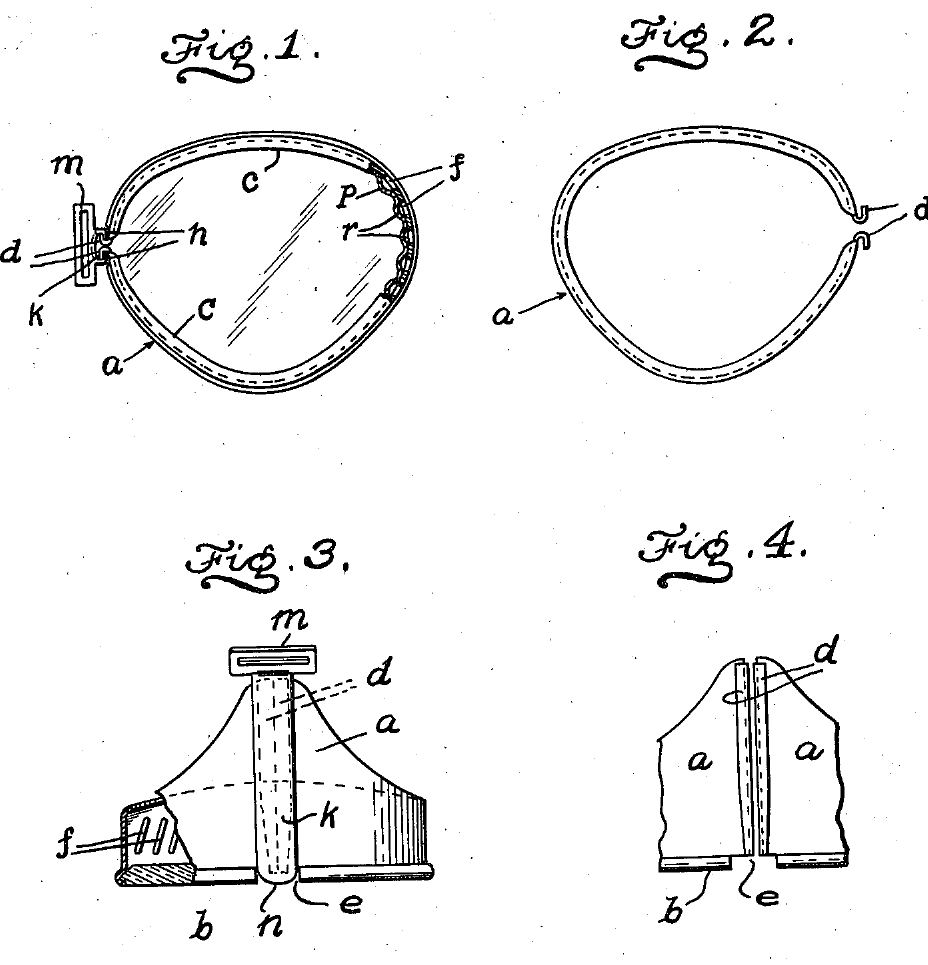
Goggles that let air in but keep splashes out. A soft polyethylene frame seals on the face and holds one clear lens for both eyes. Four vents sit in the frame, each a short tube under a cup-shaped cap with holes on one side only. You turn each cap so its solid side faces the splash; air takes a winding path in, and any liquid that gets into a cap drains out of a hole at the bottom.
Result: ventilated safety goggles against liquids, chips and particles, with a lens you can replace.
Source: J. B. Hirschmann, US 3,141,172 (1964), with the frame and lens of his US 2,773,260 (1956). Unknown: sizes, the moulding, the strap. Picture: the patent drawing.
Intermediário
Unknown
Instruções
1
1
Mould the frame
Mould the frame
Mould a one-piece goggle frame of a soft, light-transmitting plastic such as polyethylene. Give it a front rim with one opening for both eyes, narrower above the nose, and a nose pad moulded with the rim. Behind the rim, a wall runs back and ends in a flange that fits the face. Form a flange on the front of the rim to seat the lens, and short shoulders with sloping backs round the inside of the rim. Put a strap loop near the back edge on each side: a soft frame strapped at the front would be squeezed out of shape. Ours: LDPE. Not given: sizes, how it is moulded.
Materiais para este passo:
 Granulado de LDPE1 frame
Ferramentas necessárias:
 Dimensões desconhecidas
2
2
Make the lens
Make the lens
Cut one lens from clear, flexible plastic such as cellulose acetate, shaped to match the rim, and pre-curve it to the shape it takes in the frame. Fit male snap fasteners (the 'Dot' type) to its edge strip above and below the nose part, and matching female ones in the rim flange. Not given: the thickness.
Materiais para este passo:
 Chapa de plástico transparente1 lens
 Kit de molas de pressão (uso intensivo)1 2 pairs
Ferramentas necessárias:
 TesouraDimensões desconhecidas
3
3
Make the four vents
Make the four vents
Mould each vent in two parts, of plastic or metal. The base is a short tube with a flange round its inner end; the cap is a cup that screws onto the tube (a press fit or solvent seal also serves), with a closed end and an outer flange. Through the cap's side, between the tube's end and the frame, make about three holes covering half the way round, and leave the other half solid. Not given: sizes.
Materiais para este passo:
 Material desconhecido4 vent bases and caps
Ferramentas necessárias:
Dimensões desconhecidas4
4
Assemble and set the caps
Assemble and set the caps
Make four holes in the frame wall: two at the top, two at the sides. Push each vent tube through from inside so its flange seals on the inside of the wall, and screw the cap on so its flange seals on the outside. Seat the lens against the rim flange, guided by the shoulders, and press the snaps home. Thread a head strap through the two loops. Before work, turn each cap so its solid side faces the expected splash, with one hole pointing down. Air then winds in under the cap and back down the tube; particles strike the walls and drop, and any liquid drains out of the lower hole. Not given: the strap material.
Materiais para este passo:
Material desconhecido1 head strapFerramentas necessárias:
 Furador de papel
Materiais
4- 1 frameReferência
- Referência
- Referência
- 1 head strapReferência
Materiais de Blueprints conectados
10% de atribuição
Chemical Splash Goggles: One Sealed Lens in a Moulded Rubber Frame (Hirschmann, 1954)
por Emma
Mecânica
14
0
0
0
1
0
Perigoso
10% de atribuição
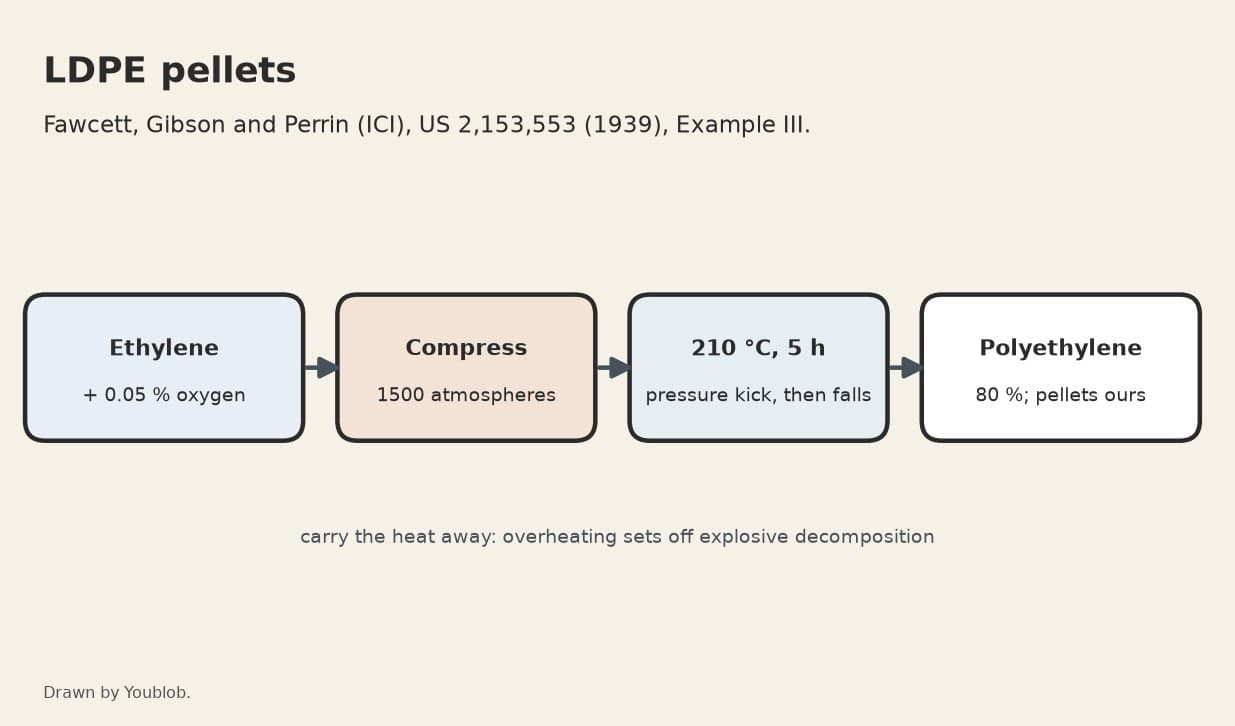
LDPE Pellets: Ethylene Polymerised at 1500 Atmospheres with a Trace of Oxygen
por Charlie
Industrial
14
0
0
0
2
0
10% de atribuição
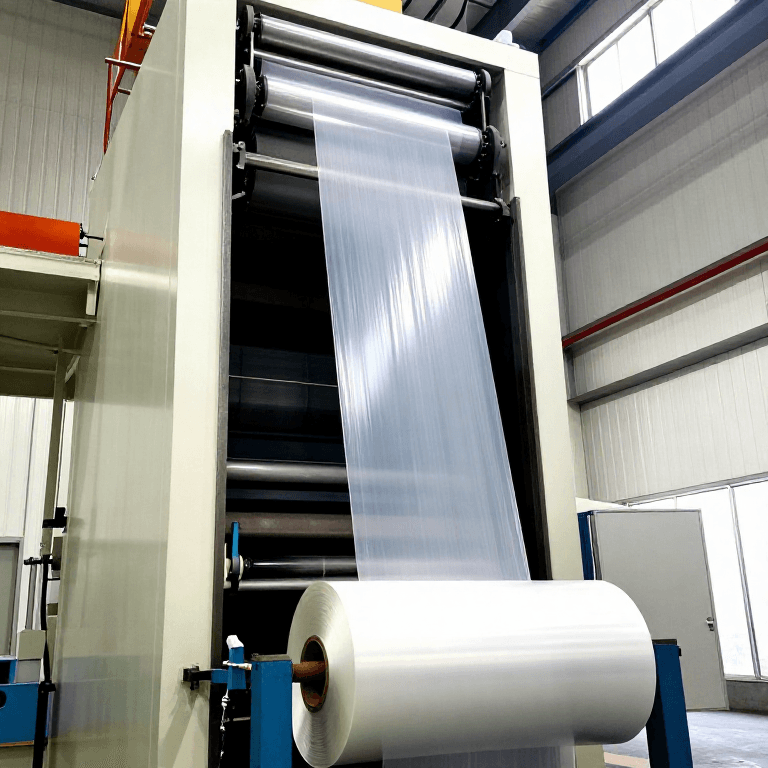
Plastic Sheet and Blown Film Extrusion
por Emma
Moldagem por Extrusão
44
0
0
0
2
0
10% de atribuição
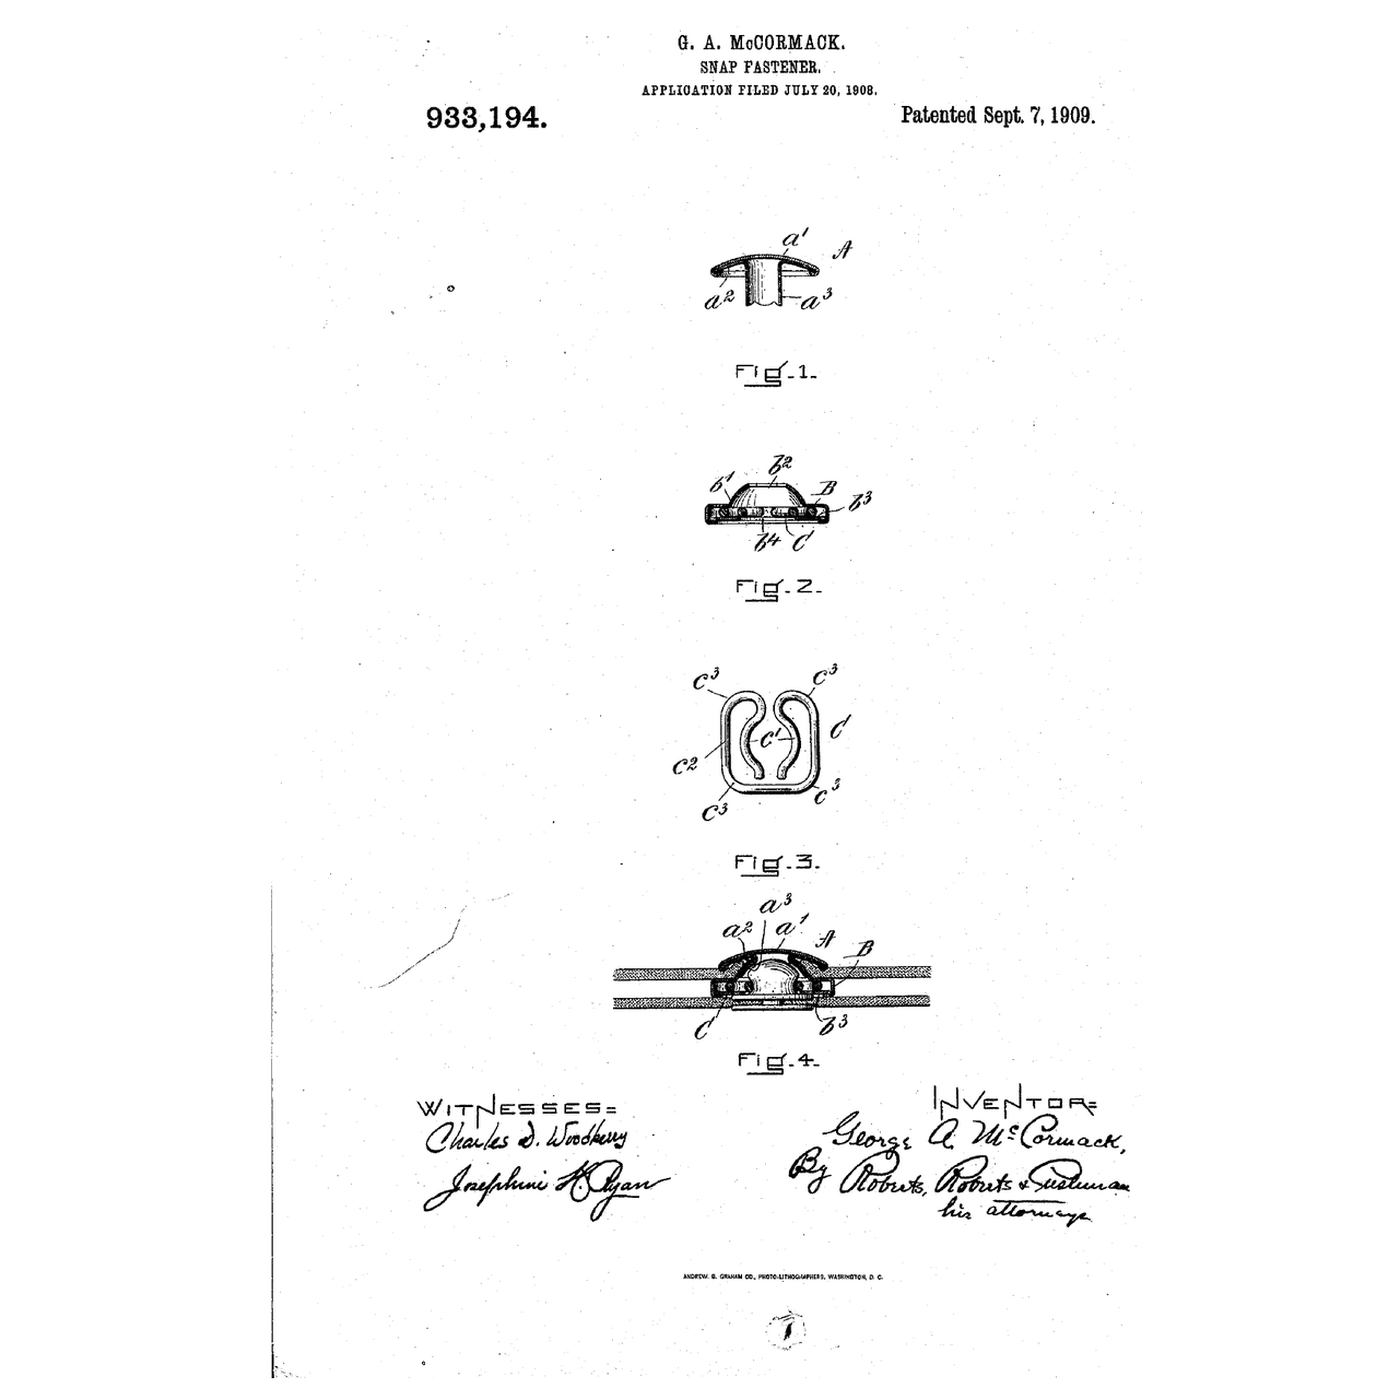
The Snap Fastener: A Spring That Pinches the Same Every Way
por Tex
Têxtil e Couro
43
0
0
0
1
0
Este projeto faz

Blueprints relacionados
Estes blueprints compartilham conhecimento — técnicas, materiais ou princípios
CC0 Domínio Público
Este blueprint é liberado sob CC0. Você é livre para copiar, modificar, distribuir e usar este trabalho para qualquer finalidade, sem pedir permissão.
Apoie o Maker comprando produtos através do Blueprint, onde ele ganha uma Comissão Maker definida pelos vendedores, ou crie uma nova versão deste Blueprint e inclua-o como conexão no seu próprio Blueprint para compartilhar receita.