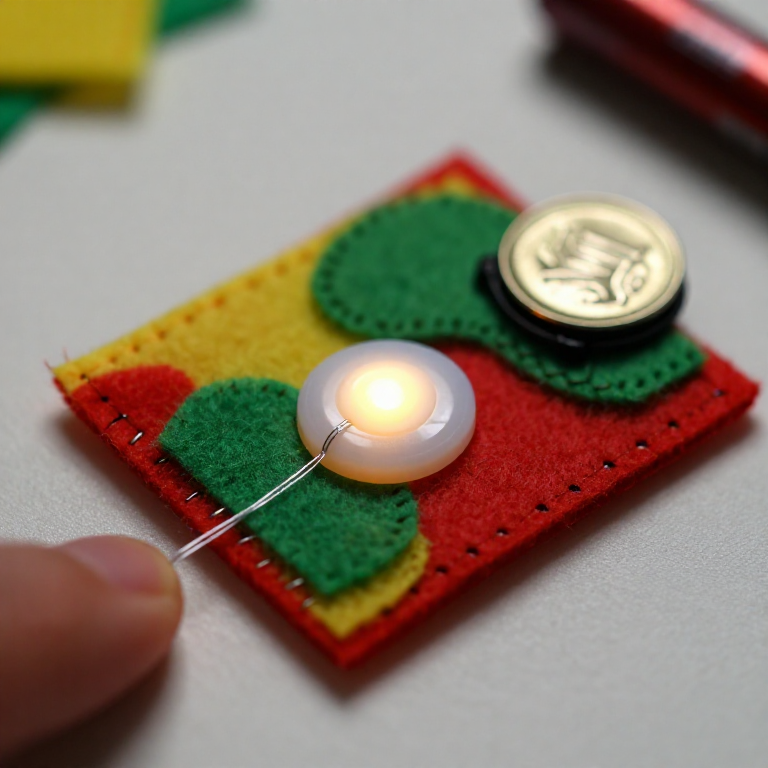


Sewing a LilyPad Button Circuit
Add a switch you can sew: a LilyPad button placed in the circuit lights your LED only while it's pressed. Same e-textile rules as before — + to + and - to -, no crossing lines — but now the button sits in the + line, so current flows only when you press it. A press-to-light patch for a bag, badge or costume.
Instruções
Plan the circuit with a button
Plan the circuit with a button
Arrange a LilyPad LED, a LilyPad button and a coin-cell battery holder on felt. The button goes in the + line, between the battery's + tab and the LED's + tab, so pressing it completes the circuit.
Materiais para este passo:
 LilyPad LED - 5 pcs1 pacote
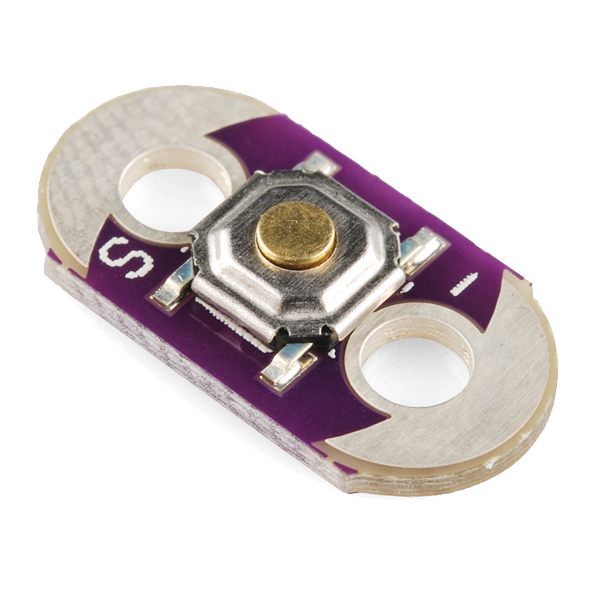 LilyPad Button Board1 peça
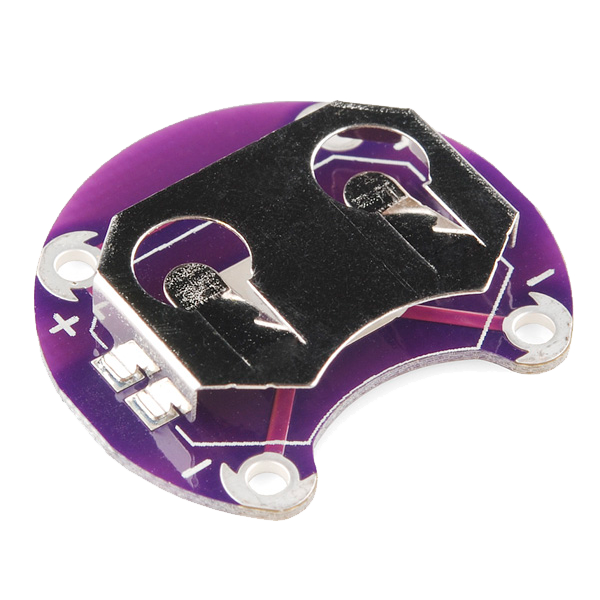 LilyPad Coin Cell Battery Holder - 20mm1 peça
 Folha de feltro de lã1 folha
Sew the positive line through the button
Sew the positive line through the button
With conductive thread, stitch from the battery + tab to one tab of the button, then knot and cut; start fresh and stitch from the button's other tab to the LED + tab. Loop 3–4 times through each hole for firm contact and trim the tails short.
Materiais para este passo:
 Conductive Thread - 60g (Stainless Steel)1 bobina
 Agulhas de costura à mão1 pacote
Sew the negative line
Sew the negative line
With a fresh thread, stitch the LED - tab straight to the battery - tab. Keep this line well away from the + line and the button — anywhere the two conductive paths touch, the circuit shorts.
Press to test
Press to test
Slot in a CR2032 (+ side up). Press the button — the LED lights; release — it goes out. If it stays dark, check that both button tabs are stitched into the line and that no threads are touching across the two sides.
Materiais para este passo:
 Pilha de botão CR20321 peça
Secure and use
Secure and use
Seal each knot with a dab of clear nail polish or fabric glue so it can't loosen. Sew the felt onto a bag, badge or costume — you've made a press-to-light patch.
Materiais
7- LilyPad LED - 5 pcs10% de comissão1 pacoteR$20.48
- LilyPad Button Board10% de comissão1 peçaR$10.87
- LilyPad Coin Cell Battery Holder - 20mm10% de comissão1 peçaR$20.48
- 1 folhaReferência
- Conductive Thread - 60g (Stainless Steel)10% de comissão1 bobinaR$195.98
- 1 pacoteReferência
- 1 peçaReferência
Ferramentas necessárias
1- Referência
Blueprints relacionados
Estes blueprints compartilham conhecimento — técnicas, materiais ou princípios

CC0 Domínio Público
Este blueprint é liberado sob CC0. Você é livre para copiar, modificar, distribuir e usar este trabalho para qualquer finalidade, sem pedir permissão.
Apoie o Maker comprando produtos através do Blueprint, onde ele ganha uma Comissão Maker definida pelos vendedores, ou crie uma nova versão deste Blueprint e inclua-o como conexão no seu próprio Blueprint para compartilhar receita.