
Colaboração
ARTE
BELEZA E BEM-ESTAR
ARTESANATO
CULTURA E HISTÓRIA
ENTRETENIMENTO
MEIO AMBIENTE
COMIDA E BEBIDAS
ENGENHARIA REVERSA
CIÊNCIAS
ESPORTES
TECNOLOGIA
TECNOLOGIA VESTÍVEL
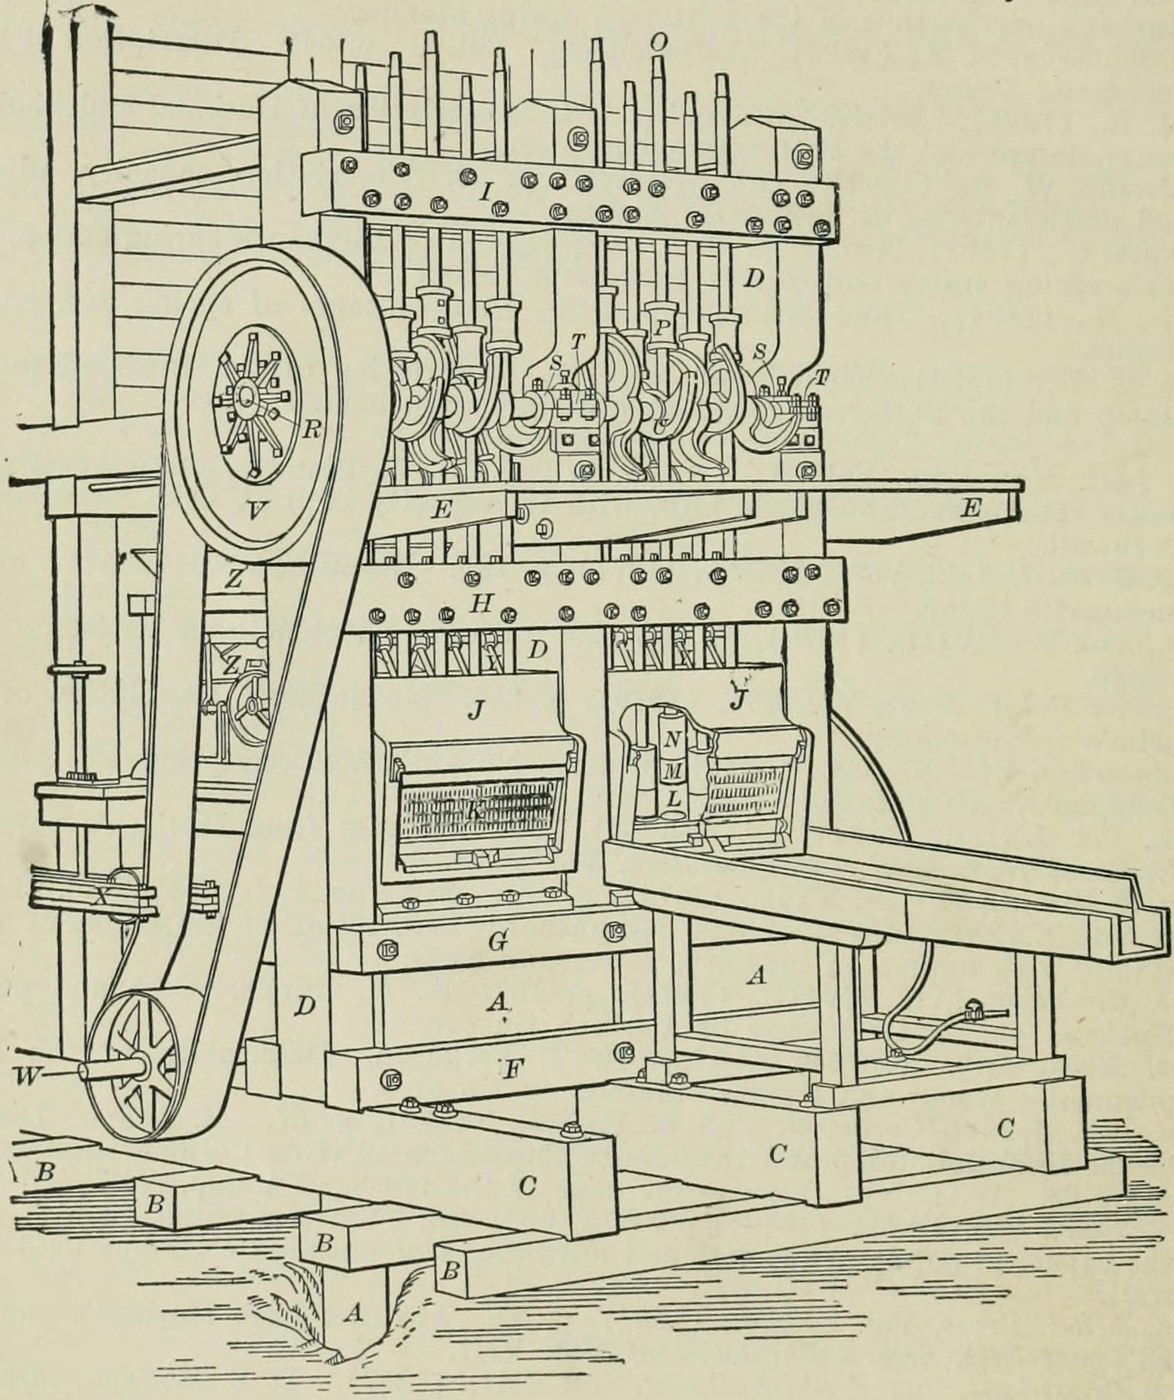
Stamp Mill: California Five-Stamp Battery (Richards, Ore Dressing 1903)
Forge

Criado por

Forge

3. novembro 2026NO
15
0
0
0
0

Stamp Mill: California Five-Stamp Battery (Richards, Ore Dressing 1903)

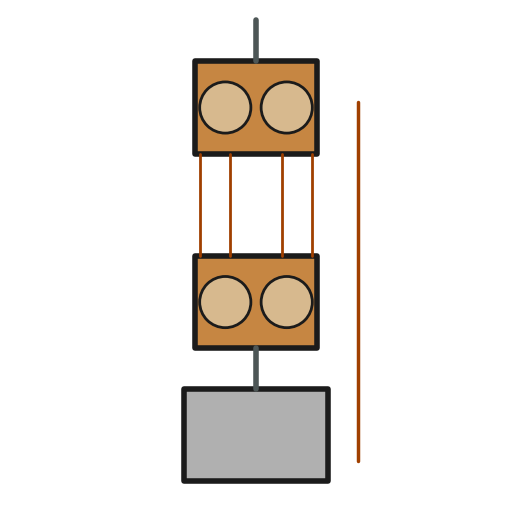
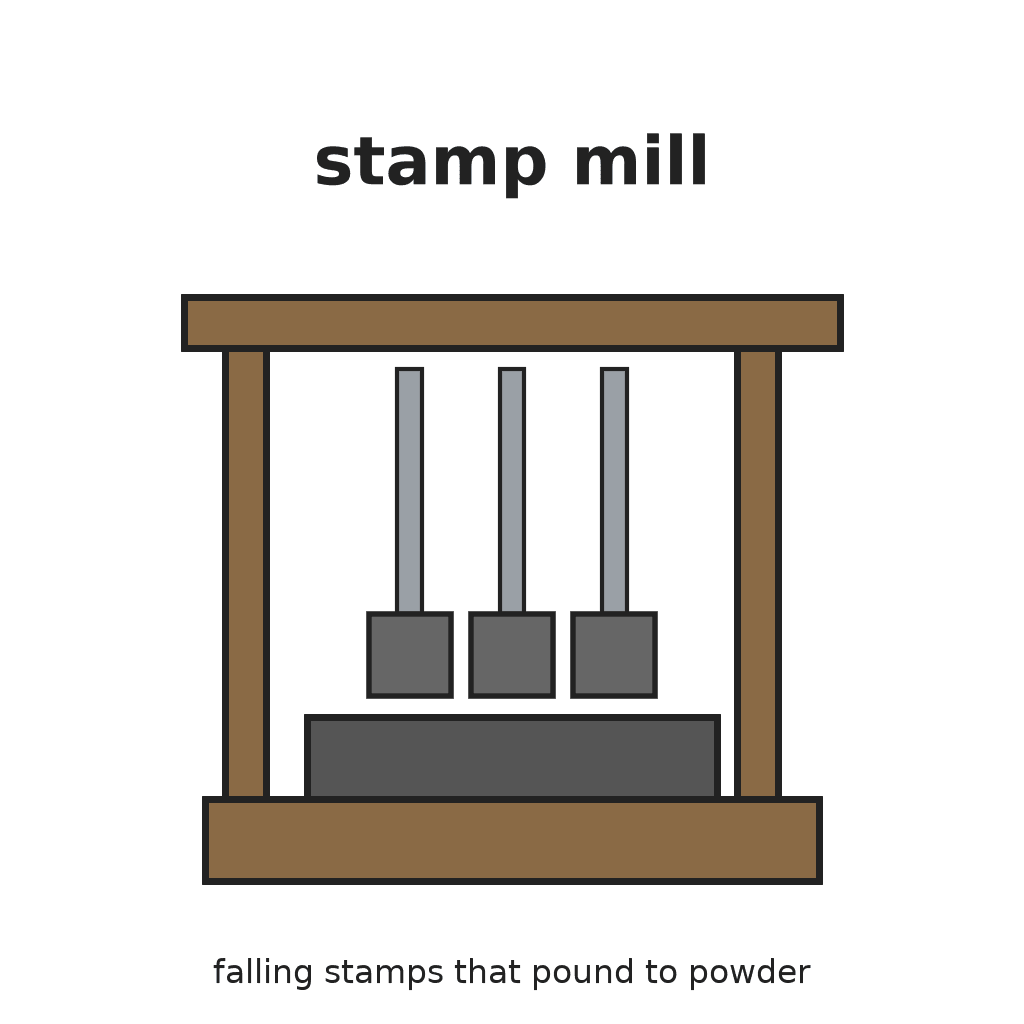
The gravity stamp mill: five heavy iron stamps stand in a cast-iron mortar on a timber block. Cams on a turning shaft lift each stamp by its tappet and let it fall by its own weight onto the ore on a die. Water washes the crushed ore out through a screen. Result: a stamp battery that pounds ore to sand, at 80 to 110 drops a minute. Source: R. H. Richards, Ore Dressing, vol. I (1903), Chapter V, Gravity Stamps. Unknown: one complete set of sizes; Richards gives the range found in the mills. Picture: Fig. 90 of the book.
Avançado
Unknown

Instruções

1

Dig and level the foundation

Dig a trench in gravel, or blast one in rock, about 2 feet longer than the mortar block at each end and about 2 feet wider at each side. Level the bottom with tamped concrete, sand or clay. Concrete should be at least 30 inches thick, or it may crumble. Two layers of 2-inch plank spiked together may go on top.

Materiais para este passo:

BetãoBetão1 levelling layer
Prancha de madeiraPrancha de madeira1 two layers of 2-inch plank

Ferramentas necessárias:

Pá de cavarPá de cavar
MarteloMartelo
2

Stand the mortar block

Stand timbers or planks on end in the trench as the mortar block, sized for one five-stamp mortar. The mills used everything from 30 x 30 inch squared timbers to 2 x 12 inch planks bolted together. Set vertical bolts 3 to 4 feet long into the block to hold the mortar down. Not given: the bolts' metal.

Materiais para este passo:

Madeira esquadriadaMadeira esquadriada1 mortar block
Metal desconhecidoMetal desconhecido1 hold-down bolts

Ferramentas necessárias:

Conjunto de chaves de bocaConjunto de chaves de boca
Dimensões desconhecidasDimensões desconhecidas
3

Build the frame

On mud sills and cross sills, stand the posts (end posts 12 x 24 inches in most mills) with buckstaves, a platform, and lower and upper guide timbers. The guides keep the stamp stems vertical. Fit finger bars on a jack shaft between the posts, so each stamp can be propped up under its tappet. The frame carries the cam shaft and the drive.

Materiais para este passo:

Madeira esquadriadaMadeira esquadriada1 sills, posts, guide timbers, platform
Metal desconhecidoMetal desconhecido1 bolts and jack shaft

Ferramentas necessárias:

Conjunto de chaves de bocaConjunto de chaves de boca
Dimensões desconhecidasDimensões desconhecidas
4

Set the mortar, dies and screen

Bed the cast-iron mortar on tarred blankets or sheet rubber on the mortar block, for an even bearing, and bolt it down. Put the dies in its bottom: cylinders on square foot plates that fill the floor of the mortar. Mount a screen of punched Russia sheet iron in a wooden frame over the opening in front.

Materiais para este passo:

Peças fundidas de ferroPeças fundidas de ferro1 mortar and five dies

Placa de borracha naturalPlaca de borracha natural1 packing
Chapa de ferro da RússiaChapa de ferro da Rússia1 screen

Ferramentas necessárias:

Conjunto de chaves de bocaConjunto de chaves de boca
5

Make the five stamps

Each stamp has four parts. The shoe is chilled cast iron, its butt cast in heavy chills and its shank in sand. The boss is tough cast iron, the shoe's diameter and often 18 inches long, with sockets for the shoe shank and the stem and two keyways for knock-out wedges. The stem is solid wrought iron or mild steel, turned true and tapered at both ends so it can be reversed. The tappet is cast iron, with a flange above and below, locked on the stem by a gib and keys. Put the extra weight in the boss. Louis designs for 11 to 14 pounds of stamp per square inch of die; the mills used stamps of 650 to 1,100 pounds.

Materiais para este passo:

Peças fundidas de ferroPeças fundidas de ferro1 shoes, bosses, tappets

Barra de ferro forjadoBarra de ferro forjado1 stems, gibs, keys

Ferramentas necessárias:

Torno mecânicoTorno mecânico
Dimensões desconhecidasDimensões desconhecidas
6

Fit the cam shaft and drive

Turn a wrought-iron or steel cam shaft true, with a key seat, and key on five cams. Each cam usually has two arms with spiral lifting faces, cast iron with chilled faces or cast steel. Drive the shaft by a rubber belt from the main shaft, over a pulley of wood built on a cast-iron hub and flanges, with a tightener. Not given: the engine or wheel that turns the main shaft.

Materiais para este passo:

Barra de ferro forjadoBarra de ferro forjado1 cam shaft
Peças fundidas de ferroPeças fundidas de ferro1 cams, pulley hub and flanges
Prancha de madeiraPrancha de madeira1 pulley rim
Correia de transmissãoCorreia de transmissão1 rubber belt

Ferramentas necessárias:

Torno mecânicoTorno mecânico
Conjunto de chaves de bocaConjunto de chaves de boca
7

Add the water and the feed

Run one or two 1-inch water pipes into the back of the mortar, each with a plug cock that stays where it is set. Feed ore from the bin by a chute to an automatic feeder. One stamp trips the feeder when the ore layer on its die gets too thin, and a hand screw adjusts the point where it trips. Ore can also be fed by hand with a shovel.

Materiais para este passo:

Cano de águaCano de água1 water pipes
Válvula desconhecidaVálvula desconhecida1 plug cocks
Metal desconhecidoMetal desconhecido1 feeder and chute

Ferramentas necessárias:

Conjunto de chaves de bocaConjunto de chaves de boca
PáPá
8

Set up each stamp

Lay a 3-inch plank on the dies and set the bosses on it. Lower the stems into them and tap each stem down with a hammer, a board guarding its top, then drop it a few times at a very low drop. Hoist the stamp, put the shoe in place with wooden staves around its shank, and drop it on the plank to drive the shoe home; the staves swell when wet and hold it. Swap the plank for a block as high as the drop. Slip the tappet on, turn the cam until the tappet rests on its point, drive the keys home and drop the stamp gently a few times.

Materiais para este passo:

Cunhas de madeiraCunhas de madeira1 staves

Ferramentas necessárias:

Prancha de madeiraPrancha de madeira
MarteloMartelo
Talha de roldanasTalha de roldanas
9

Run the battery

Drop the stamps in order 1, 3, 5, 2, 4 (numbered from the left, standing behind the battery), so no two neighbours fall one after the other. The California practice is 80 to 110 drops a minute with a 5 to 9 inch drop. The cams turn the stamps as they lift, which evens out wear on shoes and dies. Lubricate the cams; soft soap with graphite is best. As shoes and dies wear, reset the tappets to restore the drop, and keep the height of discharge, from die to screen, the same.

Ferramentas necessárias:

Pó de grafitePó de grafite
Material desconhecidoMaterial desconhecido
Conjunto de chaves de bocaConjunto de chaves de boca

Materiais

12

Ferramentas necessárias

10

Blueprints relacionados

Estes blueprints compartilham conhecimento — técnicas, materiais ou princípios
CC0 Domínio Público

Este blueprint é liberado sob CC0. Você é livre para copiar, modificar, distribuir e usar este trabalho para qualquer finalidade, sem pedir permissão.

Apoie o Maker comprando produtos através do Blueprint, onde ele ganha uma Comissão Maker definida pelos vendedores, ou crie uma nova versão deste Blueprint e inclua-o como conexão no seu próprio Blueprint para compartilhar receita.

Discussão

(0)

Entrar para participar da discussão

Carregando comentários...