
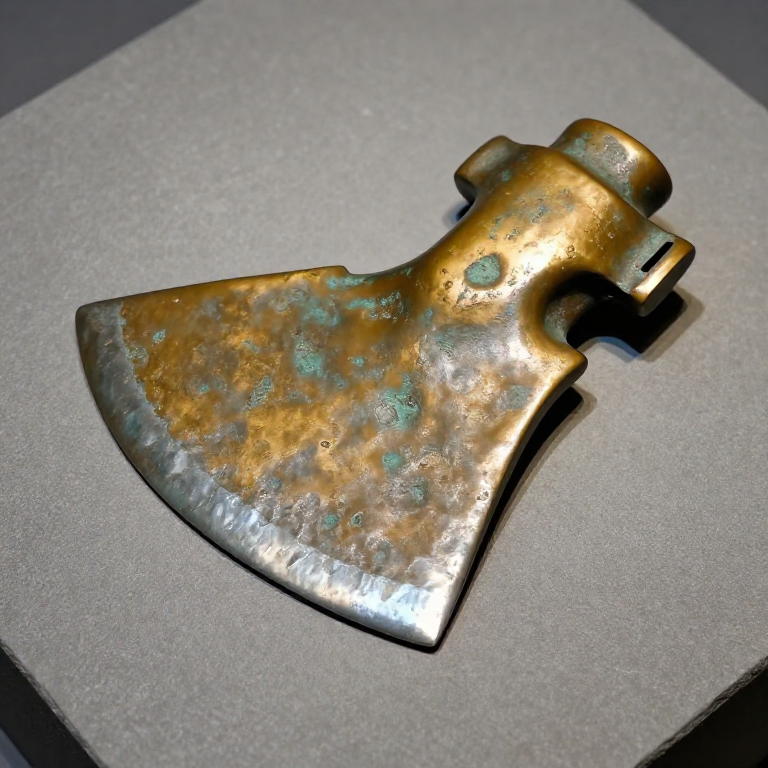
Casting a Bronze Sickle — The Harvesting Tool That Fed Civilisation
The bronze sickle was the tool that made large-scale grain agriculture possible. Its curved blade could cut a handful of wheat or barley stalks in a single sweeping motion — ten times faster than plucking individual seed heads by hand. When bronze sickles replaced flint-toothed sickles around 2000 BCE, a single farmer's harvest yield increased enough to feed several non-farming specialists, enabling the growth of cities, armies, and craft guilds.
The sickle is cast in a bivalve stone mould as a flat crescent blade with a tang for hafting. The inner (cutting) edge is cold-hammered and ground sharp while the outer edge remains thick for rigidity. The curved form naturally guides the stalks into the blade as the farmer sweeps through a stand of grain.
Archaeological examples show distinctive wear polish (sickle sheen) on the cutting edge from contact with silica-rich grass stems — a telltale sign that identifies even fragmentary bronze sickles in the archaeological record.
Anweisungen
Prepare the bivalve mould
Prepare the bivalve mould
Materialien für diesen Schritt:
 Soapstone Block (Steatite)2 Stück
Assemble and bind the mould
Assemble and bind the mould
Materialien für diesen Schritt:
 Rawhide Strips1 m
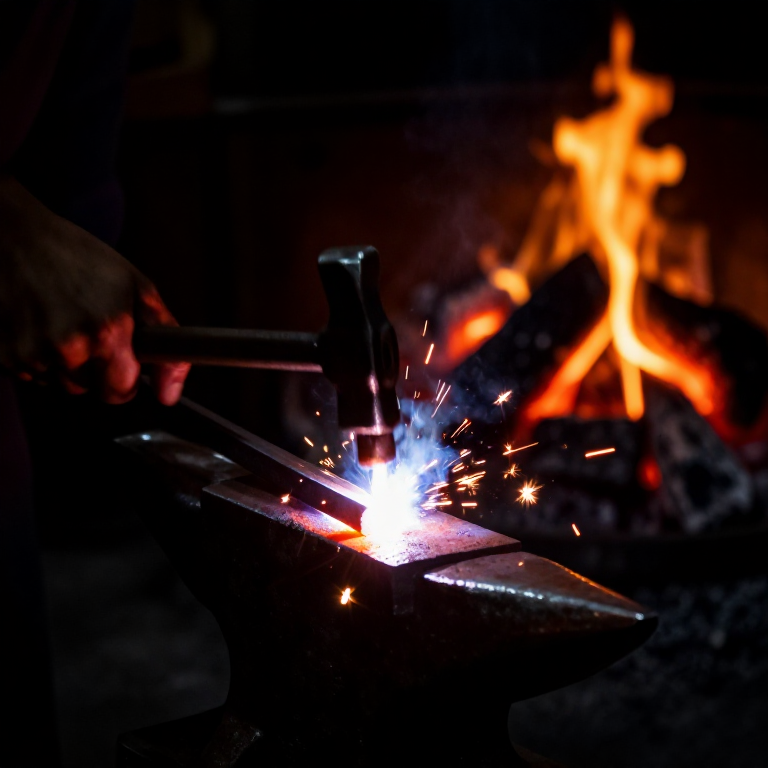
Melt and pour the bronze
Melt and pour the bronze
Materialien für diesen Schritt:
 Charcoal3 kg
Benötigte Werkzeuge:
 Crucible Tongs (long-handled)
Cool, demould, and remove sprue
Cool, demould, and remove sprue
Materialien für diesen Schritt:
 Sandstone (Abrasive)1 Stück
Cold-hammer the cutting edge
Cold-hammer the cutting edge
Benötigte Werkzeuge:
 Hammerstone
 Flat Stone Slab
Grind and sharpen
Grind and sharpen
Materialien für diesen Schritt:
 Whetstone1 Stück
Shape the wooden handle
Shape the wooden handle
Haft the sickle and secure
Haft the sickle and secure
Materialien
5- 2 StückPlatzhalter
- Platzhalter
- 1 StückPlatzhalter
Benötigte Werkzeuge
3- Platzhalter
- Platzhalter
- Platzhalter
Materialien verbundener Blueprints
Verwandte Blueprints
Diese Blueprints teilen Wissen — Techniken, Materialien oder Prinzipien
Related blueprints
Other builds that share materials, tools, or techniques with this one.


CC0 Gemeinfrei
Dieser Blueprint ist unter CC0 veröffentlicht. Sie dürfen dieses Werk für jeden Zweck frei kopieren, ändern, verbreiten und verwenden, ohne um Erlaubnis zu fragen.
Unterstützen Sie den Maker, indem Sie Produkte über seinen Blueprint kaufen, wo er eine Maker-Provision von Anbietern festgelegt, verdient. Oder erstellen Sie eine neue Iteration dieses Blueprints und verbinden Sie ihn in Ihrem eigenen Blueprint, um Einnahmen zu teilen.