
Making a Bronze Awl — The Leatherworker's Piercing Tool
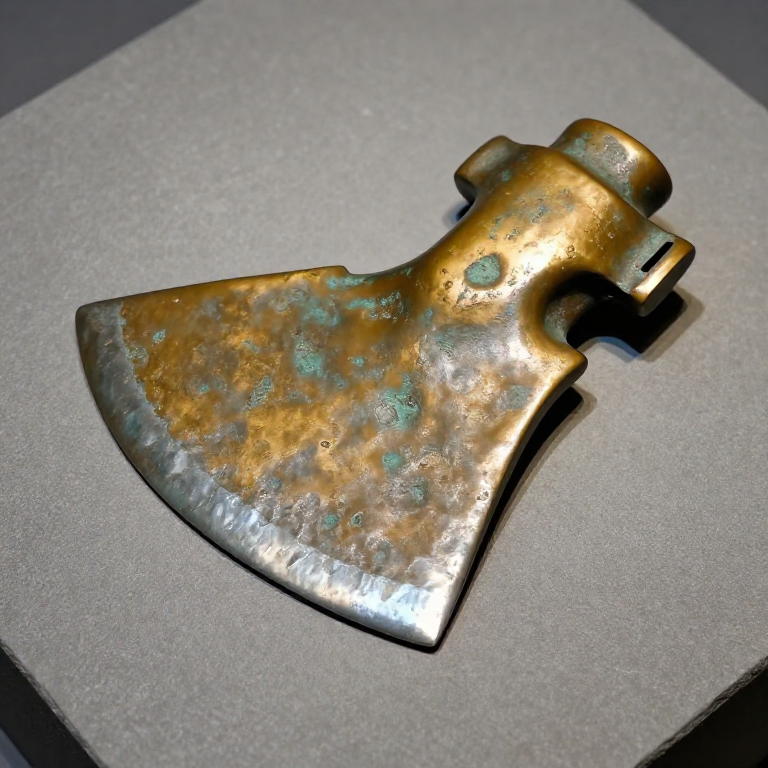
The awl is one of the oldest and simplest metal tools — a pointed bronze rod set into a handle, used to punch holes in leather, wood, and bark. Bronze awls appeared alongside the earliest copper tools and remained essential through the entire Bronze Age because no other tool could make a clean, round hole in thick leather for stitching.
An awl is cast as a simple rod in an open stone groove, then one end is hammered to a sharp conical point while the other end is left blunt and set into a wooden or antler handle. The simplicity of the form belies its importance: without the awl, there are no leather bags, no stitched hide clothing, no bound book covers, and no harness for draught animals.
Anweisungen
Cast a bronze rod
Cast a bronze rod
Materialien für diesen Schritt:
 Copper Sheet (0.5-1mm)36 g
Hammer the point
Hammer the point
Benötigte Werkzeuge:
 Hammerstone
 Flat Stone Slab
Shape the tang
Shape the tang
Sharpen and polish the point
Sharpen and polish the point
Materialien für diesen Schritt:
 Whetstone1 Stück
 Fine Sand50 g
Make the handle
Make the handle
Set the awl into the handle
Set the awl into the handle
Materialien
3- Platzhalter
Benötigte Werkzeuge
2- Platzhalter
- Platzhalter
Materialien verbundener Blueprints
Verwandte Blueprints
Diese Blueprints teilen Wissen — Techniken, Materialien oder Prinzipien
Related blueprints
Other builds that share materials, tools, or techniques with this one.


CC0 Gemeinfrei
Dieser Blueprint ist unter CC0 veröffentlicht. Sie dürfen dieses Werk für jeden Zweck frei kopieren, ändern, verbreiten und verwenden, ohne um Erlaubnis zu fragen.
Unterstützen Sie den Maker, indem Sie Produkte über seinen Blueprint kaufen, wo er eine Maker-Provision von Anbietern festgelegt, verdient. Oder erstellen Sie eine neue Iteration dieses Blueprints und verbinden Sie ihn in Ihrem eigenen Blueprint, um Einnahmen zu teilen.