ARTE
BELLEZA Y BIENESTAR
ARTESANÍA
CULTURA E HISTORIA
ENTRETENIMIENTO
MEDIO AMBIENTE
COMIDA Y BEBIDAS
INGENIERÍA INVERSA
CIENCIAS
DEPORTES
TECNOLOGÍA
TECNOLOGÍA VESTIBLE

Air-Pump Tube Dasher: A Tube Over a Loose Plunger Pumps Air at Every Stroke
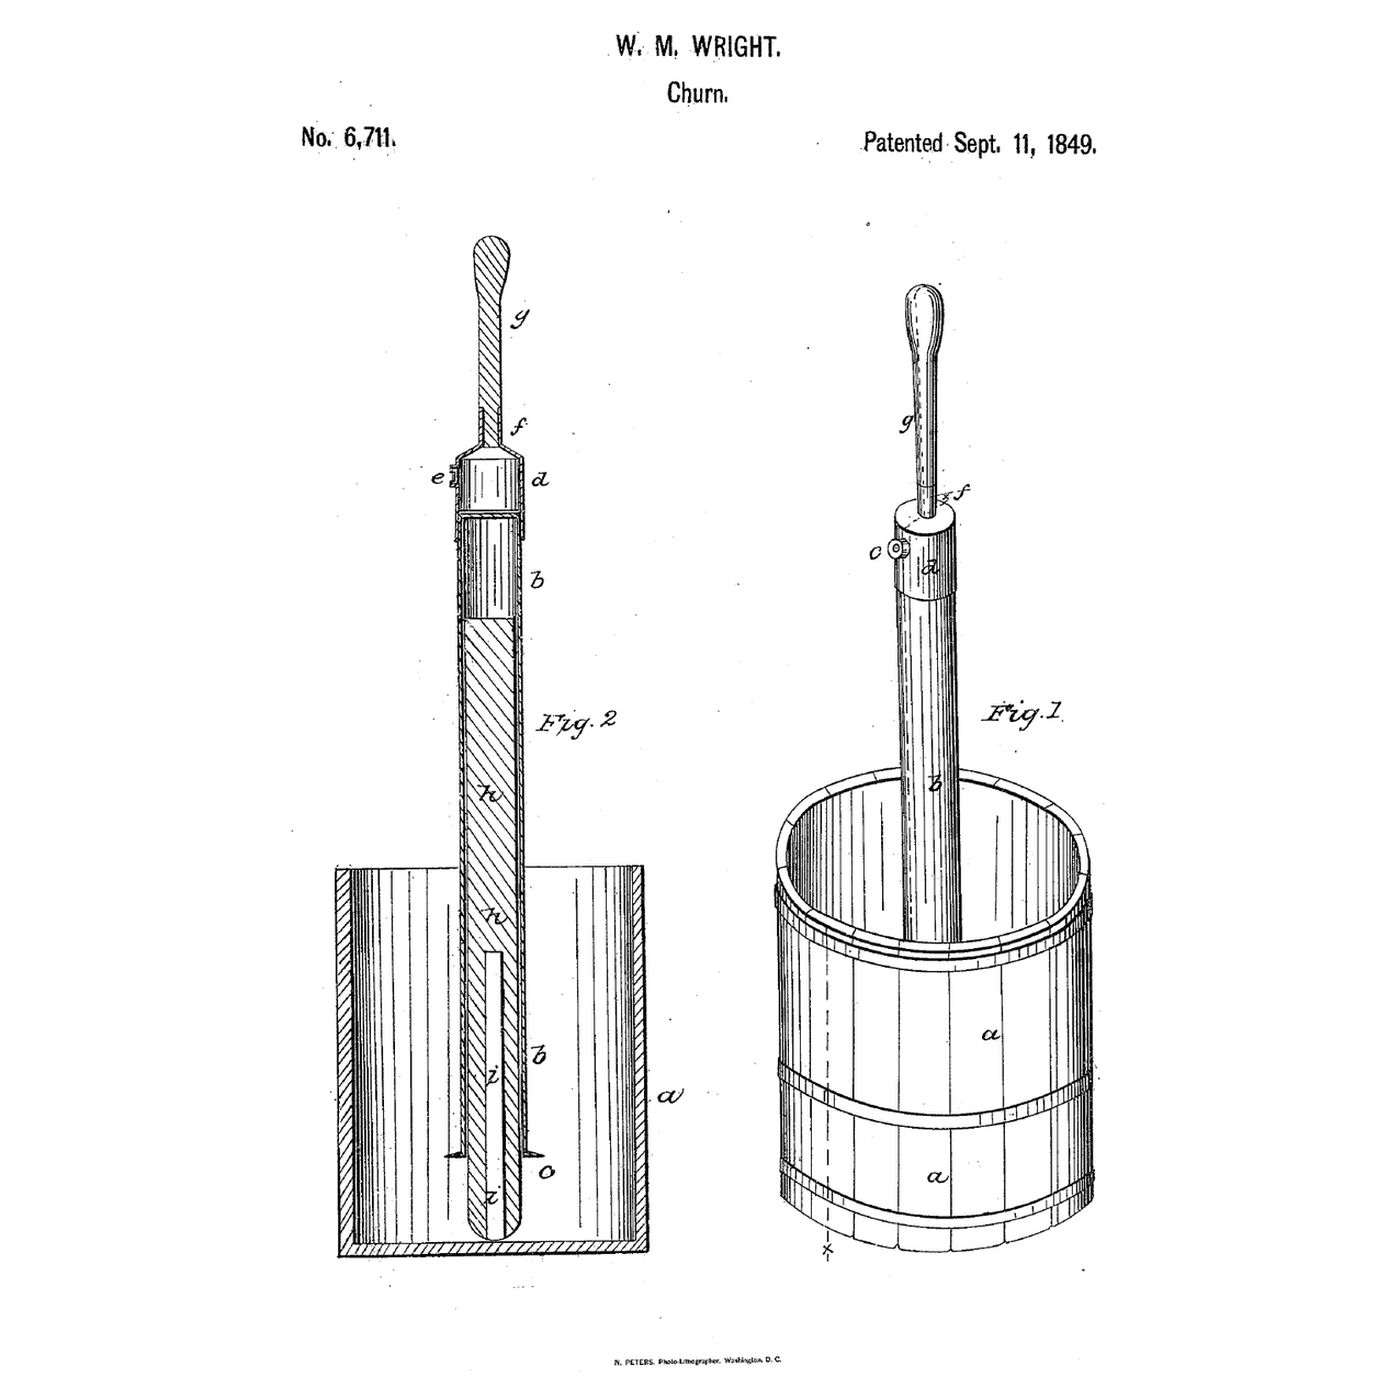
Wright wanted a hand dasher that "will operate as an air pump to force a stream of air into the cream at the same time that it agitates it."
William M. Wright of Pittsburgh, Pennsylvania, received US 6,711, dated 11 September 1849, for an atmospheric churn-dasher: a tube of tinned sheet iron with a flange on its lower end, a cap with a valve opening inward, and a handle; inside, a loose cylinder of wood weighted at its lower end rests on the bottom of the tub as a plunger. Worked like a common dasher in "almost any ordinary pail or dairy vessel," it discharges air among the cream on each descent and refills on each ascent.
This rung works out the air per stroke, then prints the cap, flange and plunger, assembles them on a pipe, and makes butter in a pail.
Principiante
About 1 hour, plus printing
Instrucciones
1
1
Air per stroke
Air per stroke
Cargando el cuaderno de Jupyter…
2
2
A dash closing over a fixed block before it
A dash closing over a fixed block before it
The embedded blueprint squeezes air from a hollow dash over a block fixed to the churn. Wright's plunger is loose, so it needs no fixing at all.
3
3
Read US 6,711
Read US 6,711
"From the fact of the piston resting loosely upon the bottom of the tub, and being capable of moving about and occupying a vertical or inclined position as may best suit the convenience of the operator, and also from the facility with which it and the dasher may be removed from the churn tub and cleaned, and from the simplicity of all the parts being a guarantee against their getting out of order, this apparatus is applicable to churning cream in either large or small quantities."
4
4
Print the parts
Print the parts
Print the cap with its side valve port and handle socket, the foot flange, and the plunger, whose foot has a pocket for a steel weight. Print in PETG at 0.2 mm layers, 30 % infill, 4 walls; wash before first use.
Materiales para este paso:
 Filamento PETG1 pieza
Herramientas necesarias:
 Impresora 3D de filamento (FDM)
5
5
Print the cap
6
6
Print the flange
Print the flange
The flange, printed as step 4 describes.
7
7
Print the plunger
Print the plunger
The plunger, printed as step 4 describes.
8
8
Valve and weight
Valve and weight
Glue a small leather flap inside the cap over the valve port, along its top edge only, so air enters and cannot leave. Glue an M10 carriage bolt into the plunger's pocket, so it sinks in cream as he weighted his with metal.
Materiales para este paso:
 Tira de cuero1 pieza
 Tornillo de carruaje1 pieza
 Epoxi de dos componentes1 pieza
Herramientas necesarias:
 Juego de destornilladores
9
9
Assemble
Assemble
Cut 300 mm of 50 mm pipe. Push the flange onto its foot and the cap onto its top, and glue a hardwood dowel handle in the cap's socket. Stand the plunger in a tall food-grade bucket and lower the tube over it.
Materiales para este paso:
 Tubo de PVC1 pieza
 Espigas de madera dura1 pieza
 Cubo de 20 litros1 piezaEpoxi de dos componentes1 pieza
Herramientas necesarias:
 Sierra para metales
 Papel de lija
10
10
The build in 3D
The build in 3D
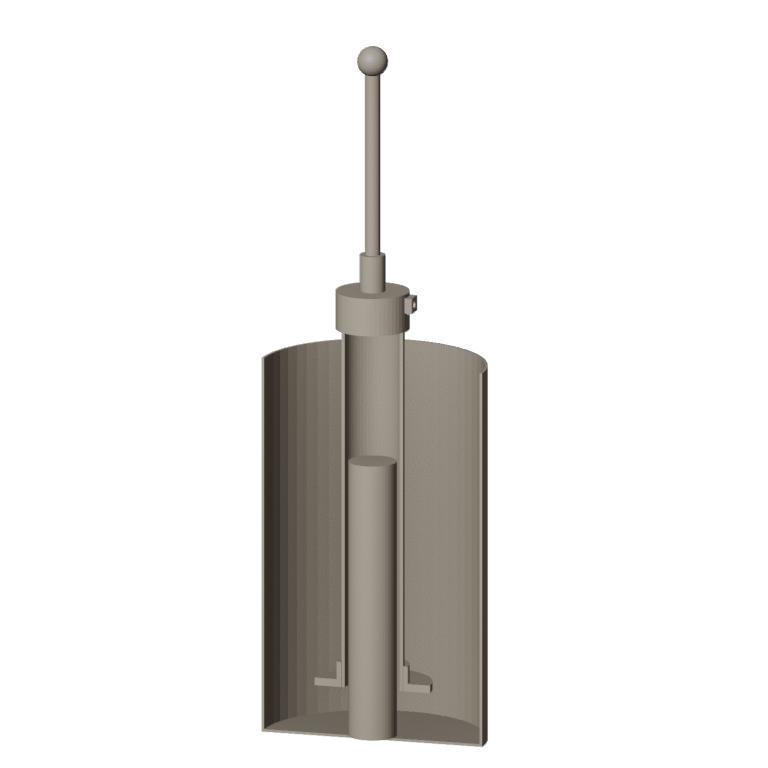
FreeCAD model of this build, not of the patent: the pail, tube and flange cut away to show the loose weighted plunger standing on the bottom inside the tube, the cap with its valve, and the handle.
11
11
Dash and make butter
Dash and make butter
Let the heavy cream stand until it reaches about 15 °C, checked with the thermometer. Pour in 2 litres. Work the tube up and down over the plunger; bubbles should burst from under the flange on each down-stroke. Time until the butter comes. Pour off the buttermilk, add cold water, churn a little and pour off again until it runs clear; work in a pinch of salt and weigh the butter.
Materiales para este paso:
 Crema de leche espesa2000 ml
 Sal marina gruesa1 pieza
 Agua1 pieza
Herramientas necesarias:
 Termómetro de sonda permanente
 Cronómetro
 Báscula digital de cocina
 Bol grande de acero inoxidable
12
12
No bubbles, a plunger that floats
No bubbles, a plunger that floats
Air-pump tube dasher troubleshooting.
Flow
Loading...
13
13
History and honest limits
History and honest limits
**William M. Wright** of Pittsburgh, Allegheny County, Pennsylvania, received US 6,711, dated 11 September 1849. The plunger was to be "specifically heavier than cream," or wood weighted with a plug of metal; the tub could be any pail, "particularly, if it be deep in comparison with its width." He claimed the combination of the loose plunger with the tubular dasher.
**Honest limits.** A pipe and printed parts stand in for his tinned sheet-iron tube; use a food-grade pipe. FDM prints hold food in their layer lines, so wash well and replace when worn. Your times and weights are the result.
Materiales
10- 1 piezaMarcador de posición
- 1 piezaMarcador de posición
- 1 piezaMarcador de posición
- 2 piezasMarcador de posición
- 1 piezaMarcador de posición
- 1 piezaMarcador de posición
- 1 piezaMarcador de posición
- 2000 mlMarcador de posición
- 1 piezaMarcador de posición
- 1 piezaMarcador de posición
Herramientas requeridas
8- Marcador de posición
- Marcador de posición
- Marcador de posición
- Marcador de posición
- Marcador de posición
- Marcador de posición
- Marcador de posición
- Marcador de posición
Archivos de diseño
4Este plano hace

Blueprints relacionados
Estos blueprints comparten conocimiento — técnicas, materiales o principios
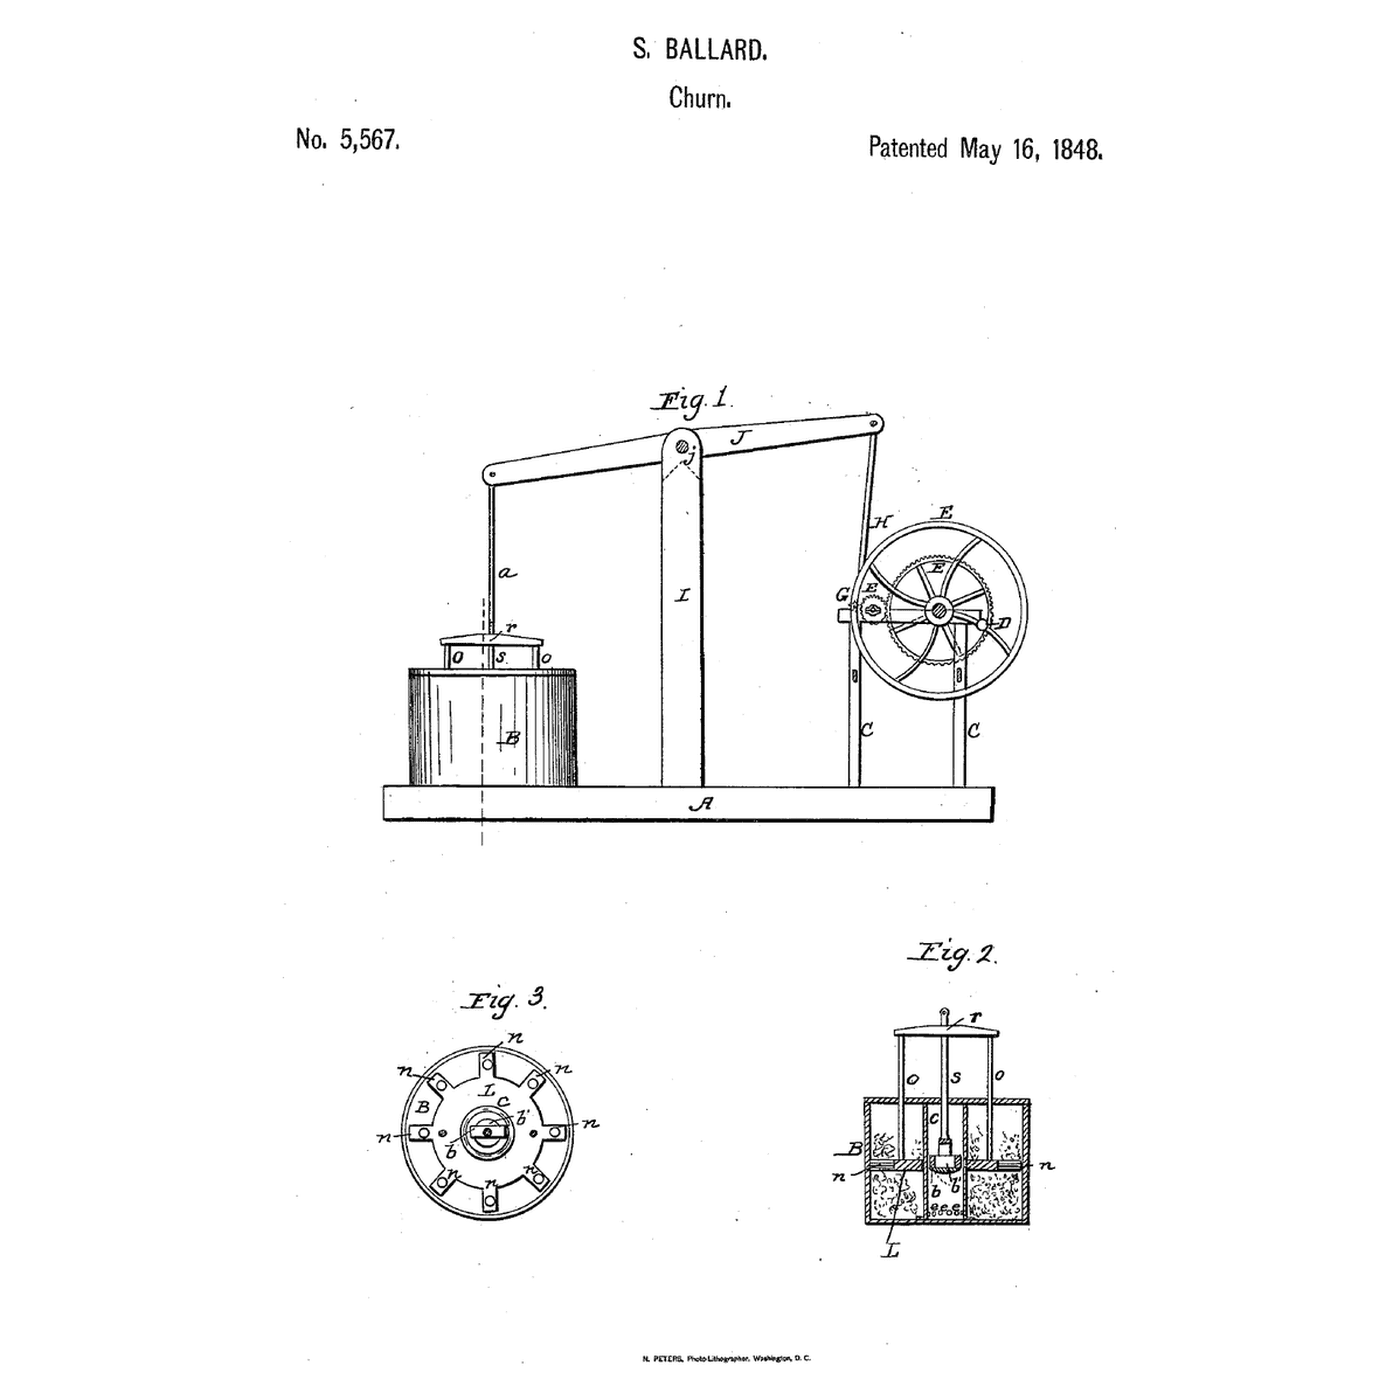
Air-Pump Annular Dasher Churn: A Pump in the Middle, a Ring Dasher Round It
por Martin
COMIDA Y BEBIDAS
32
0
0
0
0
0
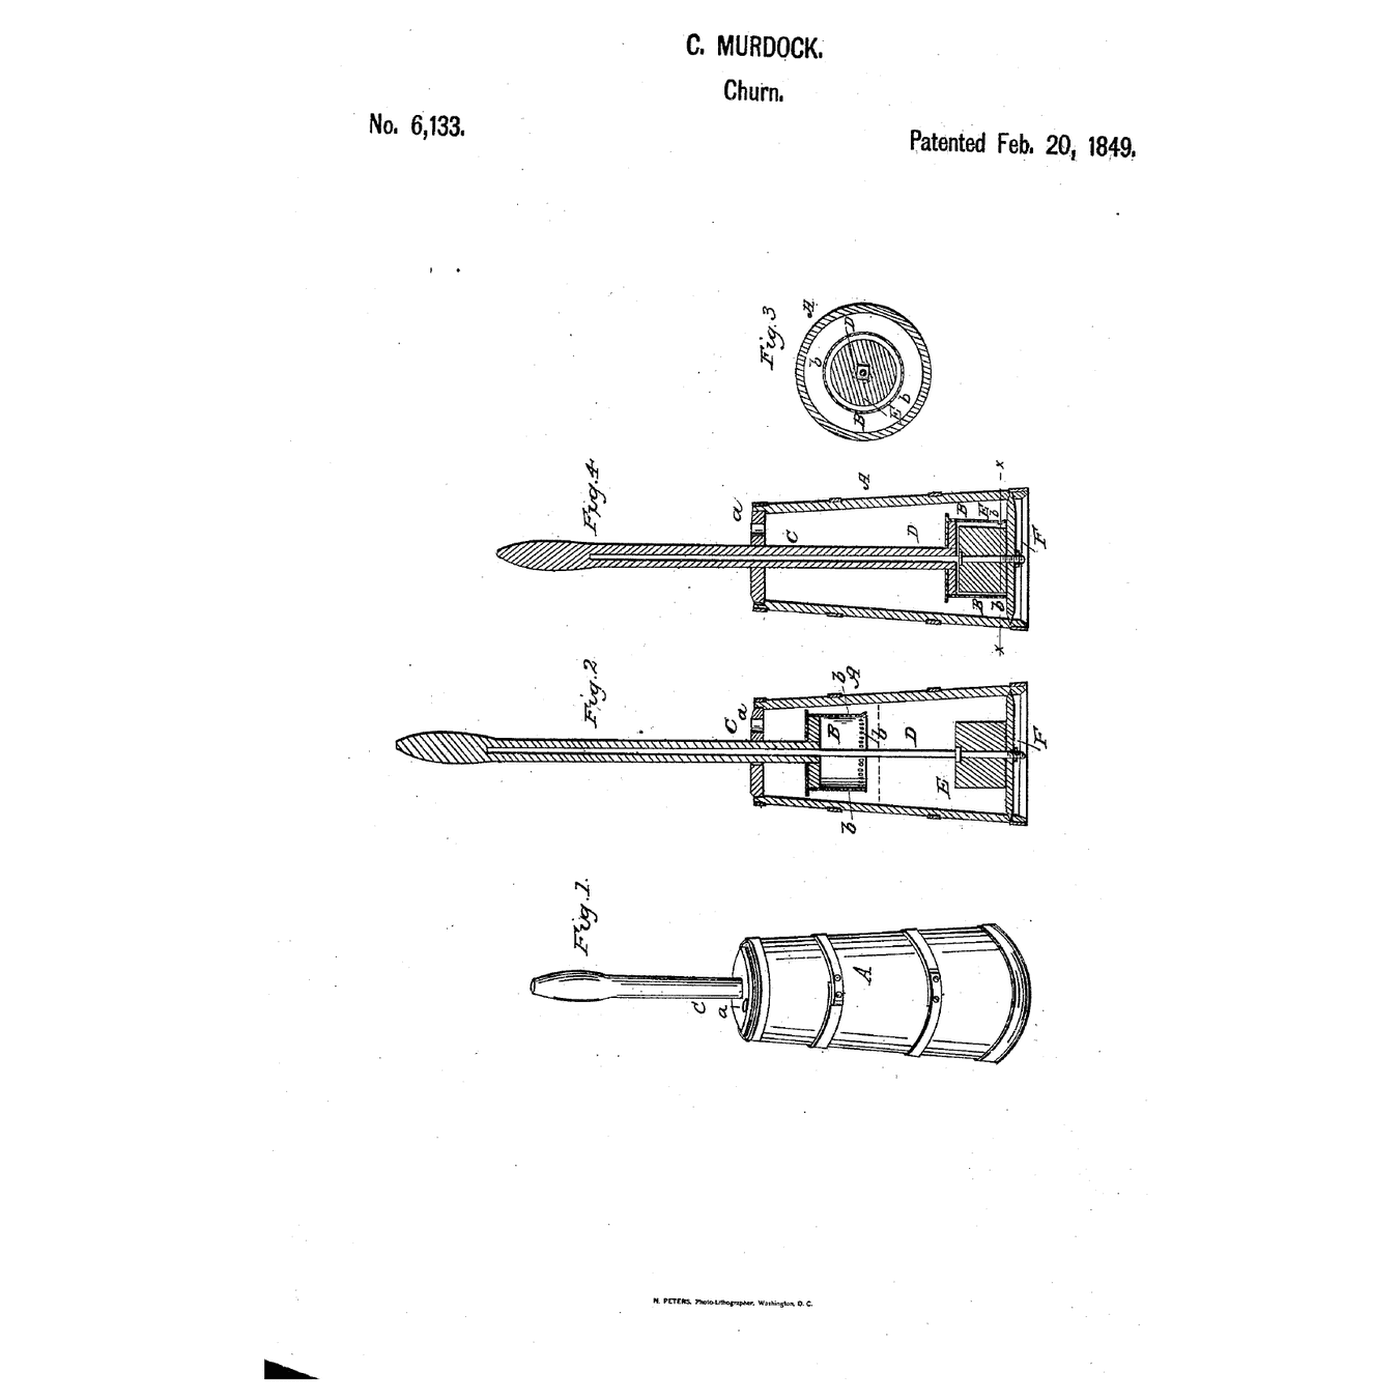
Trapped-Air Cylinder Dash Churn: A Hollow Dash That Squeezes Air Into the Cream
por Emma
COMIDA Y BEBIDAS
33
0
0
0
0
0
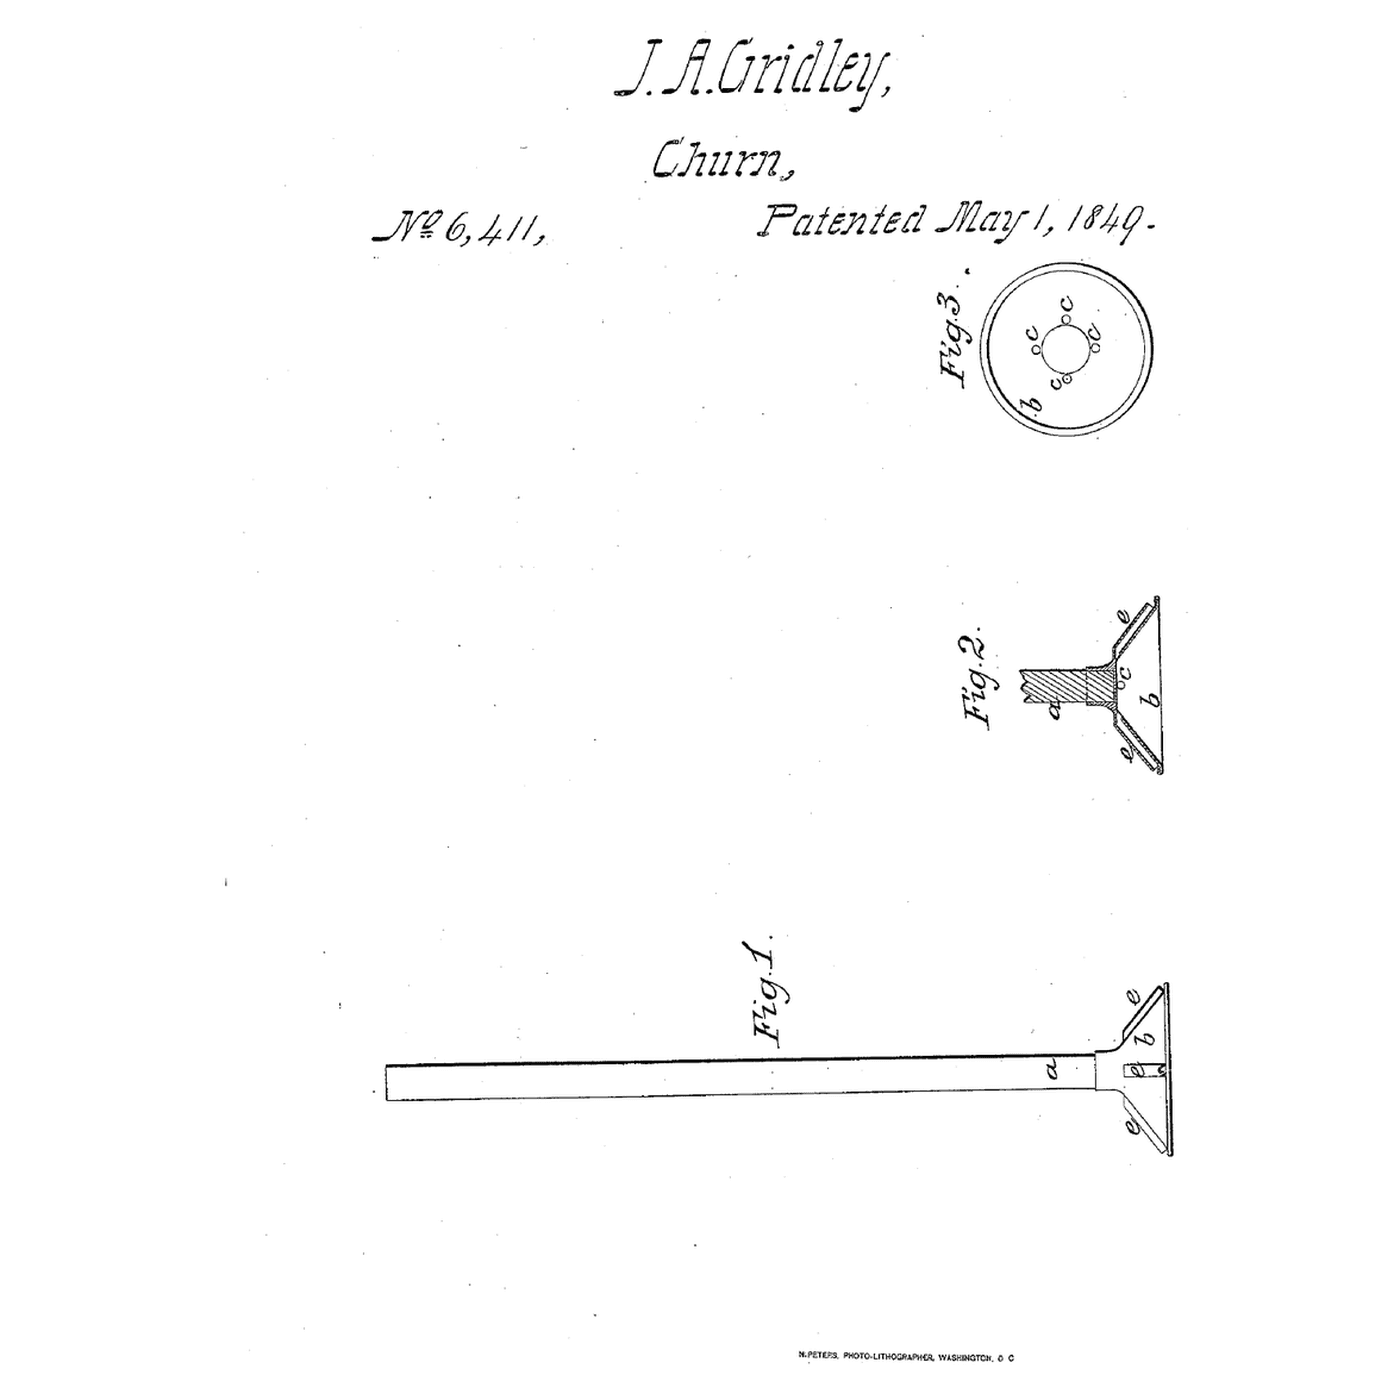
Valveless Cone Air Dasher: A Hollow Cone and Four Tubes, Nothing to Wear Out
por YourGrandma
COMIDA Y BEBIDAS
34
0
0
0
0
0
CC0 Dominio público
Este Blueprint se publica bajo CC0. Eres libre de copiar, modificar, distribuir y usar este trabajo para cualquier propósito, sin pedir permiso.
Apoya al Maker comprando productos a través de su Blueprint, donde gana una Comisión del Maker establecida por los vendedores, o crea una nueva iteración de este Blueprint e inclúyela como conexión en tu propio Blueprint para compartir ingresos.