
ARTE
BELLEZA Y BIENESTAR
ARTESANÍA
CULTURA E HISTORIA
ENTRETENIMIENTO
MEDIO AMBIENTE
COMIDA Y BEBIDAS
INGENIERÍA INVERSA
CIENCIAS
DEPORTES
TECNOLOGÍA
TECNOLOGÍA VESTIBLE
Lid-Hung Cutter Churn: Every Moving Part Lifts Out With the Lid
Martin

Creado por

Martin

6. octubre 2026NO
28
0
0
0
0

Lid-Hung Cutter Churn: Every Moving Part Lifts Out With the Lid

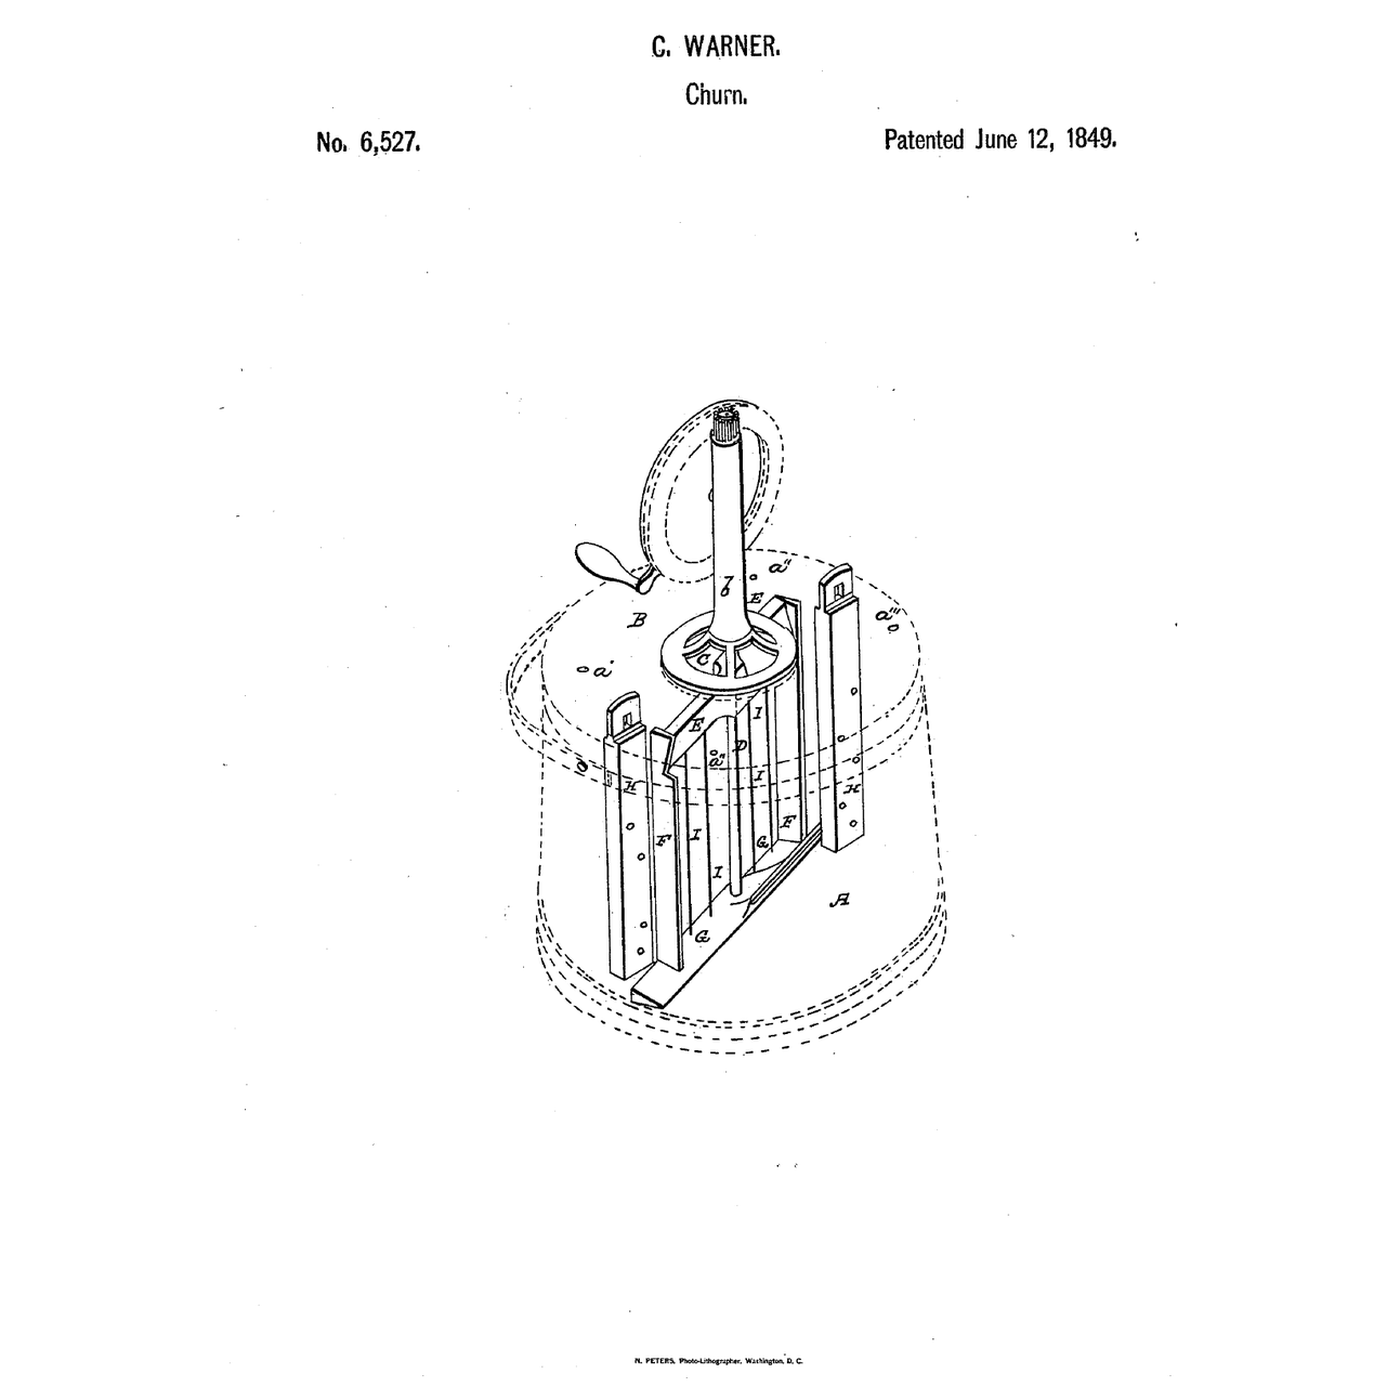
Warner found rotary dashers with "a step in the bottom of the churn for the end of the axis" hard to assemble with milk in the churn, easily broken if the axle missed its step, and hard to clean. Chapman Warner of Louisville, Kentucky, received US 6,527, dated 12 June 1849, for a churn whose vertical shaft and rotary dasher are suspended from the movable lid, with no pivot or step at the bottom. A hollow column on the lid carries two bearings; the dasher is a quadrangular frame of wings at the top, thin sharp vertical cutters, and cutting arms at the foot; fixed arms with holes hang from the lid to interrupt the cream's circular motion. This rung works out why the bearings sit far apart, then prints the column, rotor and breaker arms, hangs them from a pot lid, and makes butter.
Intermedio
About 4 hours, plus printing

Instrucciones

1

Why two bearings far apart

Cargando el cuaderno de Jupyter…
2

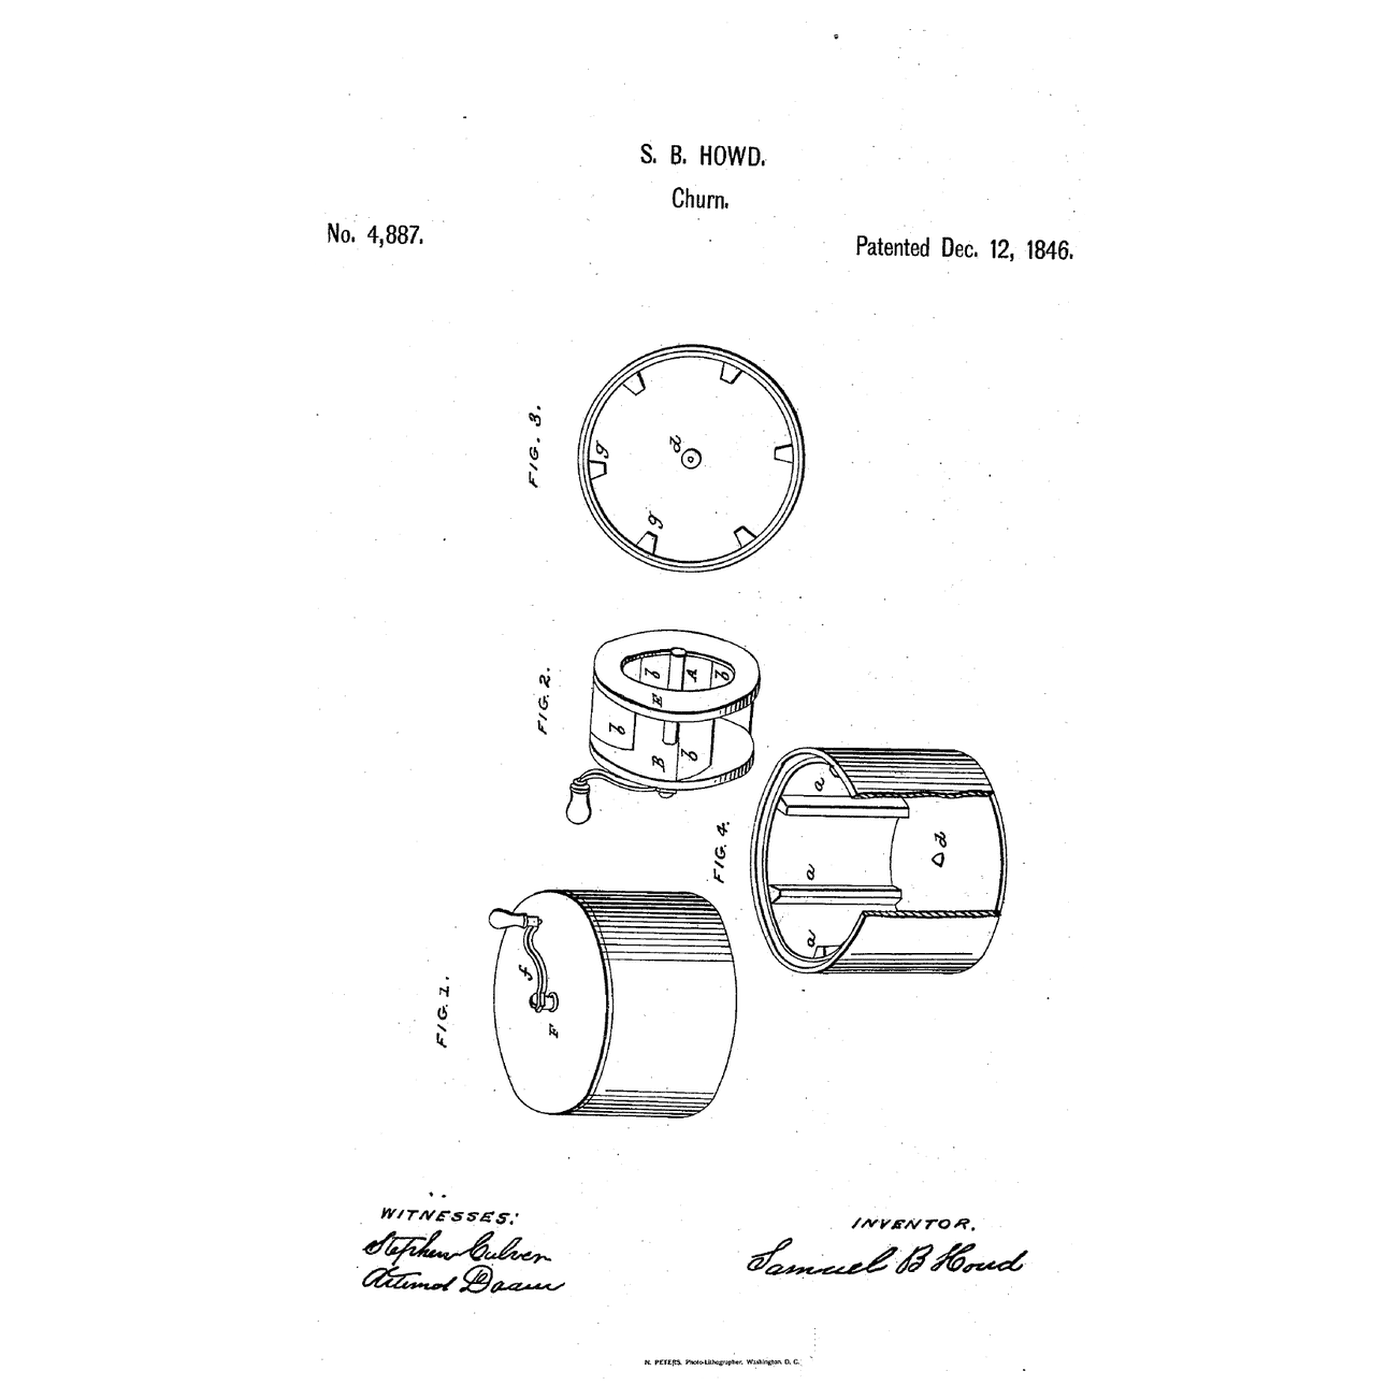
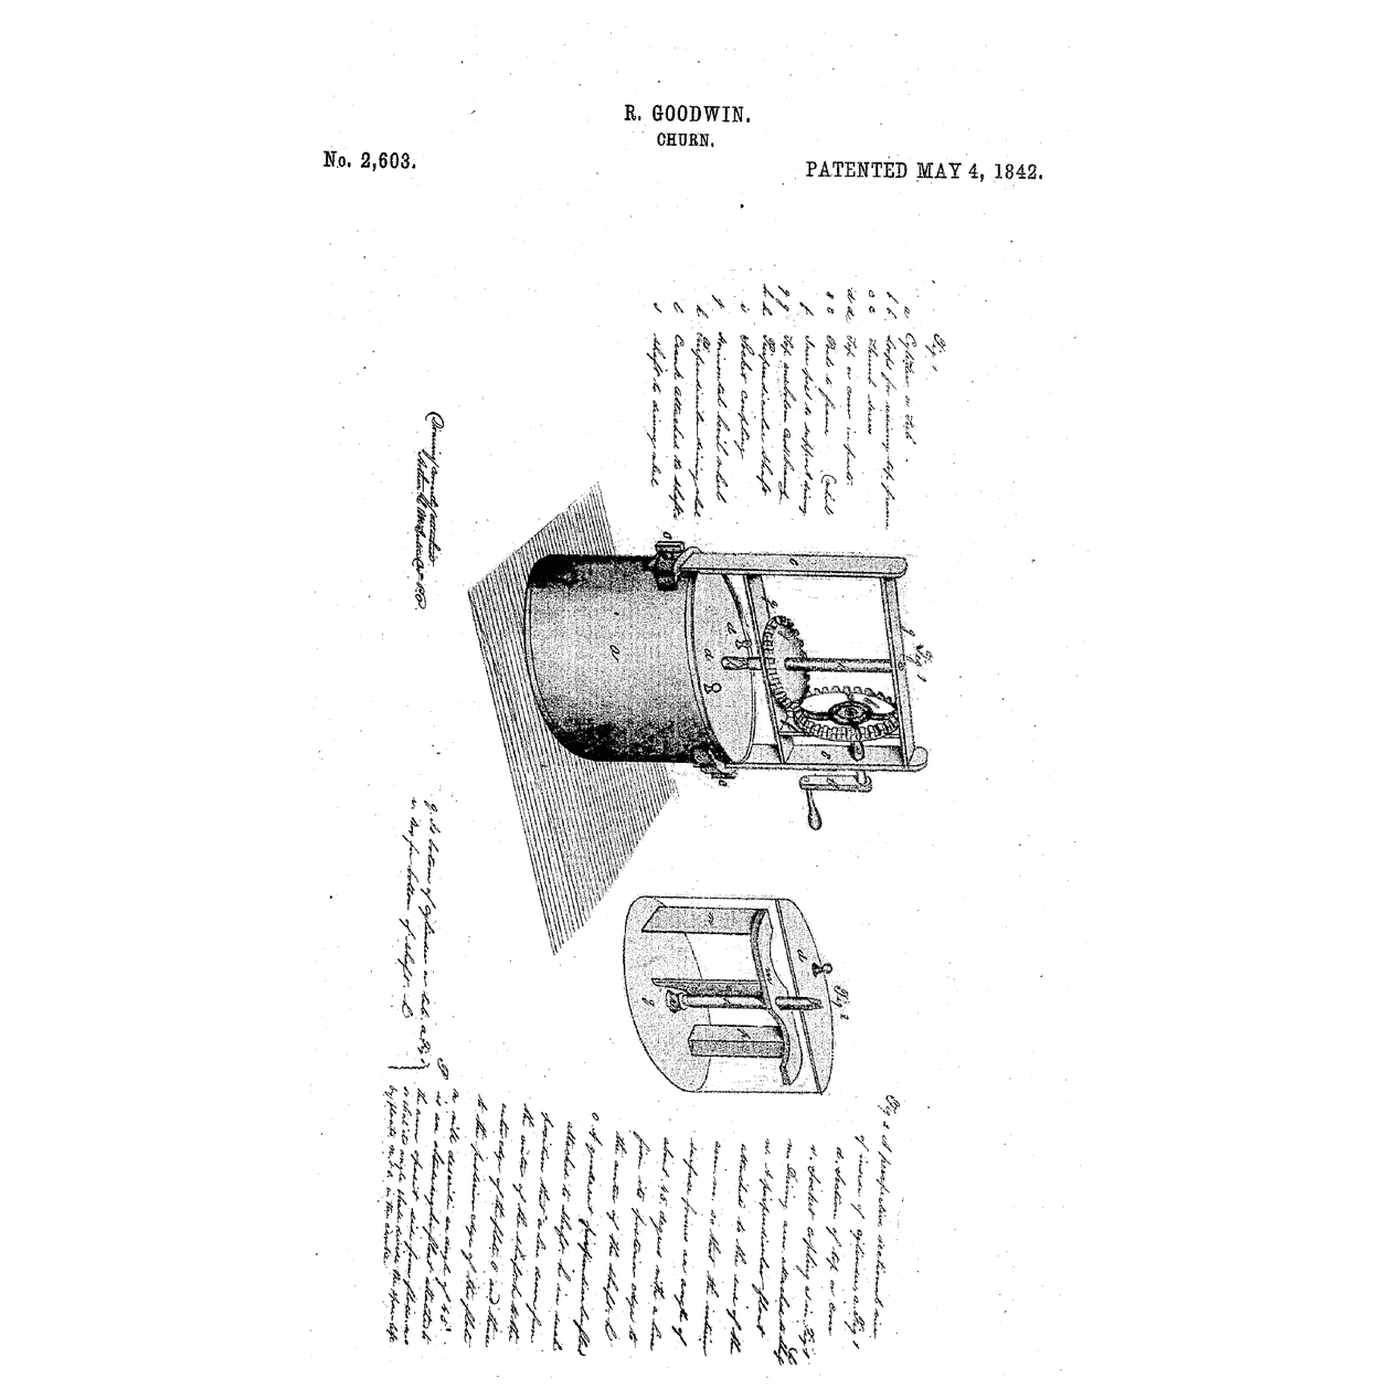
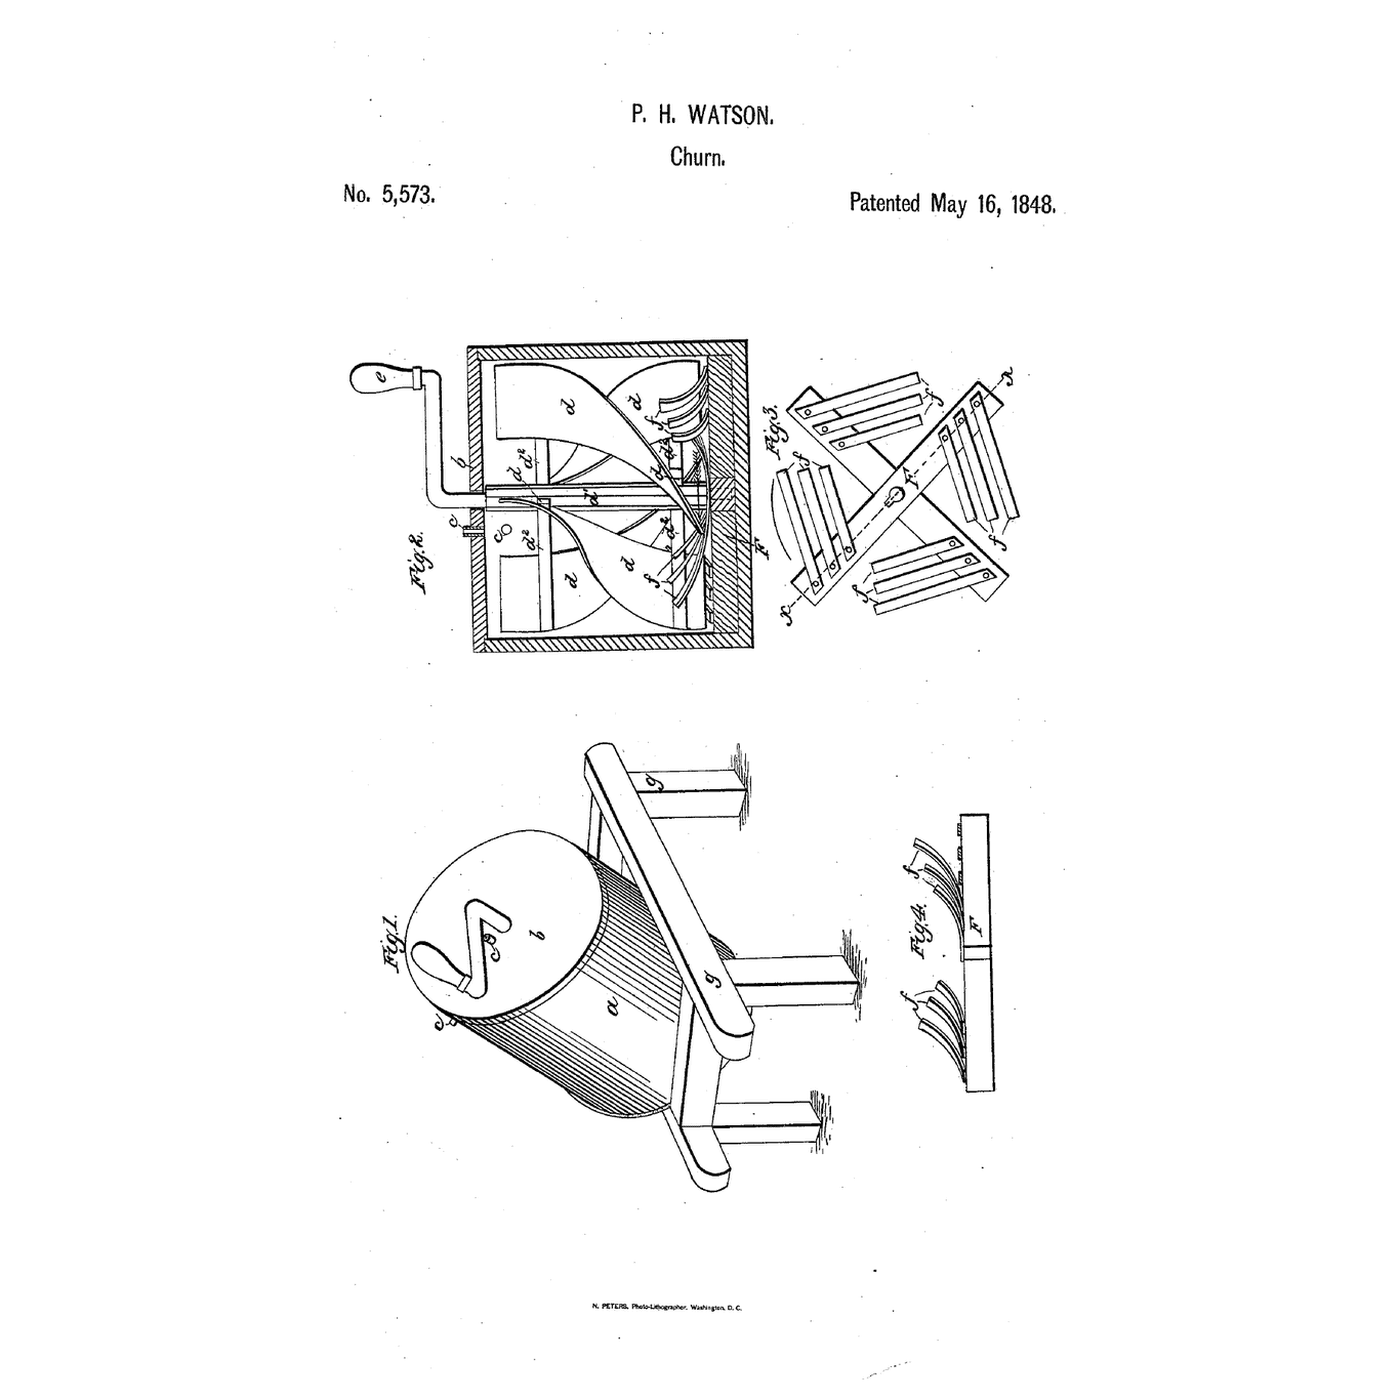
A stepped rotary dasher and breakers before it

The embedded blueprint steps its dasher on the bottom and fixes breakers to the tub. Warner hangs both dasher and breakers from the lid.
3

Read US 6,527

"Making the moving parts of the churn consisting of a vertical shaft and rotary dasher constructed substantially as above specified, to be suspended and combined with the movable lid B, as above described thereby dispensing with a pivot or step at the lower end of shaft for the purposes set forth so that said moving parts can be readily lifted from the churn and again be replaced."
4

Print the parts

Print the rotor on its side: wings, two sharp vertical cutters and cutting arms in one frame. Print the column, two breaker arms and the crank arm. Print in PETG at 0.2 mm layers, 30 % infill, 4 walls; wash before first use.

Materiales para este paso:

Filamento PETGFilamento PETG1 pieza

Herramientas necesarias:

Impresora 3D de filamento (FDM)Impresora 3D de filamento (FDM)
5

Print the rotor

The rotor, printed as step 4 describes.
Archivo de DisenoSTLCC0 - Free
6

Print the column

The column, printed as step 4 describes.
Archivo de DisenoSTLCC0 - Free
7

Print the breaker arm

The breaker arm, printed as step 4 describes.
Archivo de DisenoSTLCC0 - Free
8

Print the crank arm

The crank arm, printed as step 4 describes.
Archivo de DisenoSTLCC0 - Free
9

The lid

Cut a plywood lid to sit on a stock pot about 220 mm across. Drill its centre for the shaft, a hole near the centre for air, and small holes near its edge for air to escape. Screw the column on over the centre, and the two breaker arms underneath, opposite each other, near the rim.

Materiales para este paso:

Tablero contrachapadoTablero contrachapado1 pieza
Tornillo para madera n.º 8 x 1"Tornillo para madera n.º 8 x 1"1 pieza

Herramientas necesarias:

Segueta (sierra de marquetería)Segueta (sierra de marquetería)
Taladro inalámbricoTaladro inalámbrico
Juego de brocasJuego de brocas
Juego de destornilladoresJuego de destornilladores
10

Shaft and crank

Glue the rotor on a 10 mm square hardwood shaft, rounded where it runs in the column, so it reaches to within about 15 mm of the pot's bottom. Pass it up through the lid and column and glue the crank arm and a dowel handle on top.

Materiales para este paso:

Espigas de madera duraEspigas de madera dura1 pieza
Cola de carpinteroCola de carpintero1 pieza

Herramientas necesarias:

SerruchoSerrucho
Papel de lijaPapel de lija
11

The build in 3D

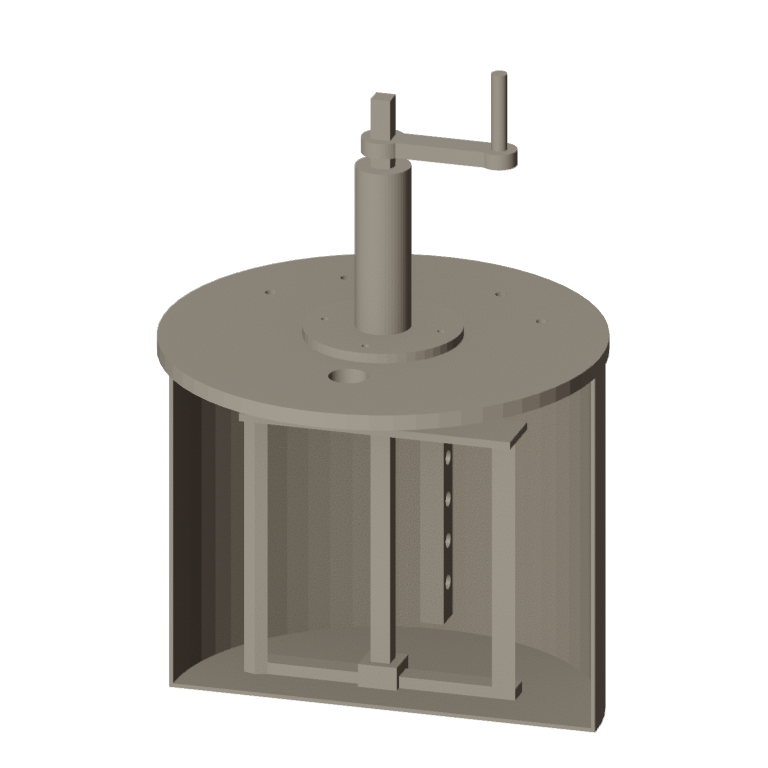
FreeCAD model of this build, not of the patent: the pot cut away to show the rotor frame hanging from the lid on its shaft, clear of the bottom, a breaker arm from the lid, the column with its two bearings, and the crank.
Archivo de DisenoBLENDCC0 - Free
12

Crank and make butter

Let the heavy cream stand until it reaches about 15 °C, checked with the thermometer. Pour in 1.5 litres. Set the lid on with its rotor and crank steadily, sharp edges leading; time until the butter comes. Lift lid and rotor out together, then pour off the buttermilk, add cold water, churn a little and pour off again until it runs clear; work in a pinch of salt and weigh the butter.
Paso 12 - Image 1

Materiales para este paso:

Crema de leche espesaCrema de leche espesa1500 ml
Sal marina gruesaSal marina gruesa1 pieza
AguaAgua1 pieza

Herramientas necesarias:

Termómetro de sonda permanenteTermómetro de sonda permanente
CronómetroCronómetro
Báscula digital de cocinaBáscula digital de cocina
Bol grande de acero inoxidableBol grande de acero inoxidable
13

A rotor that wobbles, cutters that strike

Lid-hung cutter churn troubleshooting.

Flow

Loading...
14

History and honest limits

**Chapman Warner** of Louisville, Jefferson County, Kentucky, received US 6,527, dated 12 June 1849. His column had an arm for a bevel wheel meshing a pinion on the shaft's top; the cutters were an inch wide, sharp in front and grooved behind; he suggested wires between the shaft and the cutters to spread air through the cream. **Honest limits.** Our crank turns the shaft directly, without his bevel wheel and pinion, and printed parts and a stock pot stand in for his. FDM prints hold food in their layer lines, so wash well and replace when worn. Your times and weights are the result.

Materiales

8

Herramientas requeridas

11

Archivos de diseño

5

CC0 Dominio público

Este Blueprint se publica bajo CC0. Eres libre de copiar, modificar, distribuir y usar este trabajo para cualquier propósito, sin pedir permiso.

Apoya al Maker comprando productos a través de su Blueprint, donde gana una Comisión del Maker establecida por los vendedores, o crea una nueva iteración de este Blueprint e inclúyela como conexión en tu propio Blueprint para compartir ingresos.

Discusión

(0)

Iniciar sesión para unirte a la discusión

Cargando comentarios...