ARTE
BELLEZA Y BIENESTAR
ARTESANÍA
CULTURA E HISTORIA
ENTRETENIMIENTO
MEDIO AMBIENTE
COMIDA Y BEBIDAS
INGENIERÍA INVERSA
CIENCIAS
DEPORTES
TECNOLOGÍA
TECNOLOGÍA VESTIBLE
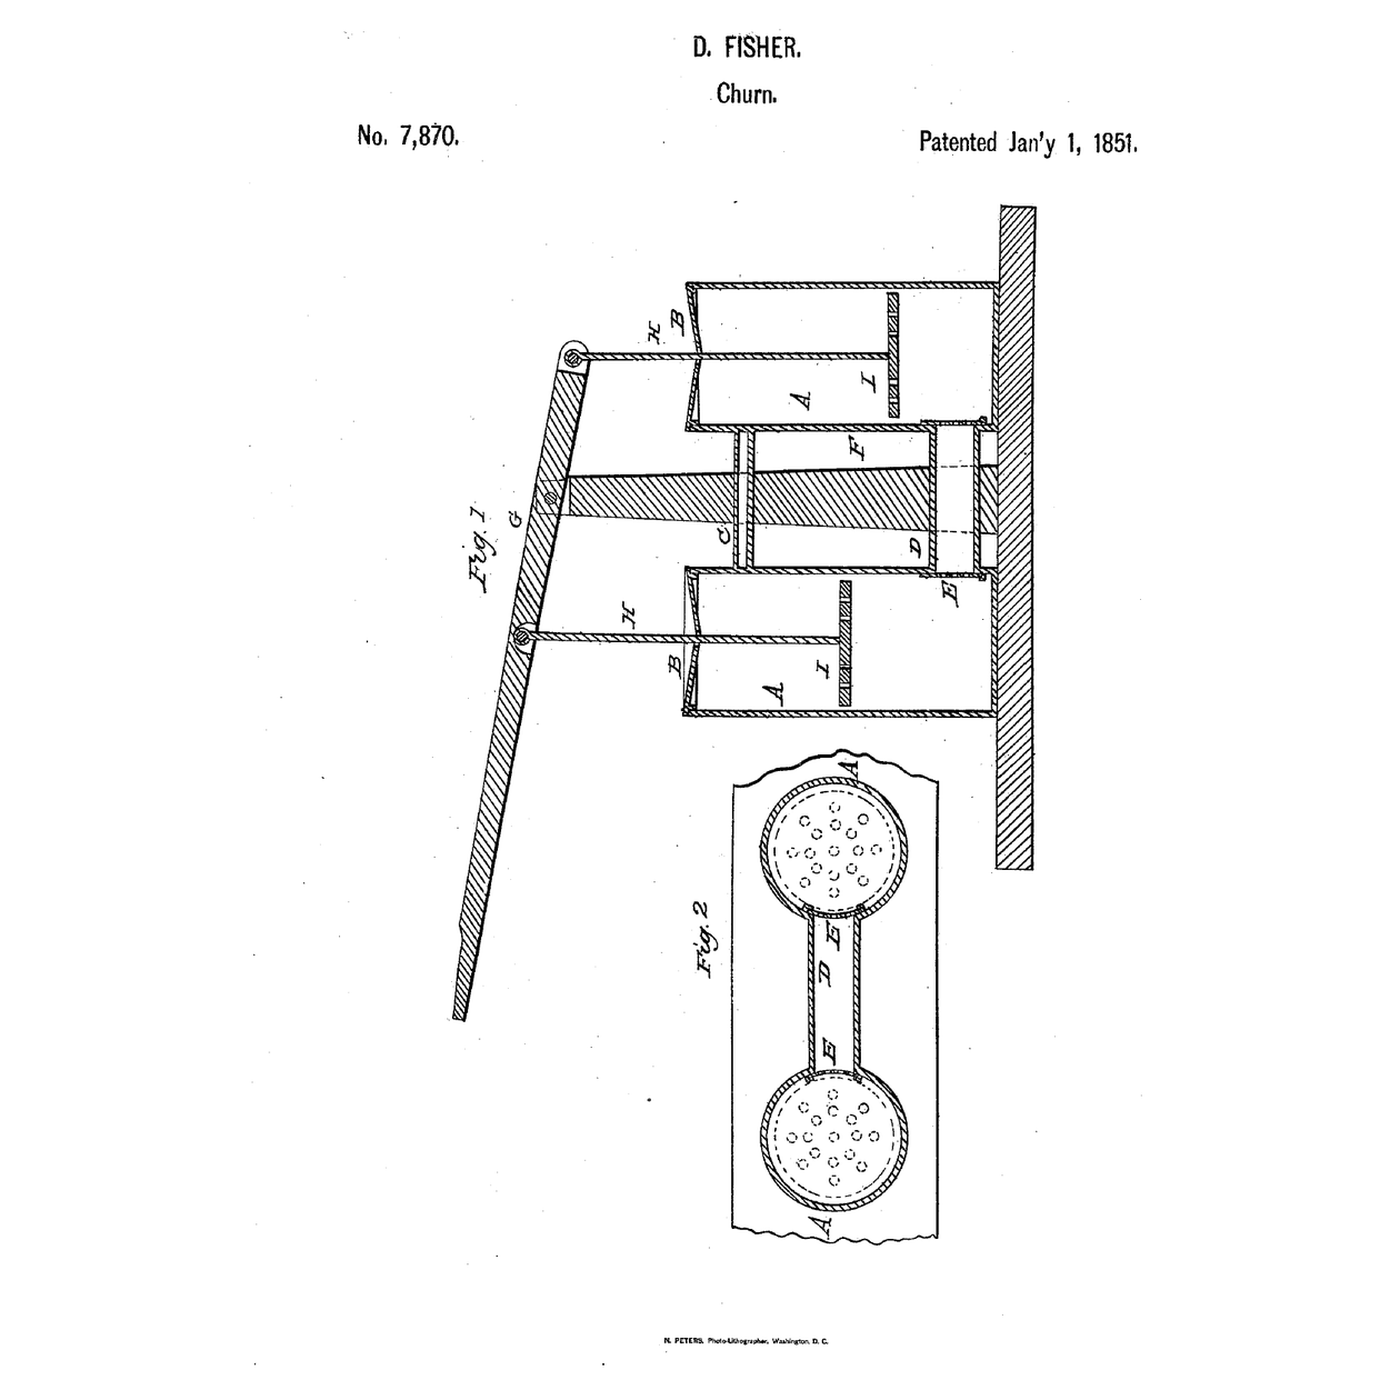

Twin-Cylinder Tube-Link Churn: Two Churns Pumped Into Each Other Through a Tube
Fisher knew double dasher churns already existed, so he claimed only what joined his two.
Daniel Fisher of College Corner, Ohio, received US 7,870, dated 1 January 1851, for "connecting two vertical churns by a horizontal tube at their bottoms ... (said tube being about ten inches long, and about one fifth of the capacity of one of the vertical cylinders) in combination with the perforated cutters E E." A lever on an upright between the cylinders works perforated plungers on two rods; the cream is "alternately forced through the openings in the segmental slides E and those in the pistons."
This rung checks the tube's proportion, then prints the tube, slides and plungers, joins two pots, and makes butter.
Intermedio
About 4 hours, plus printing
Instrucciones
1
1
The tube's proportion
The tube's proportion
Cargando el cuaderno de Jupyter…
2
2
Two plungers driving cream between chambers before it
Two plungers driving cream between chambers before it
The embedded blueprint drives cream through a middle chamber. Fisher's two churns are joined by a tube that fills with air.
3
3
Read US 7,870
Read US 7,870
"The perforated cutters answer the double purpose of cutting the cream in its passage to and fro and only allowing sufficient cream to enter through the perforations at each stroke of the dashers to keep the tube half full or thereabout, thereby creating a partial vacuum in the tube, which becomes filled with air."
4
4
Print the parts
Print the parts
Print the link tube with its flanges, two perforated segmental slides and two perforated plungers. Print in PETG at 0.2 mm layers, 30 % infill, 4 walls; wash before first use.
Materiales para este paso:
 Filamento PETG1 pieza
Herramientas necesarias:
 Impresora 3D de filamento (FDM)
5
5
Print the link tube
Print the link tube
The link tube, printed as step 4 describes.
6
6
Print the segmental slide
Print the segmental slide
The segmental slide, printed as step 4 describes.
7
7
Print the plunger
Print the plunger
The plunger, printed as step 4 describes.
8
8
Join the pots
Join the pots
Take two straight-sided food-safe containers about 110 mm across. Drill each low in its side for the tube, push the tube's ends through and seal the flanges with silicone. Glue two thin plywood strips inside each pot either side of the opening as grooves, and slide a perforated slide down them over the tube's mouth. Stand both on a pine plank.
Materiales para este paso:
 Recipiente de almacenaje de grado alimentario2 piezas
 Sellador de silicona1 pieza
 Tablero contrachapado1 pieza
 Tabla de pino1 pieza
Herramientas necesarias:
 Juego de coronas perforadoras
 Taladro inalámbrico
 Segueta (sierra de marquetería)
9
9
Lever and plungers
Lever and plungers
Screw a pine upright to the plank between the pots, rising above them, and pivot a pine lever on its top. Glue a 12 mm dowel rod in each plunger and join each to the lever on a loose screw, equally either side of the pivot.
Materiales para este paso:
Tabla de pino1 pieza Espigas de madera dura1 pieza
 Tornillos de máquina1 pieza
 Tuerca hexagonal1 pieza
 Cola de carpintero1 pieza
 Tornillo para madera n.º 8 x 1"1 pieza
Herramientas necesarias:
 SerruchoTaladro inalámbrico
 Juego de brocas
 Juego de destornilladores
10
10
The patent drawing
The patent drawing
US 7,870 drawing sheet, public domain (expired patent).
11
11
Pump and make butter
Pump and make butter
Let the heavy cream stand until it reaches about 15 °C, checked with the thermometer. Pour 1 litre into each pot. Work the lever up and down like a pump handle; time until the butter comes. Pour off the buttermilk, add cold water, churn a little and pour off again until it runs clear; work in a pinch of salt and weigh the butter.
Materiales para este paso:
 Crema de leche espesa2000 ml
 Sal marina gruesa1 pieza
 Agua1 pieza
Herramientas necesarias:
 Termómetro de sonda permanente
 Cronómetro
 Báscula digital de cocina
 Bol grande de acero inoxidable
12
12
Leaks at the tube, a lever that sticks
Leaks at the tube, a lever that sticks
Twin-cylinder tube-link troubleshooting.
Flow
Loading...
13
13
History and honest limits
History and honest limits
**Daniel Fisher** of College Corner, Butler County, Ohio, received US 7,870, dated 1 January 1851. His cylinders stood on a horizontal plank with movable covers tied together at top; he explained the butter by "the oxygen of the atmosphere"; that is his account.
**Honest limits.** Our tube is far smaller than his one fifth, as the notebook shows; printed parts and food-safe pots stand in for his. FDM prints hold food in their layer lines, so wash well and replace when worn. Your times and weights are the result.
Materiales
13- 1 piezaMarcador de posición
- Marcador de posición
- 1 piezaMarcador de posición
- 1 piezaMarcador de posición
- 1 piezaMarcador de posición
- 1 piezaMarcador de posición
- 1 piezaMarcador de posición
- 1 piezaMarcador de posición
- 1 piezaMarcador de posición
- Marcador de posición
- 2000 mlMarcador de posición
- 1 piezaMarcador de posición
- 1 piezaMarcador de posición
Herramientas requeridas
11- Marcador de posición
- Marcador de posición
- 1 vendor sell this, none ship to you yetMarcador de posición
- Marcador de posición
- Marcador de posición
- Marcador de posición
- Marcador de posición
- Marcador de posición
- Marcador de posición
- Marcador de posición
- Marcador de posición
Archivos de diseño
3Este plano hace

Blueprints relacionados
Estos blueprints comparten conocimiento — técnicas, materiales o principios
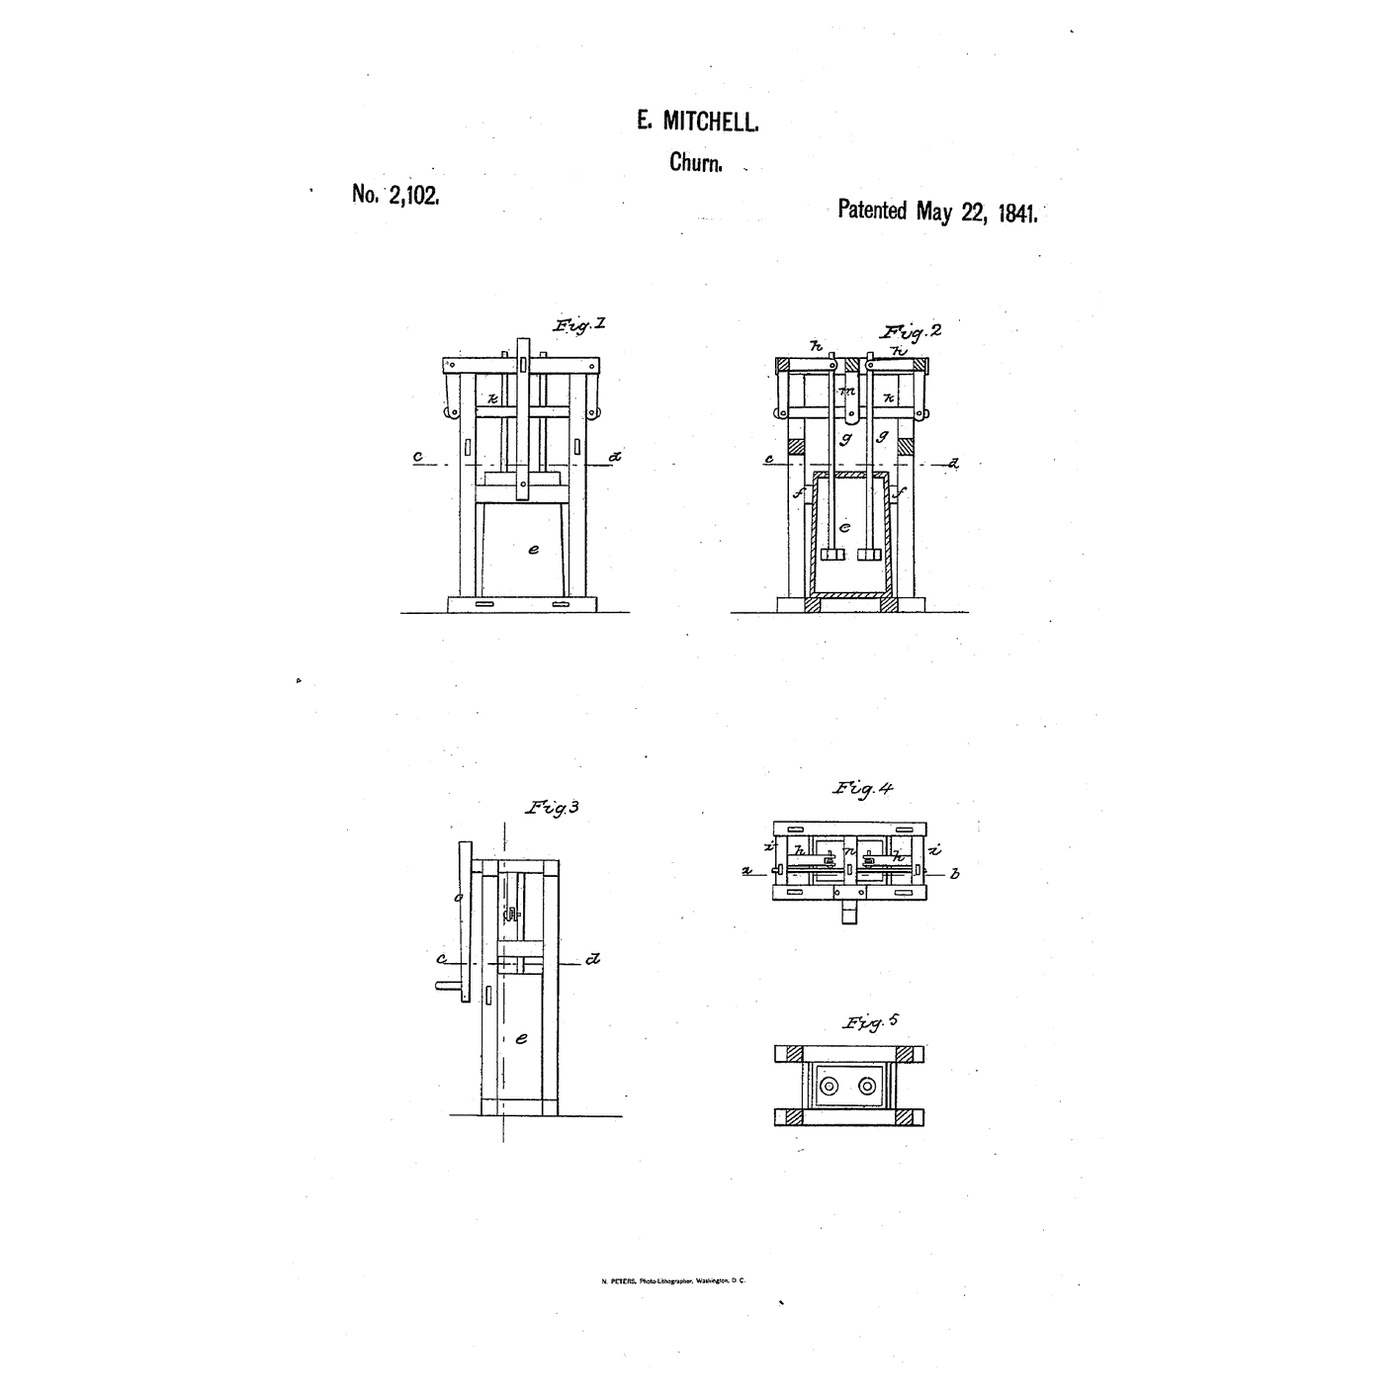
Double-Dasher Lever Churn: Swing One Lever, One Dasher Rises as the Other Falls
por Woody
Carpintería
36
0
0
0
0
0
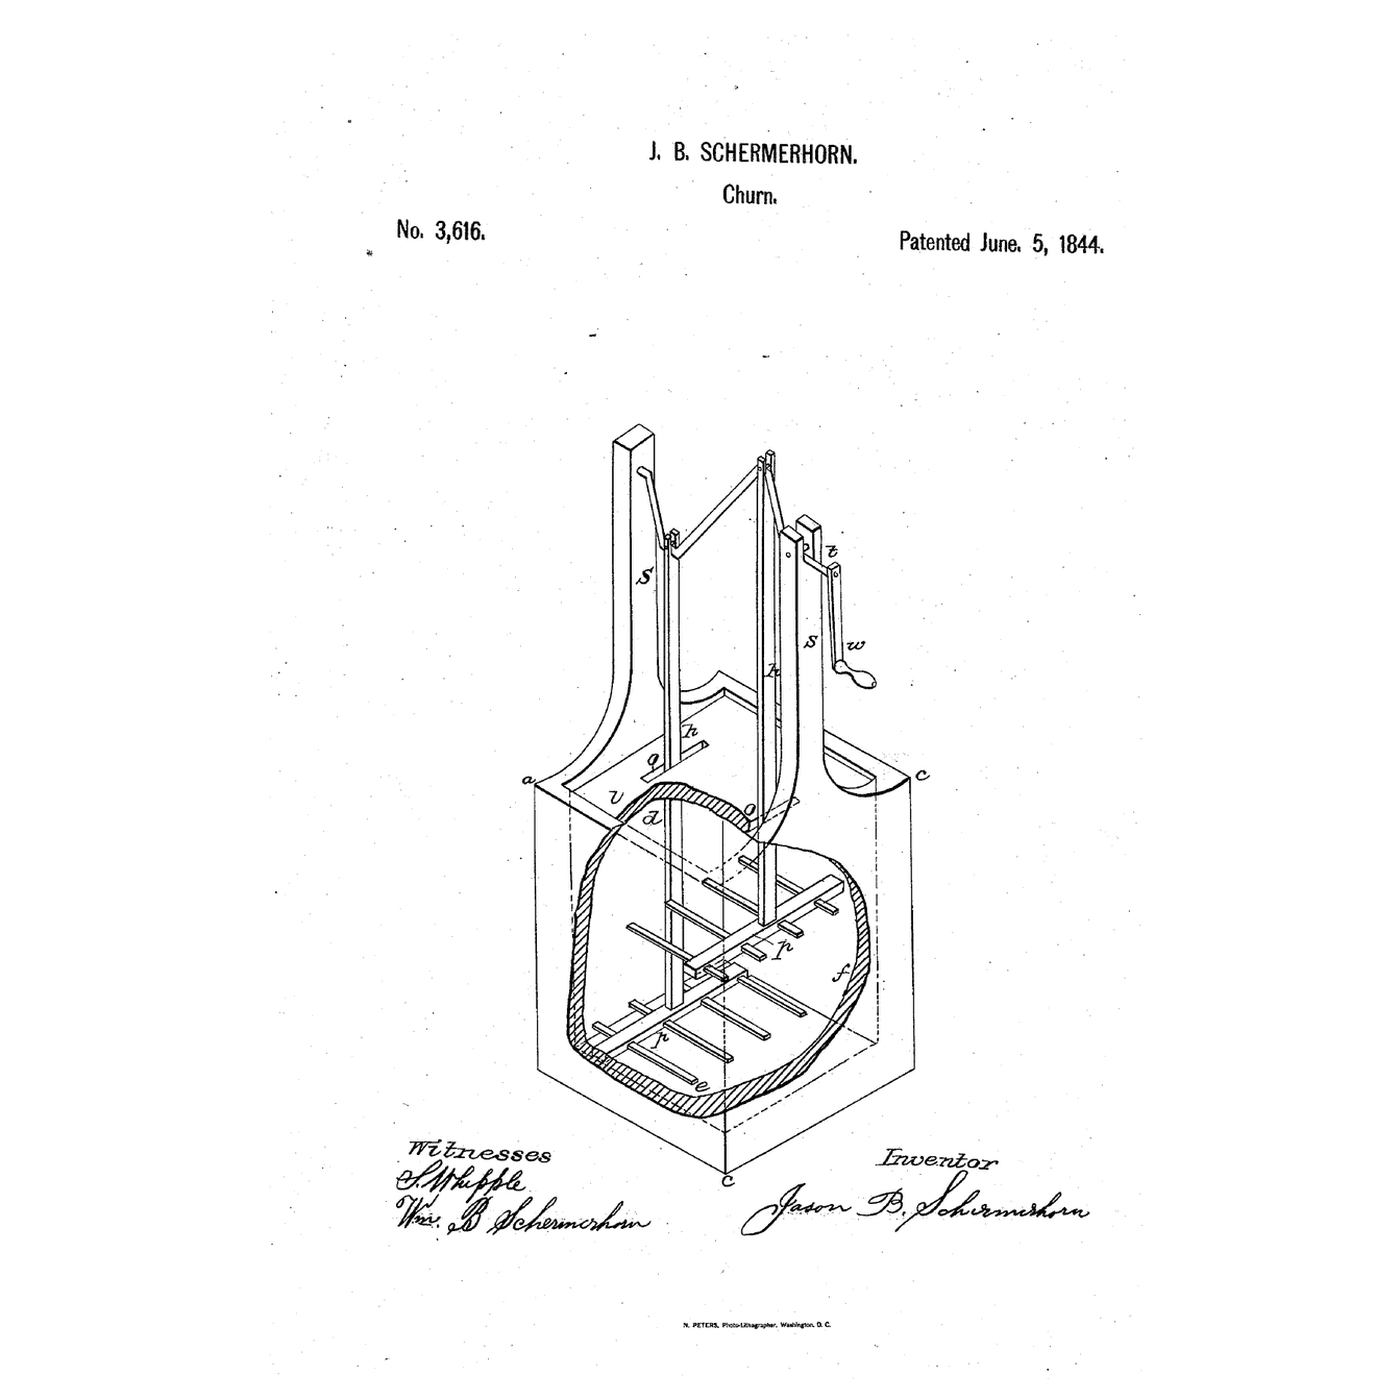
Interraking Plunger Churn: Two Rakes Worked Oppositely by a Double Crank
por Martin
COMIDA Y BEBIDAS
23
0
0
0
0
0
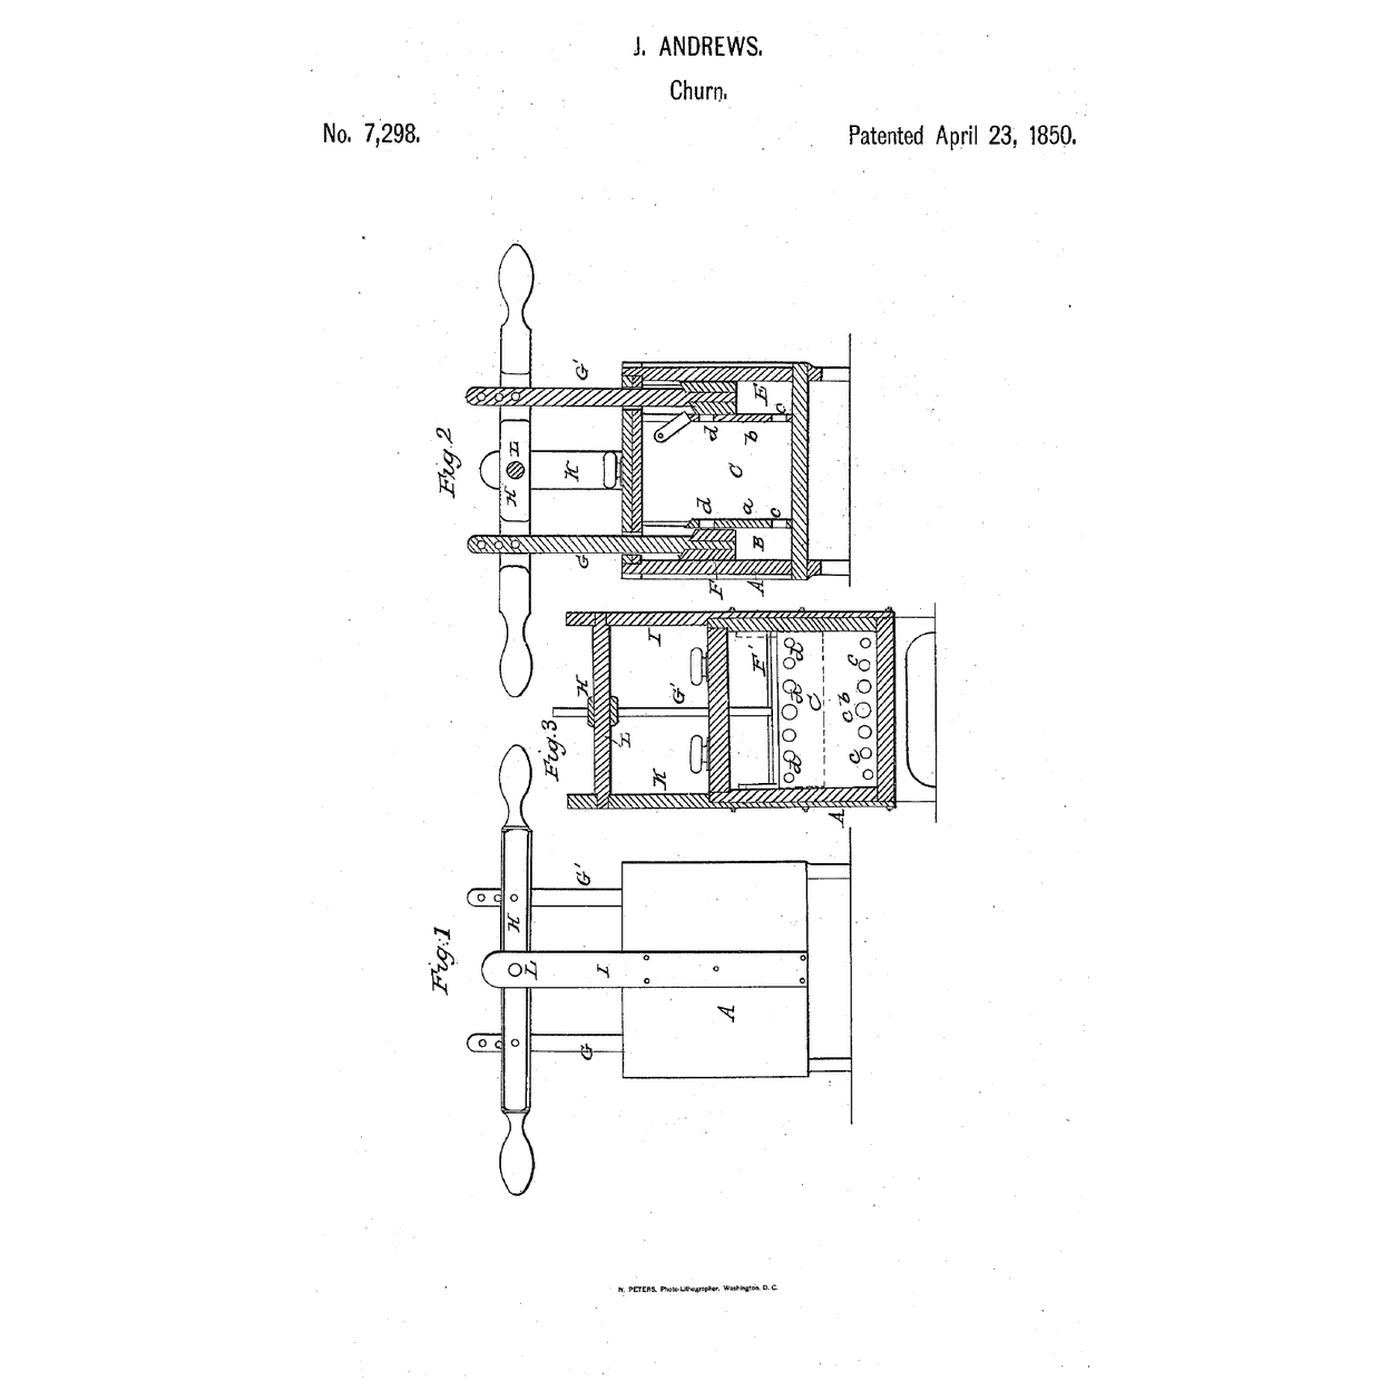
Twin-Plunger Air-Chamber Churn: Two Plungers Throw the Cream Through a Middle Chamber
por Emma
COMIDA Y BEBIDAS
32
0
0
0
0
0
CC0 Dominio público
Este Blueprint se publica bajo CC0. Eres libre de copiar, modificar, distribuir y usar este trabajo para cualquier propósito, sin pedir permiso.
Apoya al Maker comprando productos a través de su Blueprint, donde gana una Comisión del Maker establecida por los vendedores, o crea una nueva iteración de este Blueprint e inclúyela como conexión en tu propio Blueprint para compartir ingresos.