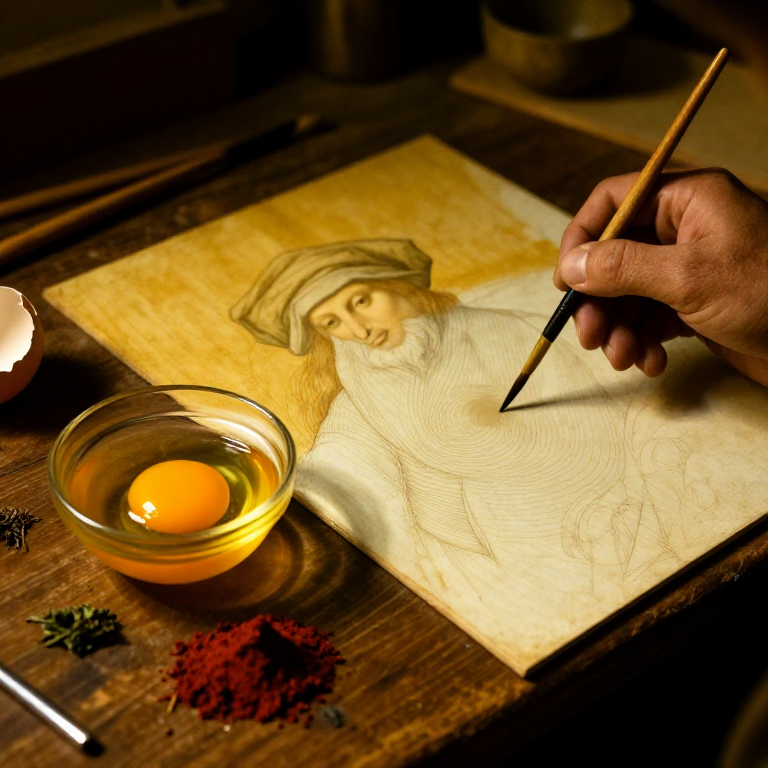

Making Egg Tempera Paint — The Medieval Panel Painting Medium
Instruksi
Separate the Egg Yolk
Separate the Egg Yolk
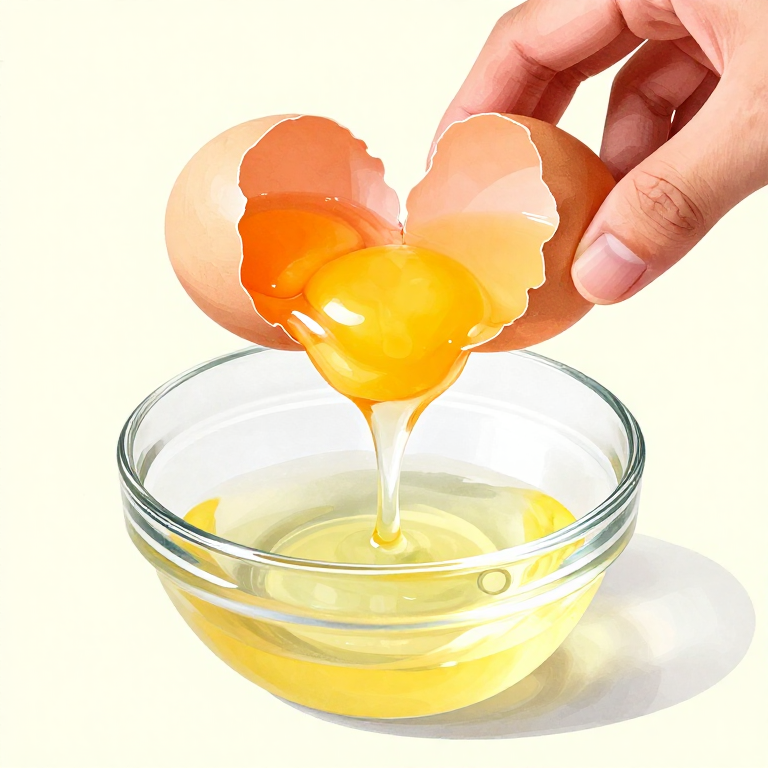
Crack the egg and separate the yolk from the white completely. Pass the yolk back and forth between your hands (or between the shell halves), letting the white drip away until only the yolk sac remains. The yolk sac is enclosed in a thin membrane — pick it up by pinching the membrane between your fingers and hold it over a clean container. Puncture the membrane with a pin or knife tip and let the yolk liquid drain into the container. Discard the membrane. The pure yolk liquid is your binder. The membrane must be removed because it creates lumps in the paint. One egg yolk produces enough binder for a typical painting session. Egg tempera must be mixed fresh daily — the yolk spoils within 24 hours at room temperature, and spoiled yolk produces weak, smelly paint.
Material untuk langkah ini:
 Telur2 buah
Alat yang dibutuhkan:
 Tisu dapur
Prepare the Pigment-Water Paste
Prepare the Pigment-Water Paste
For each colour you want to use, place a small amount of dry pigment powder (about 1 teaspoon) in a separate glass container. Wearing a dust mask, add a few drops of distilled water and stir with a palette knife or the handle of a brush to create a smooth, thick paste — like heavy cream in consistency. The water wets the pigment particles and eliminates the dust hazard. Each pigment behaves differently: earth pigments (ochres, siennas, umbers) wet easily and form smooth pastes readily; some synthetic pigments resist wetting and need more stirring. The paste should be free of dry lumps but not runny. If it is too thin, let it settle and pour off excess water. This pigment paste can be stored for hours or days in sealed containers — it is the egg yolk that has the short shelf life.
Material untuk langkah ini:
 Set Bubuk Pigmen Tanah1 set
 Air Suling100 ml
Alat yang dibutuhkan:
 Set pisau palet
 Masker Debu
Mix Pigment Paste with Egg Yolk
Mix Pigment Paste with Egg Yolk
Combine approximately equal volumes of pigment paste and egg yolk — a good starting ratio is 1 part yolk to 1 part pigment paste. Stir thoroughly with a brush or palette knife. The mixture should be a smooth, creamy liquid that flows easily from a brush. If it is too thick, add a few drops of water. If it is too thin and transparent, add more pigment paste. The egg yolk acts as both binder and emulsifier — it binds the pigment to the painting surface and creates a stable emulsion of oil droplets (from the yolk's natural lipids) in water. This emulsion is why egg tempera can be thinned with water while wet but becomes water-resistant when dry — the proteins denature and the oils polymerise, creating a permanent film.
Alat yang dibutuhkan:
 Set Stoples KacaSet pisau palet
Test the Paint on a Scrap Surface
Test the Paint on a Scrap Surface
Before painting your final piece, test each colour on a scrap of gessoed panel or paper. Apply a thin brushstroke and let it dry (1-5 minutes). Properly made egg tempera should dry to a smooth, matte film with good colour saturation. Scratch the dry paint gently with a fingernail — it should resist scratching and not powder off. If the paint is chalky and powdery when dry, there is not enough egg yolk (add more yolk). If the paint is glossy and sticky, there is too much yolk (add more pigment paste). If the paint cracks as it dries, the layer is too thick — egg tempera must be applied in thin layers, not thick impasto. Egg tempera darkens slightly as it dries because the refractive index changes, so the wet colour will not exactly match the dry colour.
Alat yang dibutuhkan:
 Set kuas seniman
Apply Paint in Thin Layers (Glazing)
Apply Paint in Thin Layers (Glazing)
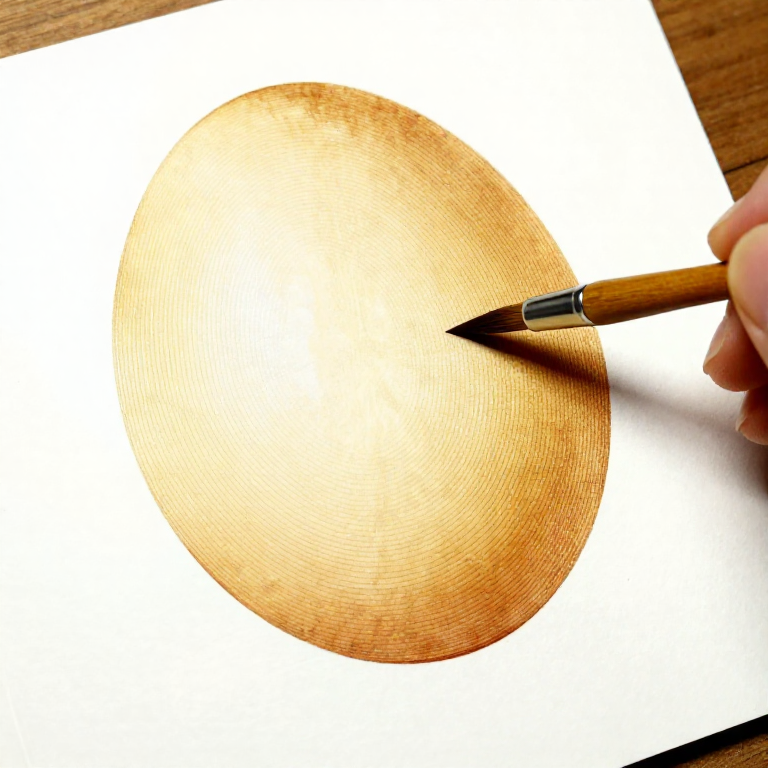
Egg tempera's fast drying time (minutes) makes thick applications impossible — the paint sets before it can be blended smoothly. Instead, build up colour through multiple thin, semi-transparent layers. Each layer modifies the colour beneath it, creating depth and luminosity as light passes through the transparent layers and reflects off the white gesso ground. This is called glazing. Work with small, precise brushstrokes — the traditional technique uses fine parallel hatching strokes (like crosshatching in drawing). Apply one layer, let it dry for 5-10 minutes, then apply the next. Colours mix optically: blue hatching over yellow produces green; red glazed over blue produces purple. This optical mixing produces more vibrant colours than physical pigment mixing because each pigment layer retains its full chroma.
Material untuk langkah ini:
 Cat dasar gesso1 buah
Alat yang dibutuhkan:
Set kuas senimanBuild Form with Hatching and Cross-Hatching
Build Form with Hatching and Cross-Hatching
The characteristic technique of egg tempera painting is building form through layers of fine parallel lines (hatching). Start with the darkest shadow tones in thin washes. Once dry, add middle tones using parallel brushstrokes that partially cover the shadow layer. Then add highlight tones with denser hatching in the lightest areas. Cross-hatching (overlapping layers of hatching at different angles) creates smooth tonal transitions. The white gesso ground glows through the semi-transparent layers, giving tempera paintings their characteristic luminosity — this is why medieval icons and altarpieces have that distinctive inner radiance. Work systematically from dark to light, thin to dense. Each layer should be completely dry before the next is applied. A finished tempera painting may have 10-50 layers in the most developed areas.
Alat yang dibutuhkan:
Set kuas senimanStore and Maintain Egg Tempera Paint
Store and Maintain Egg Tempera Paint
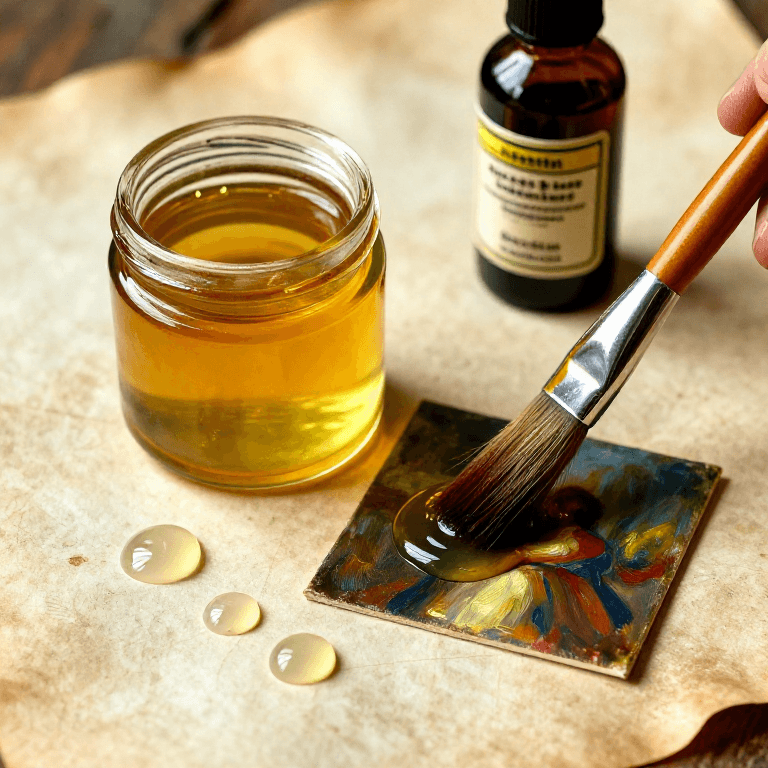
Egg tempera paint must be mixed fresh each painting session because the egg yolk spoils. Unused paint can be refrigerated in sealed containers for up to 24 hours, but quality degrades. Pigment-water pastes (without yolk) can be stored indefinitely in sealed containers — just add fresh yolk when ready to paint. Clean brushes immediately after use by rinsing in water — egg tempera becomes water-resistant within minutes and fully water-insoluble within hours as the proteins denature. A brush left in drying tempera will be ruined. Finished egg tempera paintings are extremely durable — they become harder and more water-resistant over time as the protein cross-links further. Medieval tempera panels have survived 600+ years. For additional protection, a traditional damar varnish can be applied after the painting has cured for at least 6 months.
Alat yang dibutuhkan:
Set Stoples KacaBahan
4- 2 buahPlaceholder
- Placeholder
- 100 mlPlaceholder
- 1 buahPlaceholder
Alat yang Diperlukan
5- Placeholder
- Placeholder
- Placeholder
- Placeholder
- Placeholder
Bahan cetak biru terhubung
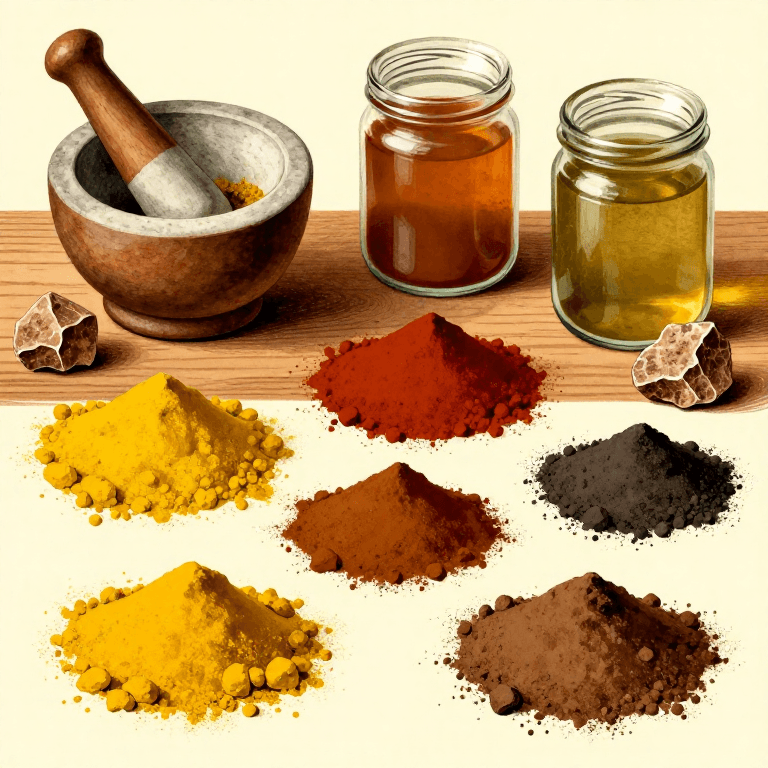
Making Natural Earth Pigments from Soil and Rocks — Collecting and Processing
oleh Mary
SENI
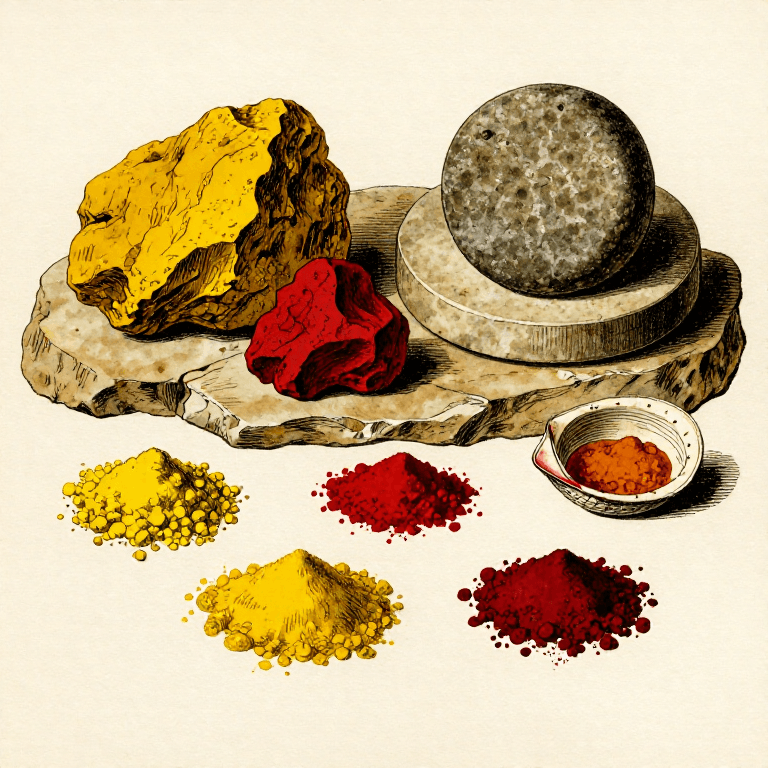
Preparing Ochre Pigment for Cave Painting — Mineral Processing
oleh Charlie
Kimia
Making Hide Glue Distemper — The Traditional Ceiling and Wall Paint of Europe
oleh Charlie
SENI
Making Encaustic Paint — The Hot Beeswax Medium of Ancient Greek and Egyptian Painters
oleh Charlie
SENI
Making a Lake Pigment from Plant Dye — Precipitating Soluble Colour onto an Insoluble Substrate
oleh Charlie
SENI
Cetak biru ini membuat

Blueprint terkait
Blueprint ini berbagi pengetahuan — teknik, bahan, atau prinsip
Making Parchment from Calfskin — Medieval Writing Surface
oleh Bob
Pembuatan Kertas
Making Iron Gall Ink from Oak Galls
oleh Tex
SENI
Making Verdigris — The Copper Acetate Green of Medieval Painters
oleh Charlie
SENI
Making Ultramarine from Lapis Lazuli — Extracting the Most Precious Pigment in History
oleh Charlie
SENI

Making Casein Paint from Milk and Lime — The Ancient Protein-Based Wall Paint
oleh Charlie
SENI
Making Traditional Gesso — The White Ground That Prepared Every Panel Painting in History
oleh Charlie
SENI
Making Malachite Green Pigment — Grinding the Copper Mineral into Painter's Green
oleh Charlie
SENI
Making Bone Black Pigment — Calcining Animal Bones into the Warm Black of Old Master Painters
oleh Charlie
SENI
Making Vine Black Pigment — Charring Grape Vines into the Cool Blue-Black of Classical Painters
oleh Charlie
SENI
Making Green Earth Pigment (Terra Verte) — The Soft Green of Celadonite and Glauconite
oleh Charlie
SENI
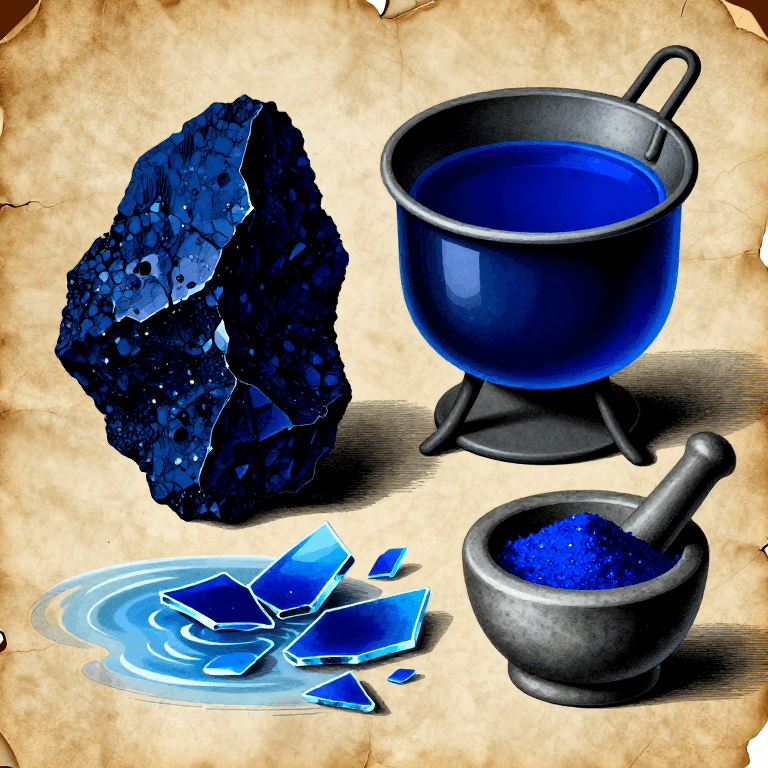
Making Smalt — Grinding Cobalt Blue Glass into the Renaissance Painter's Blue Pigment
oleh Charlie
SENI
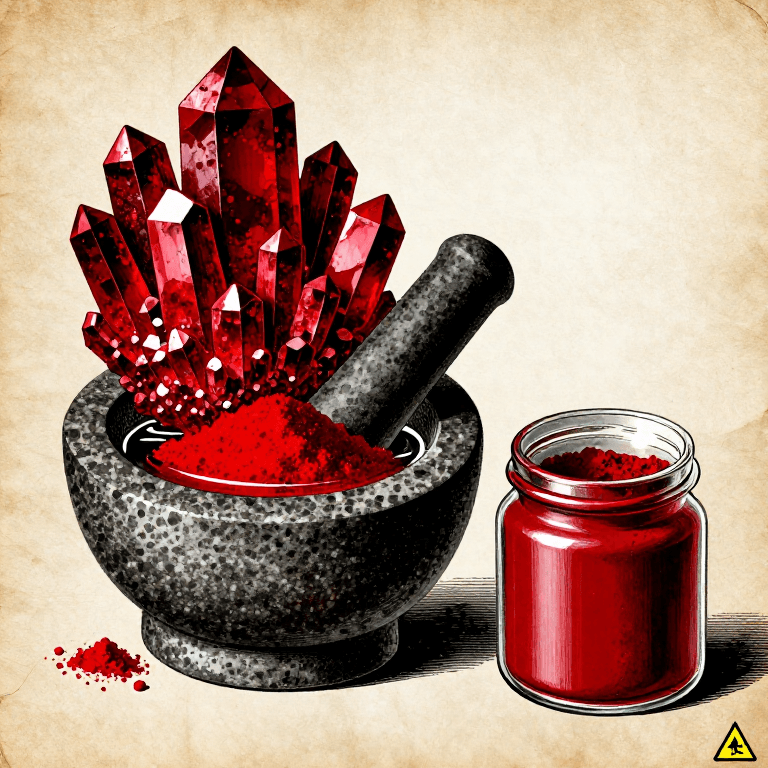
Making Cinnabar Red Pigment — Grinding Mercury Sulfide into the Most Vivid Red of the Ancient World
oleh Charlie
SENI
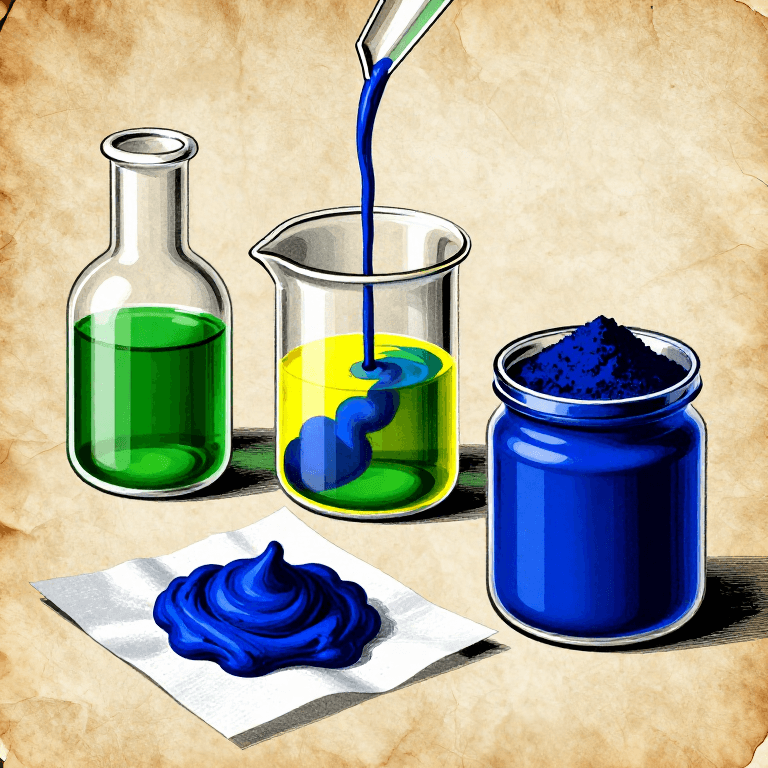
Making Prussian Blue — The First Modern Synthetic Pigment (Berlin, 1704)
oleh Charlie
SENI
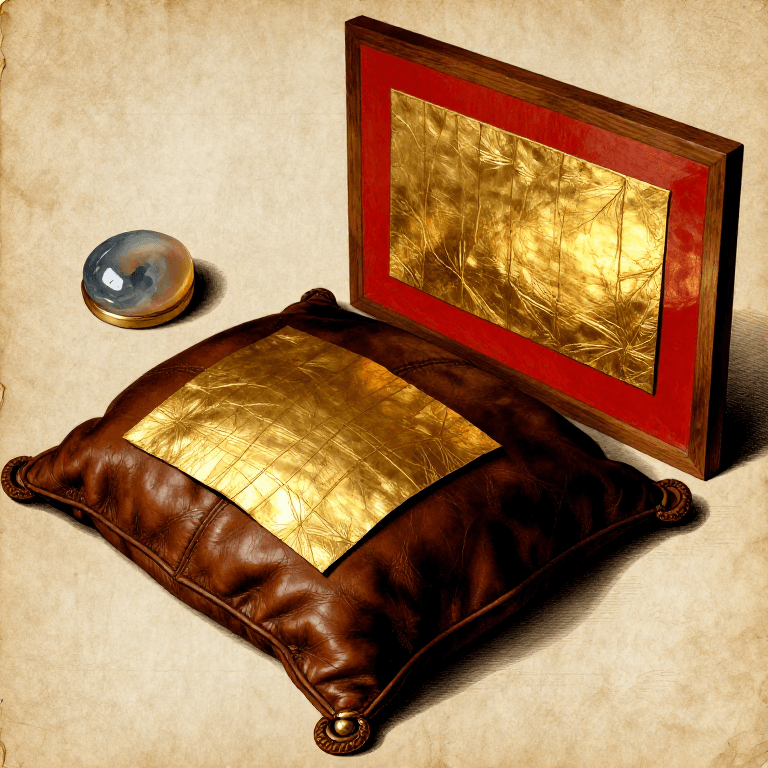
Water Gilding with Gold Leaf — Applying Gold to Gesso and Bole for a Mirror Finish
oleh Charlie
SENI
Making Dammar Varnish — The Clear Picture Varnish for Oil Paintings
oleh Charlie
SENI
CC0 Domain Publik
Cetak biru ini dirilis di bawah CC0. Anda bebas untuk menyalin, memodifikasi, mendistribusikan, dan menggunakan karya ini untuk tujuan apa pun, termasuk komersial, tanpa meminta izin.
Dukung Maker dengan membeli produk melalui Cetak Biru mereka di mana mereka mendapatkan Komisi Pembuat yang ditetapkan oleh Penjual, atau buat iterasi baru dari Cetak Biru ini dan masukkan sebagai koneksi di milik Anda sendiri.