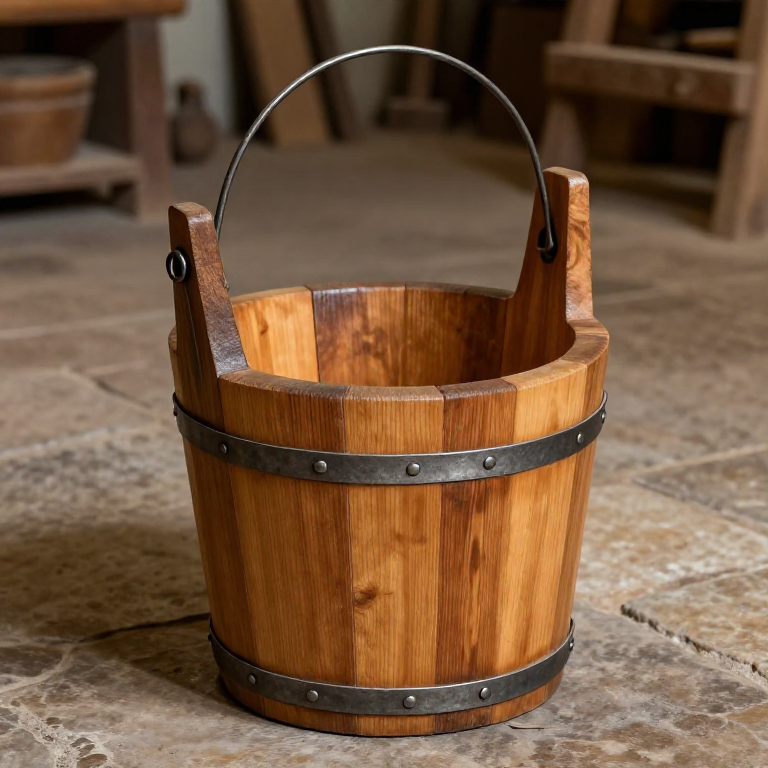
Making a Wooden Bucket — Basic Cooperage with Staves and Hoops
A wooden bucket is one of the earliest watertight vessels made entirely from wood and metal — a set of shaped staves held together by hoops that compress the joints into a seal. The cooper's trade (barrel and bucket making) was one of the most important crafts from antiquity through the Industrial Revolution. Every liquid — water, wine, beer, oil, vinegar — was stored and transported in cooperage.
A bucket is the simplest form of cooperage: straight staves arranged in a circle, wider at the top than the bottom, bound by two or three iron hoops. The staves taper in width so that when assembled they form a truncated cone. Each stave edge is bevelled at a precise angle — when the hoops are driven down, the bevel faces press together and the vessel becomes watertight without any sealant.
The skill is in the stave preparation. Each stave must be riven from straight-grained oak or similar hardwood, shaped with a drawknife, and bevelled with a jointer plane or drawknife to the exact angle. If even one stave is wrong, the bucket leaks. A good cooper could produce a watertight bucket in two to three hours from prepared staves.
Istruzioni
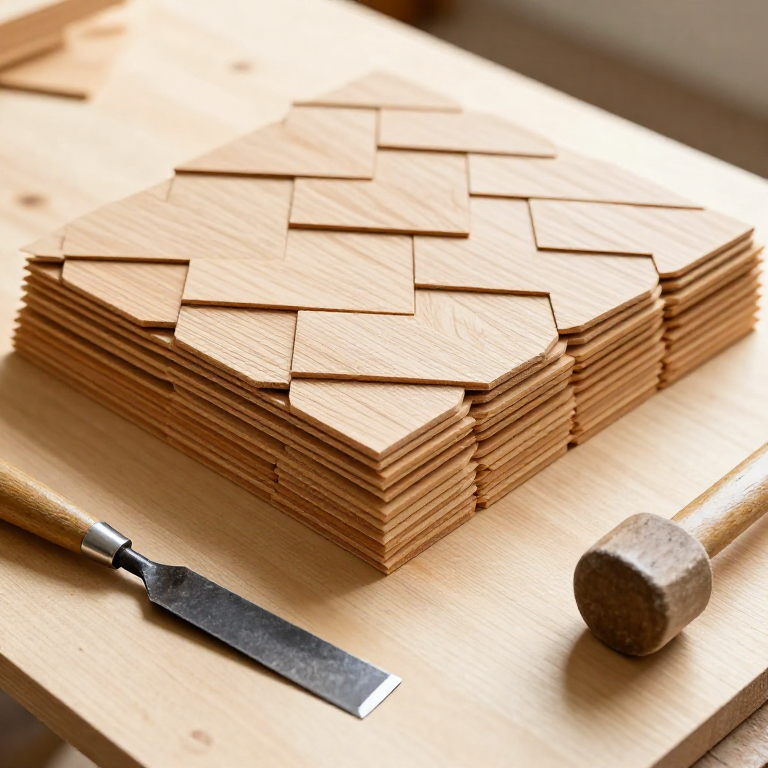
Rive and prepare the staves
Rive and prepare the staves
Strumenti necessari:
 Froe
FroeShape and bevel the stave edges
Shape and bevel the stave edges
Strumenti necessari:
 Drawknife
Cut the croze groove for the bottom
Cut the croze groove for the bottom
Assemble the staves and drive the hoops
Assemble the staves and drive the hoops
Materiali per questo passaggio:
 Iron Hoop2 pezzi
Strumenti necessari:
 Forge Hammer (Cross-Peen)
Fit the bottom board
Fit the bottom board
Attach a handle and test for leaks
Attach a handle and test for leaks
Materiali
1- 2 pezziSegnaposto
Strumenti richiesti
3- Segnaposto
- Segnaposto
- Segnaposto
Materiali dei progetti collegati
Blueprint correlati
Questi blueprint condividono conoscenze — tecniche, materiali o principi
Related blueprints
Other builds that share materials, tools, or techniques with this one.
CC0 Pubblico dominio
Questo progetto è rilasciato sotto CC0. Sei libero di copiare, modificare, distribuire e utilizzare quest'opera per qualsiasi scopo, senza chiedere permesso.
Supporta il Maker acquistando prodotti tramite il suo progetto dove guadagna una Commissione Maker stabilita dai venditori, oppure crea una nuova iterazione di questo progetto e includilo come collegamento nel tuo progetto per condividere i ricavi.