アート
美容とウェルネス
工芸
文化と歴史
エンターテインメント
環境
食品と飲料
グリーンフューチャー
リバースエンジニアリング
科学
スポーツ
テクノロジー
ウェアラブル
Forging Iron Nails by Hand — Drawing, Cutting, and Heading
Forge

作成者

Forge

26. 5月 2026NO
14
0
0
2
0

Forging Iron Nails by Hand — Drawing, Cutting, and Heading

Before wire-drawing machines and nail-cutting factories, every nail was forged individually by hand. A skilled nailer could produce 200-300 nails per day — and millions were needed. The Roman army alone consumed an estimated 7 tonnes of iron nails for a single fortress. Medieval cathedrals, Viking longships, and colonial farmhouses all depended on hand-forged nails.

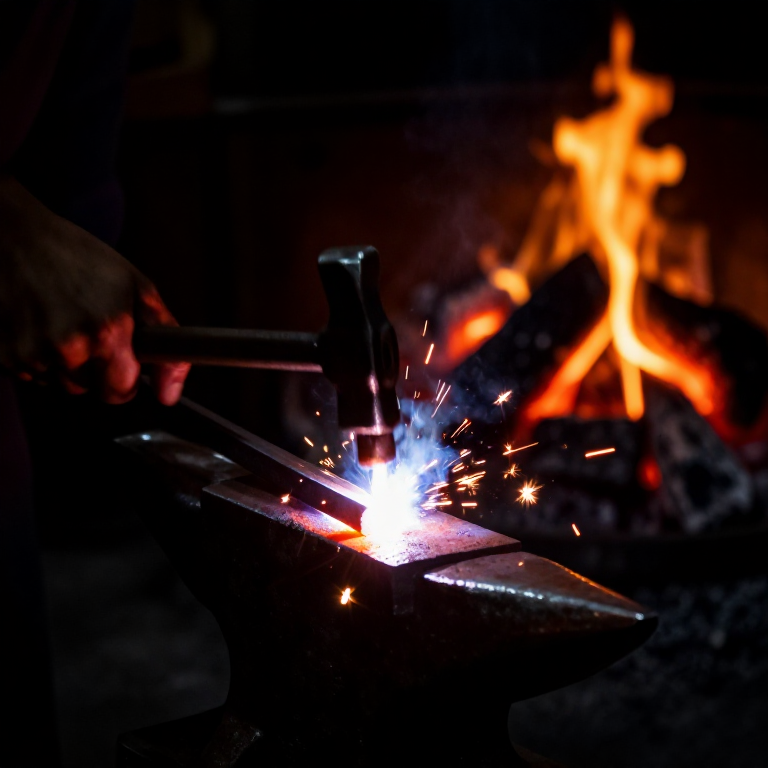
The process is deceptively simple: heat an iron rod, draw it to a taper, cut it to length, insert the cut end into a heading plate, and hammer the protruding end into a head. Each nail takes about 30 seconds for an experienced nailer — making it one of the fastest and most repetitive forge operations.

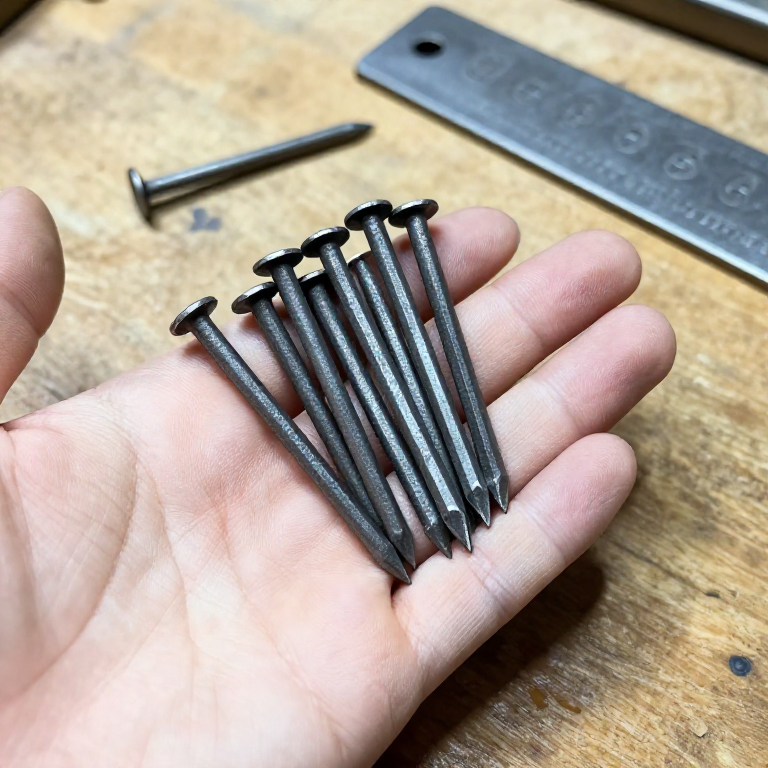
Hand-forged nails have a characteristic square cross-section (from the square rod stock) and an irregular rose head from the final heading blows. This is the blueprint for the most-produced iron object in human history.

初心者
1-2 hours (to make a batch of 20-30 nails)

手順

1

Prepare the nail rod

Start with a wrought iron rod about 8-10 mm square and 30 cm long. This single rod will produce 4-6 nails depending on the desired nail length. The rod should be straight and free of cracks. If starting from bar stock, draw a square rod by hammering a thicker bar at forging heat, rotating 90 degrees between blows.

このステップの材料:

CharcoalCharcoal2 kg
2

Heat the tip to forging temperature

Place the last 8-10 cm of the rod into the forge fire. Heat to bright orange — about 950 °C. Only heat the end you are working; the rest of the rod stays cool enough to hold with your bare hand (or tongs for shorter pieces). This is faster than heating the whole rod and allows continuous work.

必要な工具:

Hearth (Forge Fire)Hearth (Forge Fire)
3

Draw the taper

Remove the rod and lay the hot end on the anvil face. Hammer the tip into a four-sided taper over about 4-5 cm — this becomes the nail point. Strike on one face, rotate 90 degrees, strike again, rotate, and repeat. Four to six heats are needed for a beginner; an experienced nailer does it in one or two. The point should taper evenly to a blunt tip about 1 mm across.

必要な工具:

Forge Hammer (Cross-Peen)Forge Hammer (Cross-Peen)
Forge TongsForge Tongs
4

Cut nearly through at the nail length

Measure the desired nail length from the point (typically 5-8 cm for a general-purpose nail). Place the rod on the anvil with the cut point on the far edge. Strike the rod sharply with the hammer over the edge to create a deep nick on all four sides — cut about three-quarters through. Do not sever completely. This neck is where you will snap the nail free after heading.
5

Insert into the heading plate

A heading plate (or nail header) is a thick iron plate with a square hole slightly larger than the nail shank. Place the plate over the pritchel hole in the anvil (or over any hole in a heavy block). Insert the nail point-first through the hole until the nick rests on the surface. About 5-8 mm of the rod protrudes above the plate — this is the material that becomes the head.
6

Forge the head

Strike the protruding stub with 3-5 rapid blows of the hammer. The first blow flattens the stub against the plate. Subsequent blows spread it outward into a roughly circular head (a rose head). Do not over-hammer — the head should be about 1.5 times the shank width. The nail is now locked in the plate by its own head.
7

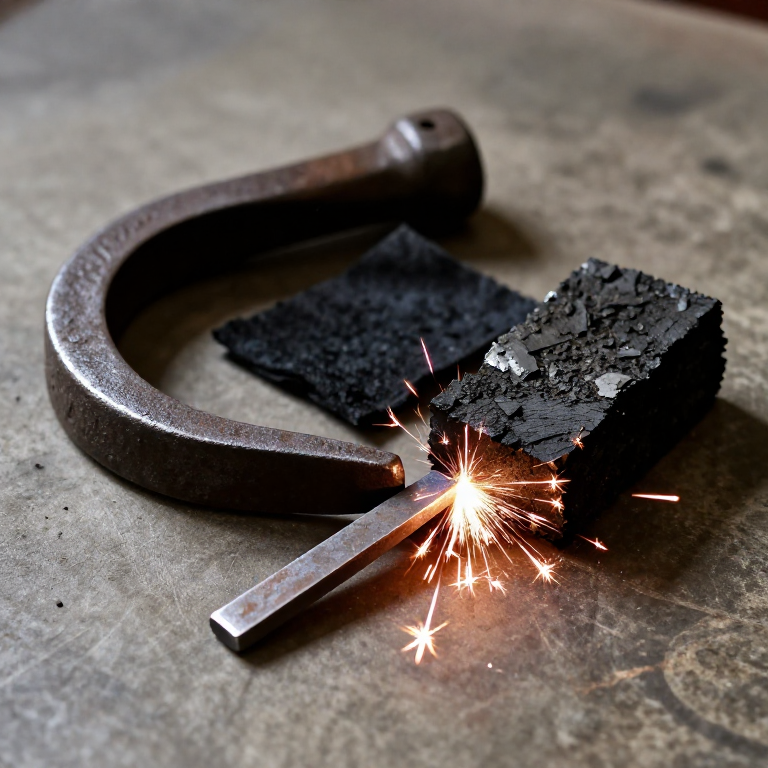
Snap free and quench

Tap the rod sideways to snap the nail free at the nick. The nail drops through the heading plate. Collect it with tongs and drop into a bucket of water to cool. The quench does not harden wrought iron (only steel hardens by quenching) — it simply speeds cooling so you can handle the nails sooner. Immediately return the rod to the fire and begin the next nail.

このステップの材料:

WaterWater2 l
8

Repeat for the batch

Continue the cycle: taper, nick, head, snap. As the rod gets shorter, switch to holding it with tongs. A 30 cm rod yields about 5 nails at 6 cm each. With practice, each nail takes 30-45 seconds from the first hammer blow to the final snap. The rhythm of heat-hammer-cut-head is the heartbeat of the pre-industrial nail shop.

材料

2

必要な工具

3

接続ブループリントの材料

CC0 パブリックドメイン

このブループリントはCC0で公開されています。許可を求めずに、自由にコピー、修正、配布、あらゆる目的で使用できます。

メイカーを応援するには、ブループリント経由で製品を購入してください。メイカーには メイカーコミッション がベンダーにより設定されています。または、このブループリントの新しいイテレーションを作成し、自分のブループリントにコネクションとして含めて収益を共有できます。

ディスカッション

(0)

ログイン してディスカッションに参加

コメントを読み込み中...