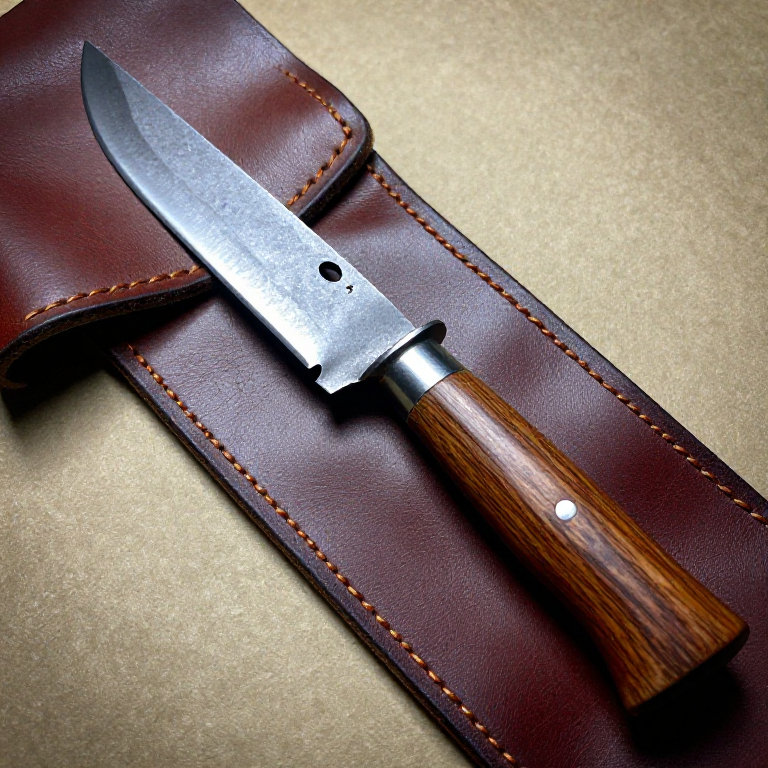
Forging an Iron Knife from a Wrought Iron Bar — The Smith's First Project
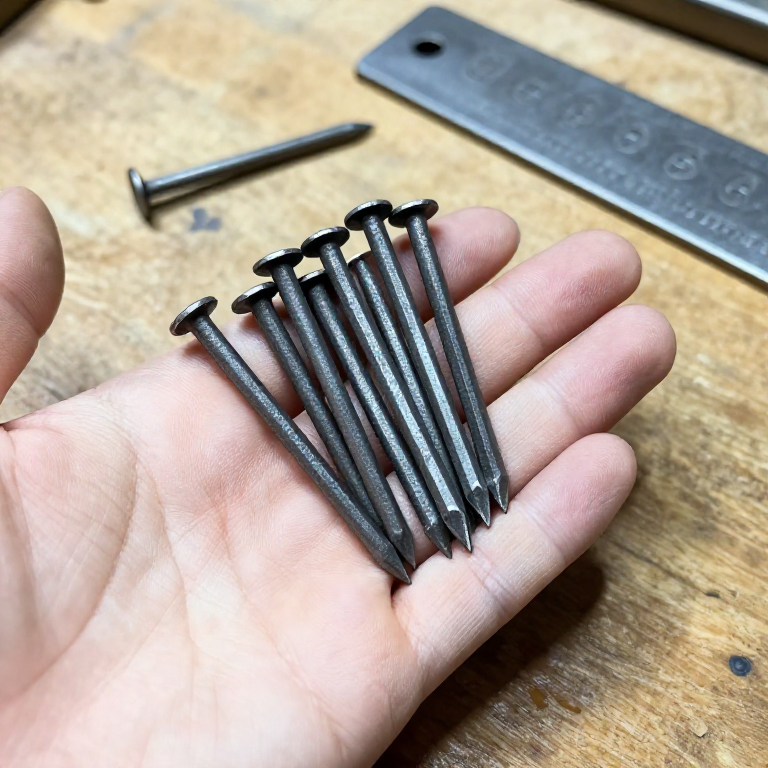
The iron knife is traditionally the first object a blacksmith apprentice learns to forge. It teaches every fundamental operation: drawing out (lengthening the metal), tapering (creating a point), bevelling (forming the cutting edge), and finishing (grinding and hafting). An experienced smith can forge a knife in under an hour; a beginner should expect a full day of practice.
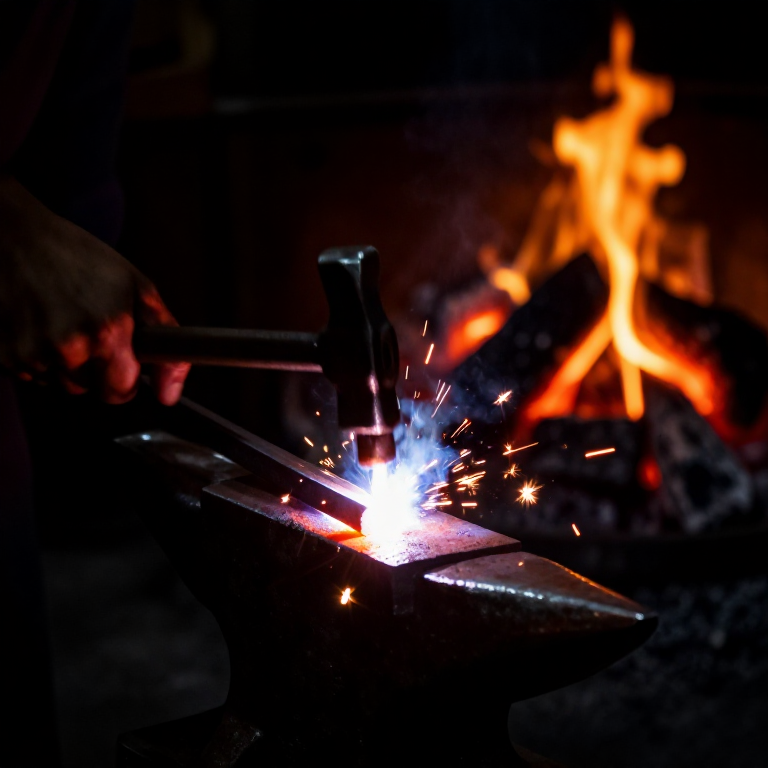
Unlike bronze tools which are cast into shape, iron tools are forged — beaten into shape from a solid bar using only heat, hammer, and anvil. The wrought iron bar is heated to bright orange in a charcoal forge, then hammered on an anvil to draw it into a blade shape. The tang (the part that goes into the handle) is formed by drawing the opposite end to a narrow taper.
The blade is then ground, and the edge can be hardened by case-carburising (packing in charcoal and heating) to add a thin layer of steel to the surface. This gives a wrought iron blade the best of both worlds: a tough, shock-absorbing body with a hard, sharp edge.
手順
Select and cut the bar stock
Select and cut the bar stock
Heat the tang end to forging temperature
Heat the tang end to forging temperature
このステップの材料:
 Charcoal3 kg
Draw out the tang
Draw out the tang
必要な工具:
 Forge Hammer (Cross-Peen)
 Forge Tongs
 Hearth (Forge Fire)
Define the shoulder
Define the shoulder
Taper the blade to a point
Taper the blade to a point
Set the bevel
Set the bevel
Straighten and true the blade
Straighten and true the blade
Normalise the blade
Normalise the blade
Grind the edge
Grind the edge
このステップの材料:
 Sandstone (Abrasive)1 個
 Whetstone1 個
Haft with a wooden handle
Haft with a wooden handle
必要な工具
3- プレースホルダー
- プレースホルダー
- プレースホルダー
接続ブループリントの材料
関連ブループリント
これらのブループリントは知識を共有しています — 技術、材料、原理
Related blueprints
Other builds that share materials, tools, or techniques with this one.


CC0 パブリックドメイン
このブループリントはCC0で公開されています。許可を求めずに、自由にコピー、修正、配布、あらゆる目的で使用できます。
メイカーを応援するには、ブループリント経由で製品を購入してください。メイカーには メイカーコミッション がベンダーにより設定されています。または、このブループリントの新しいイテレーションを作成し、自分のブループリントにコネクションとして含めて収益を共有できます。