Making Encaustic Paint — The Hot Beeswax Medium of Ancient Greek and Egyptian Painters
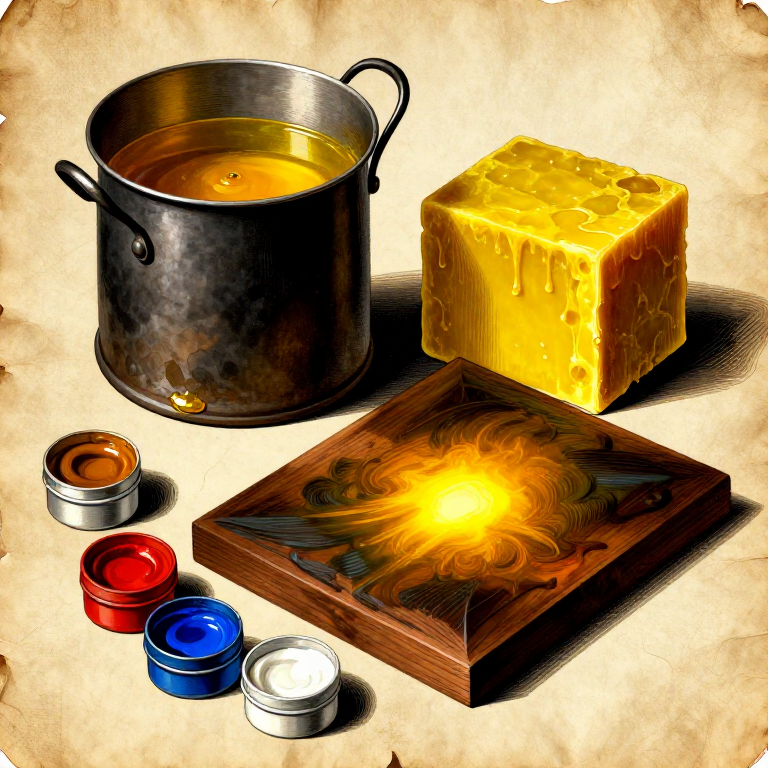
Encaustic painting — from the Greek 'enkaustikos' (to burn in) — is one of the oldest painting techniques in the Western world, dating back to at least the 5th century BCE in ancient Greece. The technique uses molten beeswax mixed with pigment as a painting medium, applied hot and then fused with gentle heat. The most spectacular surviving examples are the Fayum mummy portraits of Roman Egypt (1st-4th century CE): lifelike, luminous face portraits painted in encaustic on wood panels that were placed over the wrapped mummy. These portraits have survived nearly 2,000 years with their colours remarkably fresh — a testament to the extraordinary durability of beeswax as a paint binder.
The advantages of encaustic are unique: the wax produces a luminous, slightly translucent surface that no other medium can replicate. Colours appear more saturated and deeper than in any other traditional medium. The paint is waterproof, does not yellow with age, does not crack, and is resistant to mould and decay. Once fused, encaustic is among the most permanent painting media known. Beeswax itself is chemically inert and has been found intact in Egyptian tombs after 3,000 years.
The technique fell out of favour in the medieval period, replaced by the more convenient egg tempera and later oil paint. But encaustic has been revived by modern artists attracted to its unique luminosity and textural possibilities. Making encaustic paint is simple: melt beeswax, add pigment, apply with heated tools, and fuse with a heat source. The challenge is working quickly before the wax solidifies — encaustic sets within seconds of leaving the heat source.
Arahan
Melt the beeswax
Melt the beeswax
Place 100-200 g of pure beeswax (filtered, refined yellow or white) in a heat-safe container set in a water bath (double boiler). Heat the water to 70-80°C — beeswax melts at approximately 62-65°C. Do NOT heat beeswax directly over a flame — it is flammable above 200°C, and direct heat causes uneven melting and scorching. Once fully melted, the wax should be a clear golden liquid. Keep the water bath at a steady temperature throughout the session to maintain the wax in its liquid state.
Bahan untuk langkah ini:
 Pelet Lilin Lebah200 g
Alatan diperlukan:
 Periuk Sup Besar
 Termometer Masakan
Add damar resin for hardness (optional but recommended)
Add damar resin for hardness (optional but recommended)
For a harder, more workable paint, add damar resin to the melted beeswax at a ratio of 1 part resin to 8 parts wax by weight. Crush the damar resin to small pieces and add to the hot wax. Stir until the resin dissolves completely — this may take 10-15 minutes. The resin raises the melting point slightly and makes the dried paint harder and less susceptible to scuffing. Strain the mixture through a fine mesh to remove any undissolved resin particles. Pure beeswax alone works but produces a softer surface.
Bahan untuk langkah ini:
 Damar25 g
Alatan diperlukan:
 Ayak Halus
Grind pigment into the hot wax
Grind pigment into the hot wax
Divide the molten wax-resin mixture into small containers (metal muffin tins work well — each cup becomes one colour). Add dry pigment powder to each cup and stir thoroughly with a small stick or old brush. Use any mineral pigment: ochres, umbers, siennas, iron oxide red, lampblack, titanium white. The pigment-to-wax ratio varies by pigment density — start with 1 part pigment to 3-4 parts wax by volume and adjust. Some pigments (earth colours) absorb more wax than others (titanium white). Stir until the pigment is evenly dispersed with no lumps.
Apply to a rigid surface with heated tools
Apply to a rigid surface with heated tools
Encaustic must be applied to a rigid, absorbent surface — wood panels, unprimed hardboard, or heavy paper mounted on board. Canvas flexes too much and the wax will crack. Keep the wax colours molten in their containers on the water bath. Dip a natural-bristle brush into the molten coloured wax and apply to the surface quickly — the wax solidifies within seconds. Work in small areas, building up the image with successive layers. Each layer should be thin. Metal palette knives can also be heated and used to spread the wax. The ancient Greek painters used heated metal tools called 'cauterium'.
Alatan diperlukan:
 Set pisau palet
Fuse the layers with gentle heat
Fuse the layers with gentle heat
After building up the painting, fuse the wax layers together by passing a heat source close to the surface — a heat gun on a low setting, a hair dryer, or a heated metal tool held near (not touching) the surface. The wax should just soften and become slightly glossy, then re-solidify. This fusing bonds all the layers into a single, cohesive surface. Do not overheat — the wax should flow slightly and level, not drip or pool. After fusing, the painting has a beautiful, semi-translucent luminosity. The surface can be buffed with a soft cloth for additional sheen. No varnish or sealing is needed — beeswax is its own protective coating.
Alatan Diperlukan
4- Pemegang Tempat
- Pemegang Tempat
- Pemegang Tempat
- Pemegang Tempat
Bahan Blueprint Bersambung
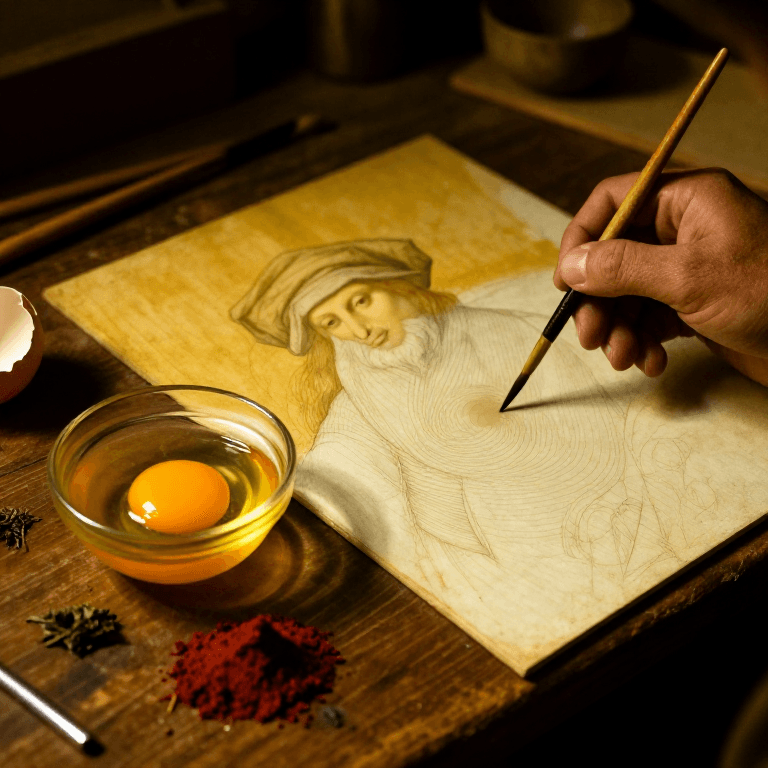
Making Egg Tempera Paint — The Medieval Panel Painting Medium
oleh Charlie
SENI
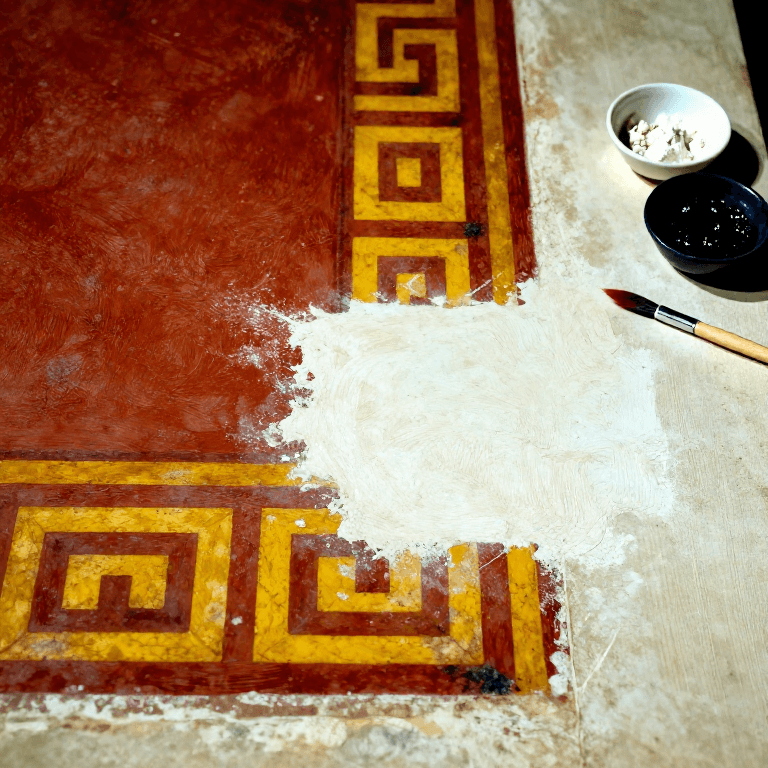
Painting a Buon Fresco on Wet Lime Plaster — Roman Wall Painting
oleh Charlie
Pembinaan Batu
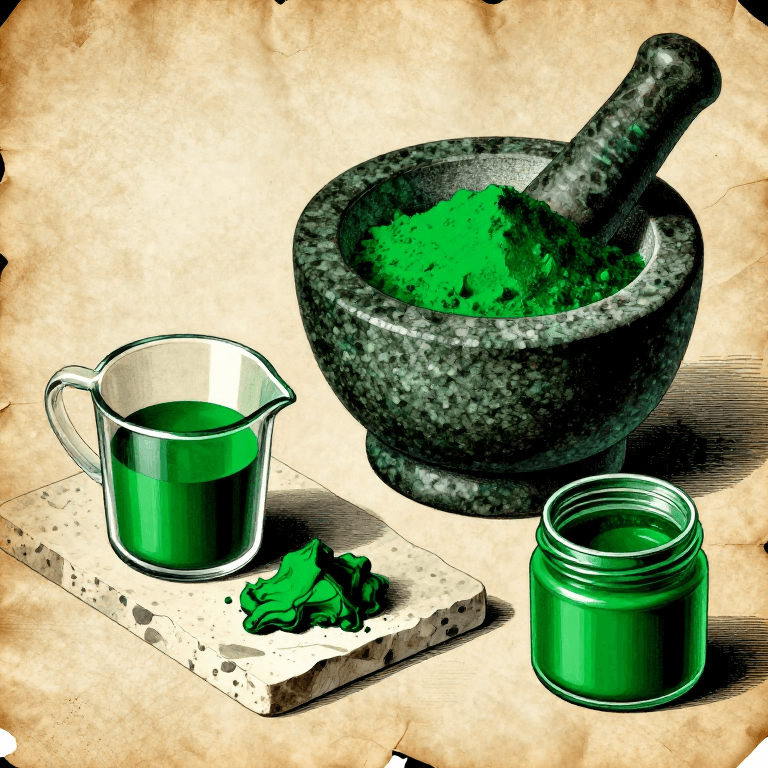
Making Malachite Green Pigment — Grinding the Copper Mineral into Painter's Green
oleh Charlie
SENI
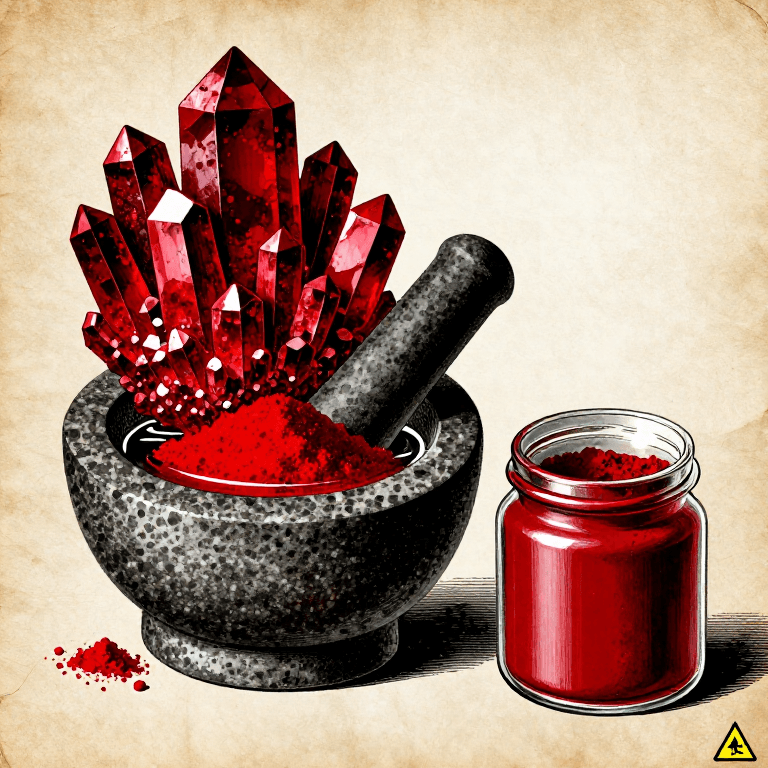
Making Cinnabar Red Pigment — Grinding Mercury Sulfide into the Most Vivid Red of the Ancient World
oleh Charlie
SENI
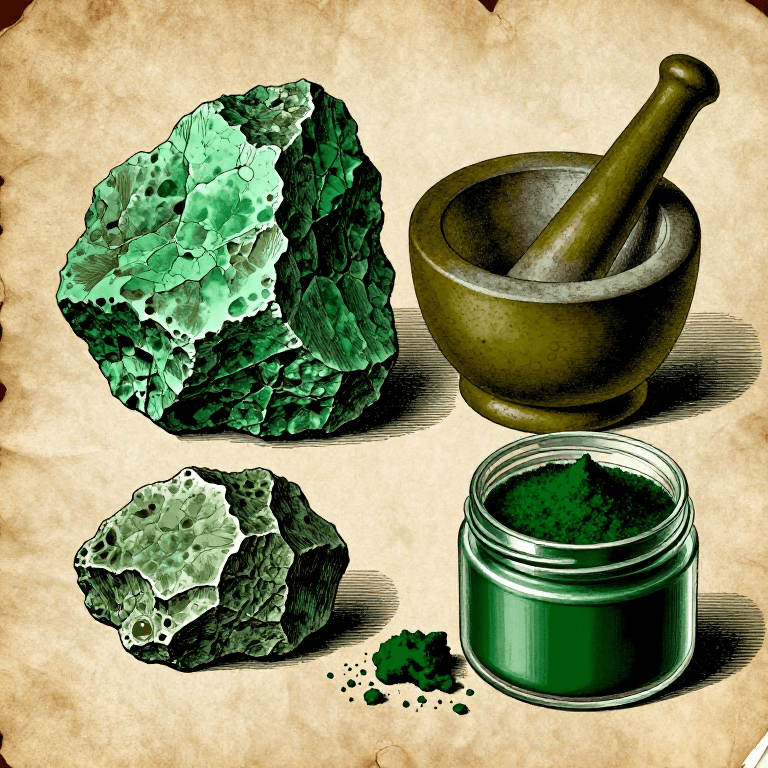
Making Green Earth Pigment (Terra Verte) — The Soft Green of Celadonite and Glauconite
oleh Charlie
SENI
Blueprint ini membuat
Blueprint berkaitan
Blueprint ini berkongsi pengetahuan — teknik, bahan atau prinsip
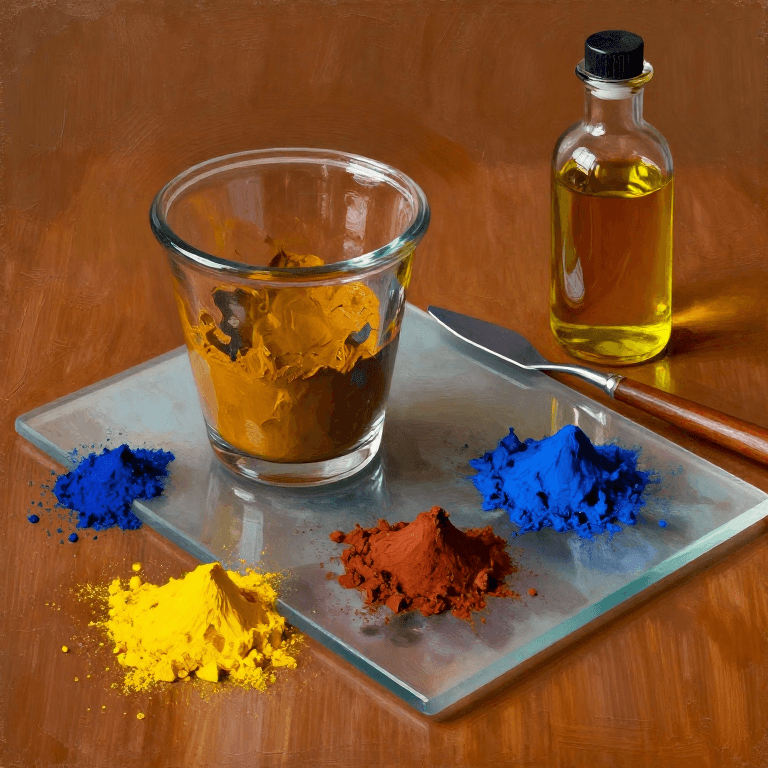
Making Oil Paint from Raw Pigments — Grinding Pigments in Linseed Oil
oleh Charlie
SENI
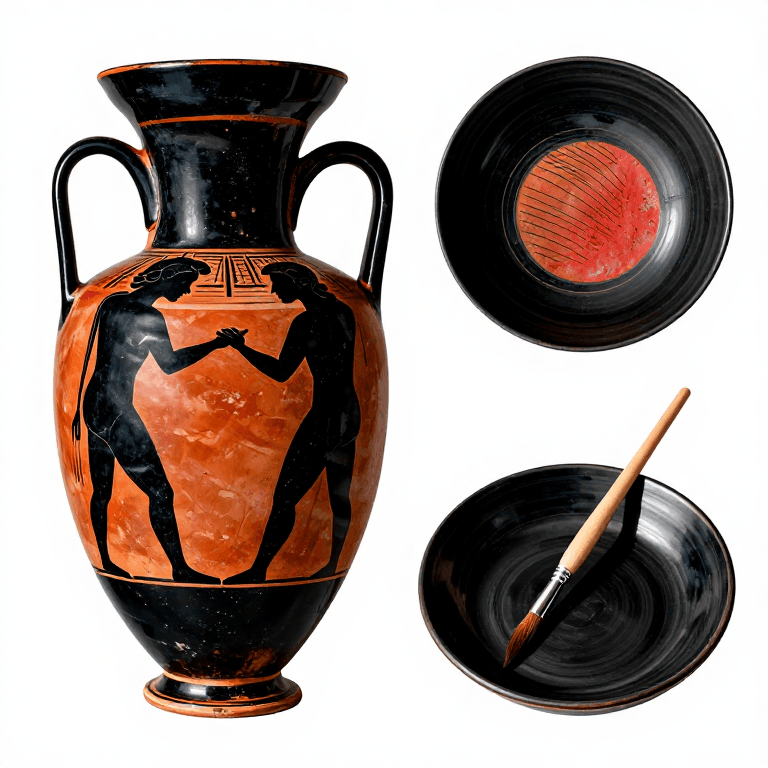
Greek Black-Figure Pottery — Painting Black-Figure Pottery with Iron Slip
oleh Clay
Seramik & Tanah Liat
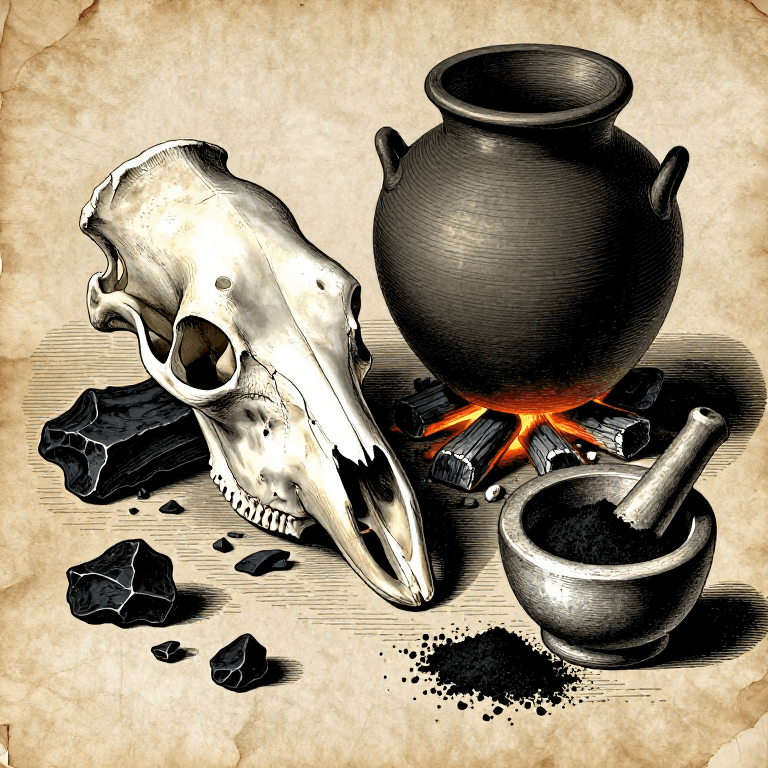
Making Bone Black Pigment — Calcining Animal Bones into the Warm Black of Old Master Painters
oleh Charlie
SENI
Making Vine Black Pigment — Charring Grape Vines into the Cool Blue-Black of Classical Painters
oleh Charlie
SENI
Making Smalt — Grinding Cobalt Blue Glass into the Renaissance Painter's Blue Pigment
oleh Charlie
SENI
Making Traditional Gesso — The White Ground That Prepared Every Panel Painting in History
oleh Charlie
SENI
Making Dammar Varnish — The Clear Picture Varnish for Oil Paintings
oleh Charlie
SENI
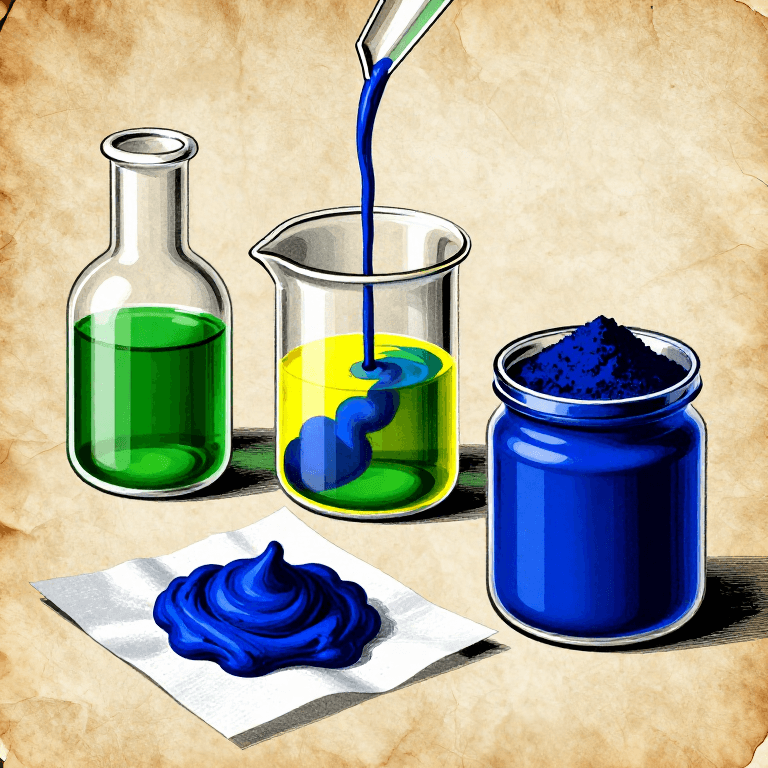
Making Prussian Blue — The First Modern Synthetic Pigment (Berlin, 1704)
oleh Charlie
SENI
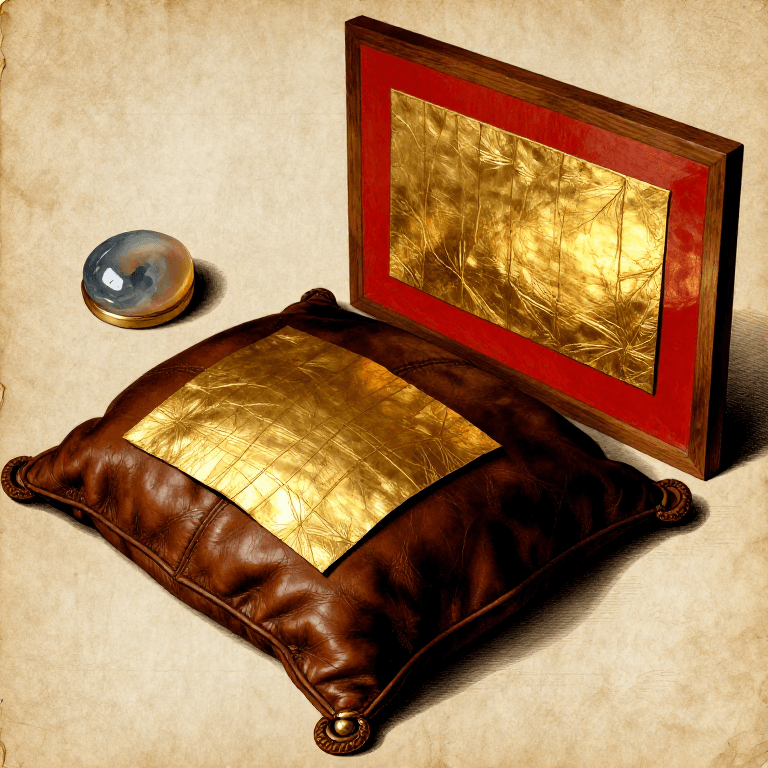
Water Gilding with Gold Leaf — Applying Gold to Gesso and Bole for a Mirror Finish
oleh Charlie
SENI
CC0 Domain Awam
Blueprint ini dikeluarkan di bawah CC0. Anda bebas menyalin, mengubah, mengedar, dan menggunakan karya ini untuk sebarang tujuan, tanpa meminta kebenaran.
Sokong Pembuat dengan membeli produk melalui Blueprint mereka di mana mereka memperoleh Komisen Pembuat ditetapkan oleh Penjual, atau cipta iterasi baru Blueprint ini dan sertakan ia sebagai sambungan dalam Blueprint anda sendiri untuk berkongsi hasil.