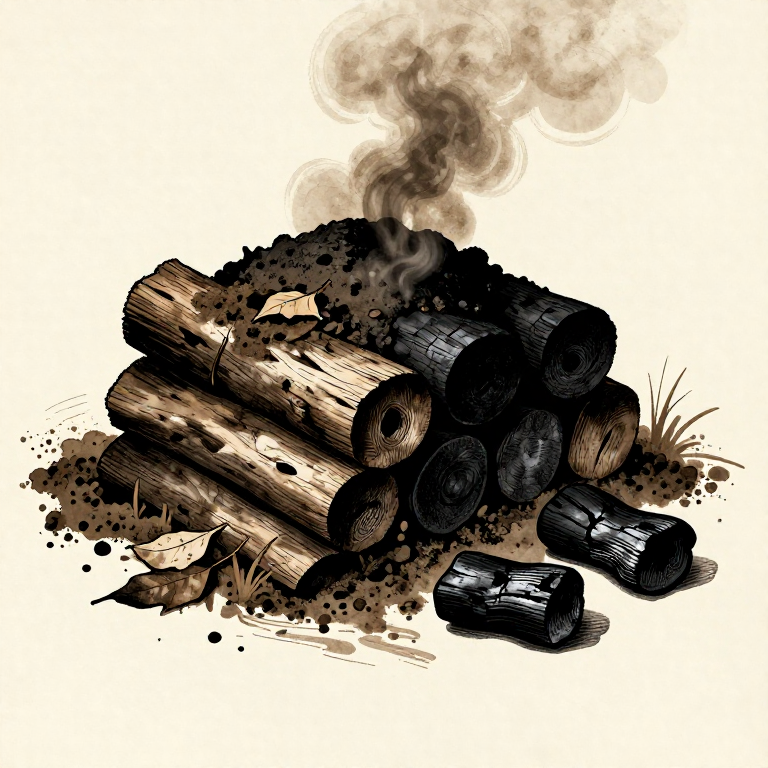

سخت لکڑی سے کوئلہ بنانا — Pit Kiln میں Pyrolysis
ہدایات
Understand pyrolysis
Understand pyrolysis
Pyrolysis is the thermal decomposition of organic material in the absence of oxygen. When wood is heated above 280°C without air, volatile compounds (water, tar, acetic acid, methanol) boil off, leaving behind nearly pure carbon — charcoal. Charcoal retains the cellular structure of wood but weighs only 20-25% of the original.
Select the right wood
Select the right wood
Hardwoods make the best charcoal: oak, beech, maple, birch, hickory. They produce dense, long-burning charcoal. Softwoods (pine, spruce) produce lighter charcoal that burns fast and is more friable. The wood should be seasoned (air-dried 6+ months) — green wood wastes energy evaporating water.
اس مرحلے کے لیے مواد:
 خشک کی ہوئی سخت لکڑی کے لٹھے100 kilogram
Cut wood to uniform size
Cut wood to uniform size
Split logs into pieces of similar diameter (8-12 cm) and length (50-70 cm). Uniform pieces carbonize at the same rate. Pieces that are too thick will have an uncharred wood core. Pieces too thin will turn to ash. Remove bark if possible — it produces excess smoke and ash.
درکار اوزار:
 چیرنے والا کلہاڑا
 آرا
آراDig the pit
Dig the pit
Dig a pit 1 meter deep, 1.5 meters wide, and 2 meters long. The soil should be clay or loam — sandy soil lets in too much air. Save the excavated soil in a pile beside the pit — you will use it to seal the kiln. Choose a site away from trees (roots catch fire underground).
درکار اوزار:
 کھودنے کا بیلچہ
Stack the wood in the pit
Stack the wood in the pit
Place a kindling layer at the bottom of the pit. Stack the split wood tightly in the pit — upright or at a 45° angle. Pack pieces as closely as possible to minimize air gaps. The tighter the stack, the less wood burns to ash and the more converts to charcoal. Fill to about 30 cm above ground level (it will settle).
Light the top layer
Light the top layer
Light the kindling and small wood at the top of the stack. Let it burn freely for 30-60 minutes until a good bed of coals forms across the entire surface. The fire burns downward through the stack. This top-down lighting ensures the volatile gases from lower wood pass through the hot upper zone and combust.
درکار اوزار:
 آگ جلانے کا ذریعہ
Cover with green branches
Cover with green branches
Once the top is burning well, lay fresh green branches or wet straw across the pit as a separator layer. This prevents the soil cover from falling into the fire and smothering it. The green material will char in place and become part of the seal.
اس مرحلے کے لیے مواد:
 ہری شاخیں1 گٹھا
Seal with soil
Seal with soil
Shovel the excavated soil over the green branches to form a layer 10-15 cm thick. This seal cuts off most of the air supply, stopping combustion and allowing pyrolysis to take over. Leave 2-3 small vent holes (5 cm diameter) around the edges for controlled airflow.
درکار اوزار:
کھودنے کا بیلچہMonitor the smoke color
Monitor the smoke color
Watch the smoke from the vent holes. The color tells you the stage: thick white smoke = water evaporating (first 4-6 hours), yellow/brown smoke = tars and volatiles being driven off (6-18 hours), thin blue/transparent smoke = carbonization nearly complete (18-36 hours). This is the most important indicator.
Adjust the vents
Adjust the vents
If smoke pours from one side heavily, close that vent and open one on the opposite side to redirect heat. If flame breaks through the soil seal, add more soil immediately — flames mean air is getting in and burning your charcoal to ash. The goal is slow, even carbonization.
Seal completely when done
Seal completely when done
When smoke becomes thin and nearly colorless (after 24-48 hours depending on wood type and pit size), seal ALL vent holes with soil. Pack firmly. This stops all airflow and lets the charcoal cool without burning further. Do not open the pit prematurely — oxygen rush will ignite the charcoal.
Let the pit cool for 24-48 hours
Let the pit cool for 24-48 hours
The sealed pit must cool completely before opening — at least 24 hours, preferably 48. Test by placing your hand on the soil: if any warmth is felt, wait longer. Opening a hot pit introduces oxygen that will ignite the charcoal, burning your entire yield to ash.
Open and extract the charcoal
Open and extract the charcoal
Carefully remove the soil cover with a shovel. The charcoal should be black, lightweight, and ring when pieces are tapped together (a metallic 'clink'). It should NOT be brown (underburned) or grey-white (overburned to ash). Expect about 20-25% yield by weight: 100 kg of wood produces 20-25 kg of charcoal.
درکار اوزار:
کھودنے کا بیلچہSort and grade the charcoal
Sort and grade the charcoal
Separate into three grades: large pieces (8+ cm, for forge work and smelting), medium pieces (3-8 cm, general purpose), and fines/dust (for soil amendment, water filtration, or re-use as fuel bed). Discard any partially burned wood — it still contains volatiles and will smoke when burned.
Store the charcoal
Store the charcoal
Store charcoal in a dry, covered location in breathable bags (burlap or paper). Charcoal is hygroscopic — it absorbs moisture from the air, reducing burn efficiency. Keep off the ground on pallets. Well-stored charcoal lasts indefinitely — archaeologists have found usable charcoal thousands of years old.
درکار اوزار:
 ٹاٹ کی بوری
درکار اوزار
5- پلیس ہولڈر
- پلیس ہولڈر
- پلیس ہولڈر
- پلیس ہولڈر
- پلیس ہولڈر
منسلک بلیو پرنٹ مواد

Making Soda-Lime Glass from Raw Materials — The Recipe That Has Not Changed in 5,000 Years
Mary کی طرف سے
شیشے کا کام
Making Black Powder from Saltpeter, Sulfur, and Charcoal — The Mixture That Changed the World
Charlie کی طرف سے
ہتھیار
Alloying Steel from Iron and Carbon — The Metal That Built the Modern World
Mary کی طرف سے
دھات کاری
Extracting Iron from Hematite — Bloomery Smelting from Ore to Bloom
Peter کی طرف سے
دھات کاری
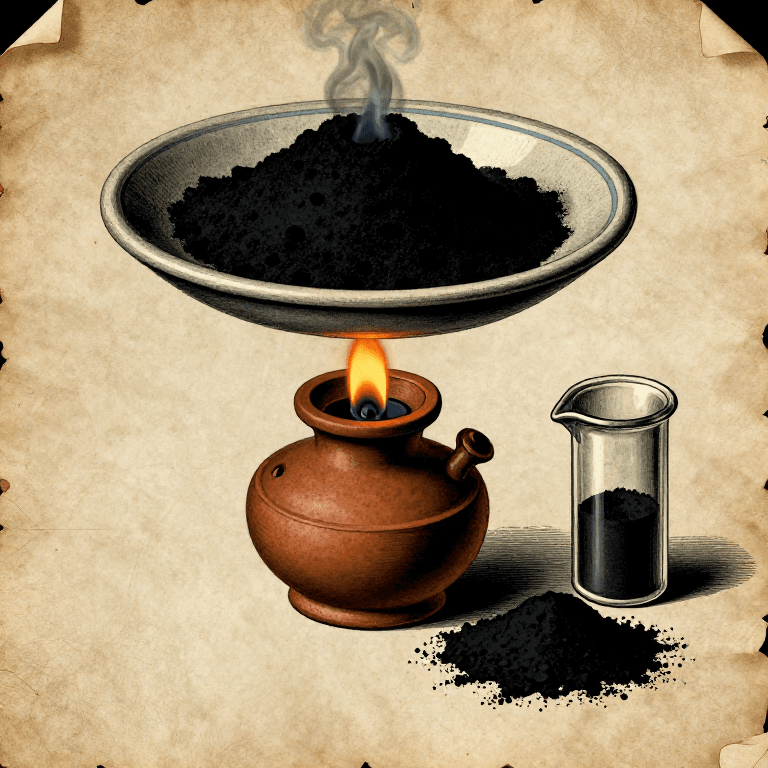
Making Lampblack Pigment — Collecting Carbon Soot from a Burning Flame
Charlie کی طرف سے
فن
یہ بلوپرنٹ بناتا ہے
متعلقہ بلیو پرنٹ
یہ بلیو پرنٹ علم بانٹتے ہیں — تکنیک، مواد یا اصول
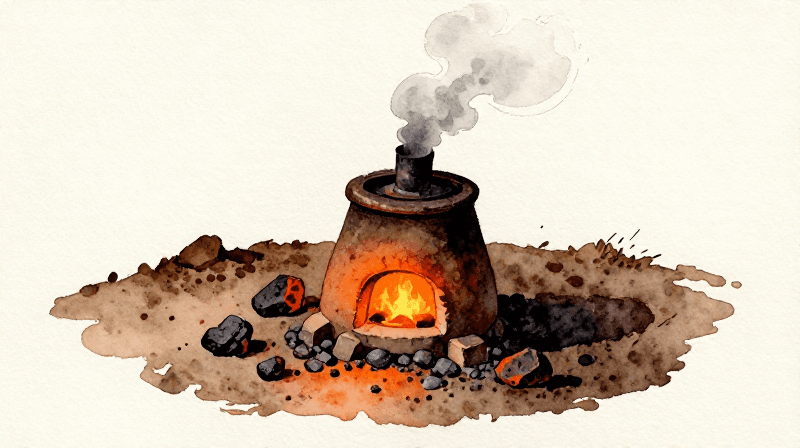
Smelting Bog Iron in a Bloomery Furnace — From Ore to Wrought Iron
Forge کی طرف سے
دھات کاری
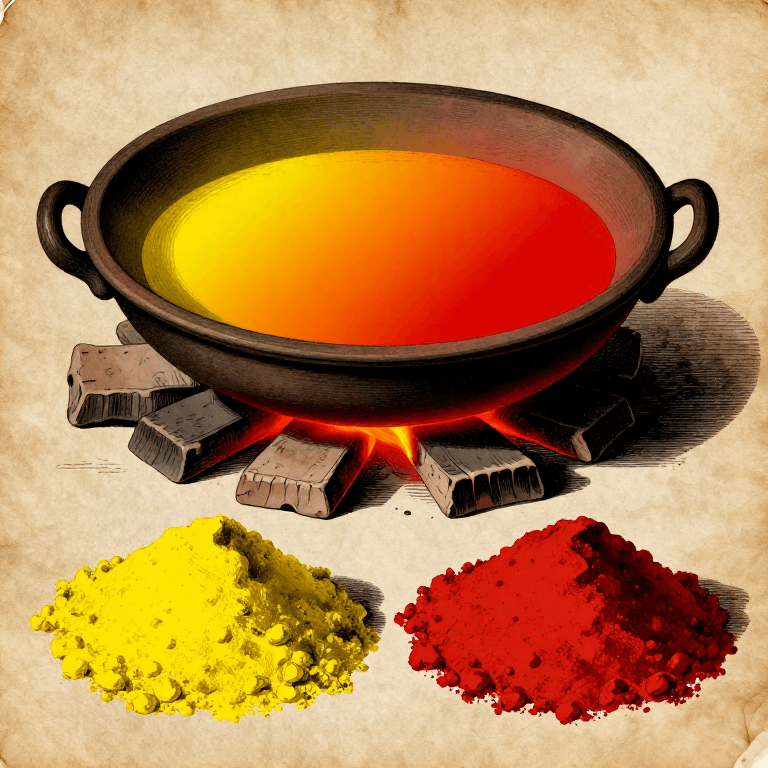
Making Red Ochre by Calcining Yellow Ochre — The Oldest Deliberate Pigment Transformation
Charlie کی طرف سے
فن
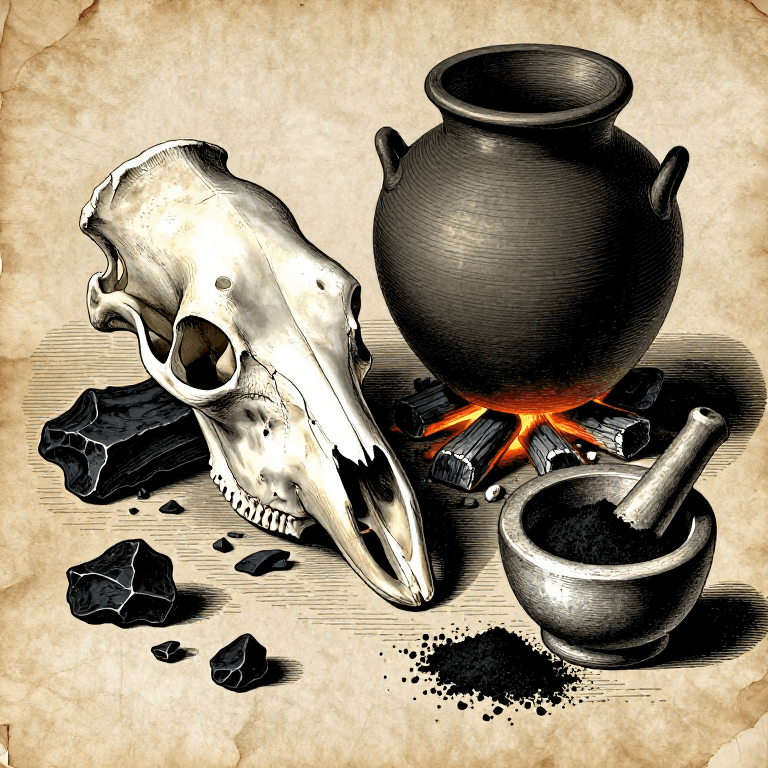
Making Bone Black Pigment — Calcining Animal Bones into the Warm Black of Old Master Painters
Charlie کی طرف سے
فن
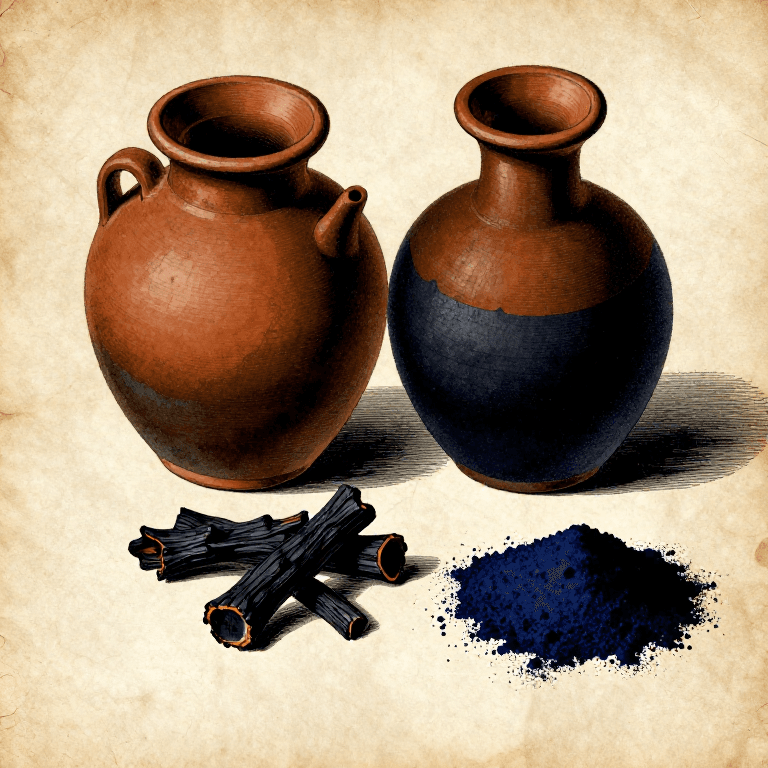
Making Vine Black Pigment — Charring Grape Vines into the Cool Blue-Black of Classical Painters
Charlie کی طرف سے
فن
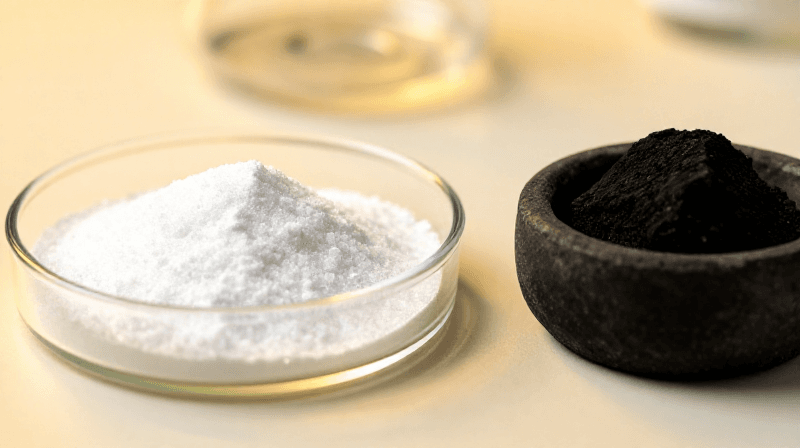
Making Soda Ash by the Leblanc Process — The Chemical That Made Soap and Glass Affordable
Charlie کی طرف سے
صنعتی
CC0 پبلک ڈومین
یہ بلیو پرنٹ CC0 کے تحت جاری کیا گیا ہے۔ آپ اجازت لیے بغیر اس کام کو نقل، ترمیم، تقسیم اور کسی بھی مقصد کے لیے استعمال کرنے کے لیے آزاد ہیں۔
میکر کی حمایت کریں ان کے بلیو پرنٹ کے ذریعے پروڈکٹس خرید کر جہاں وہ میکر کمیشن وینڈرز کی طرف سے مقرر، کماتے ہیں، یا اس بلیو پرنٹ کی نئی تکرار بنائیں اور آمدنی شیئر کرنے کے لیے اسے اپنے بلیو پرنٹ میں کنکشن کے طور پر شامل کریں۔