ART
BEAUTY & WELLNESS
CRAFT
CULTURE & HISTORY
ENTERTAINMENT
ENVIRONMENT
FOOD & DRINKS
REVERSE ENGINEERING
SCIENCES
SPORTS
TECHNOLOGY
WEARABLES
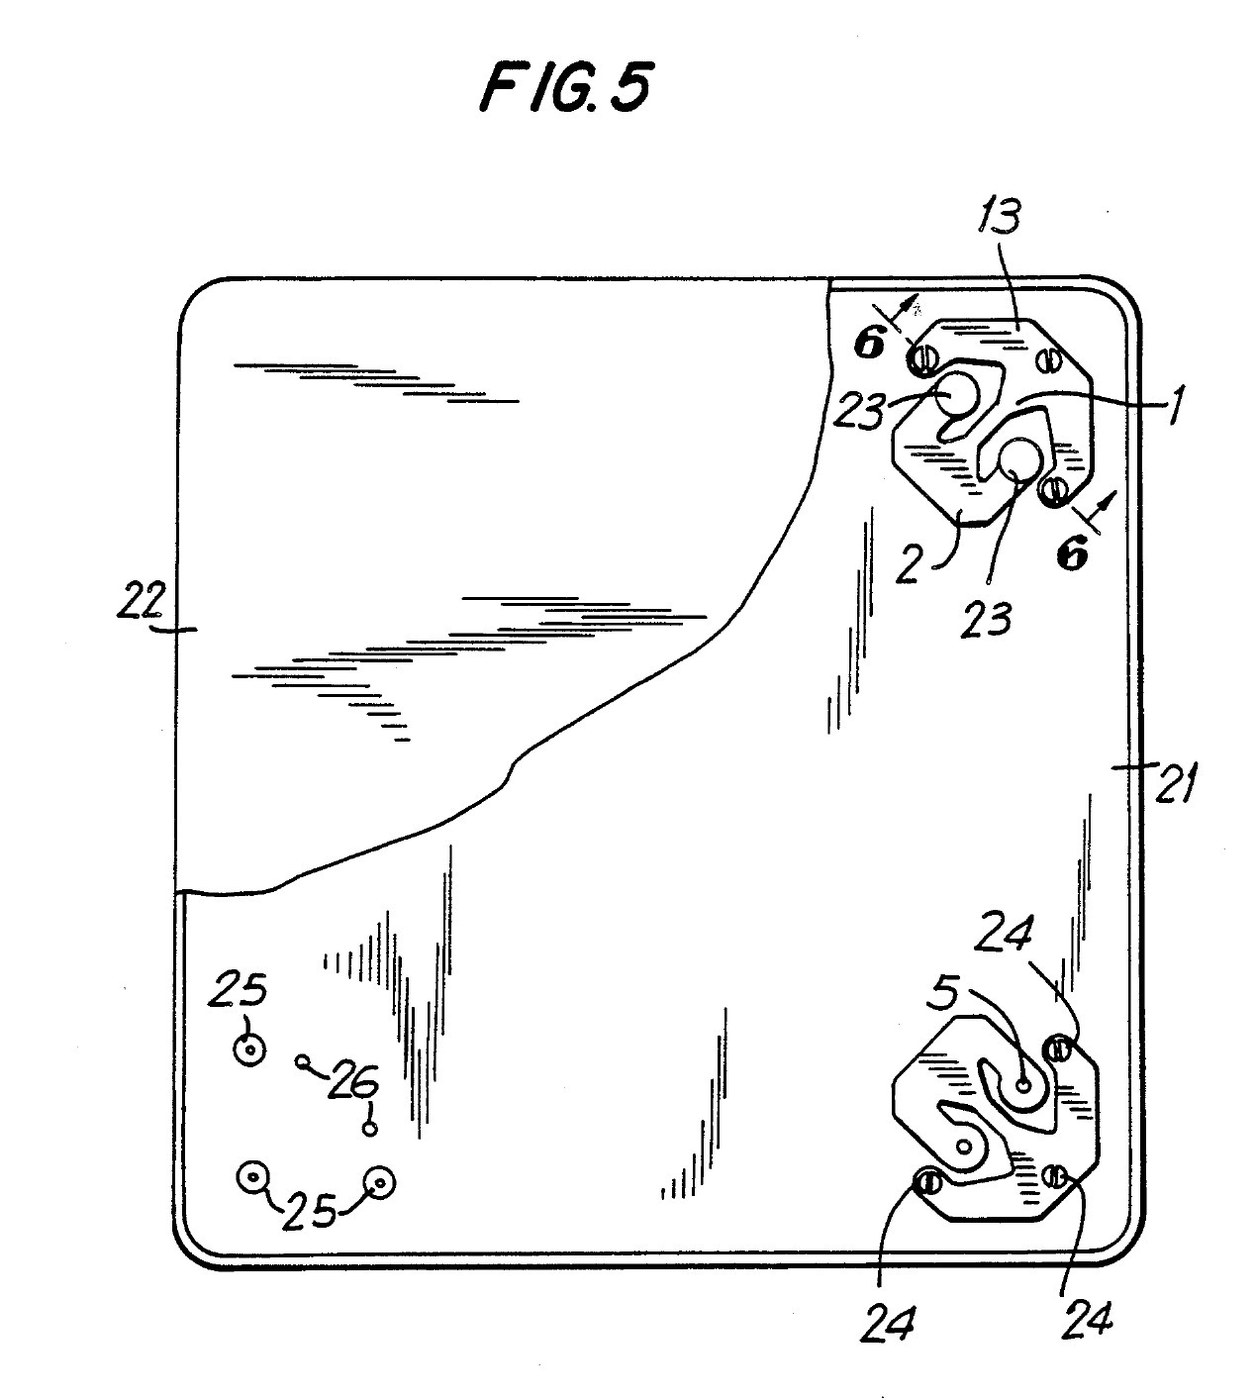


Bathroom Scale: Four Flat Load Cells Between Two Plates (Angel, 1991)
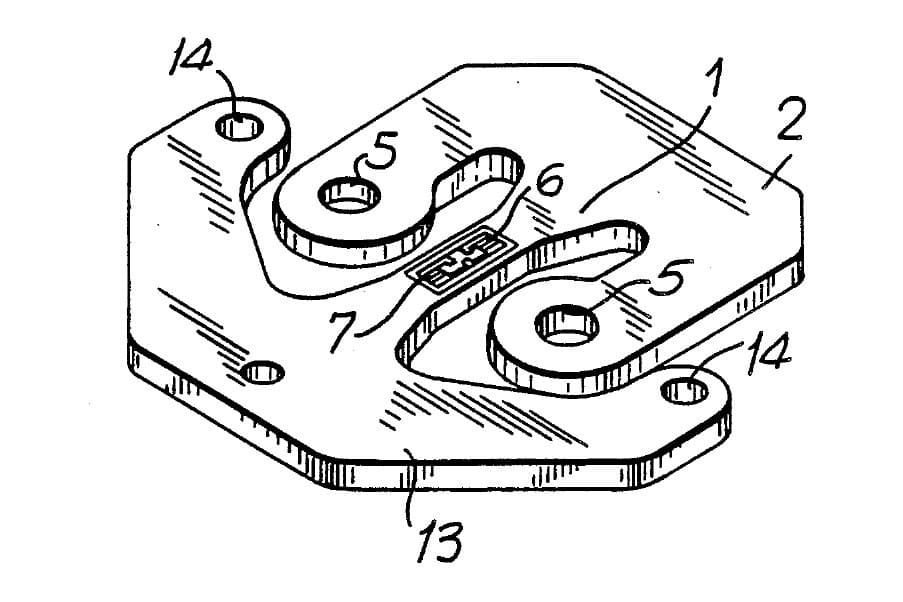
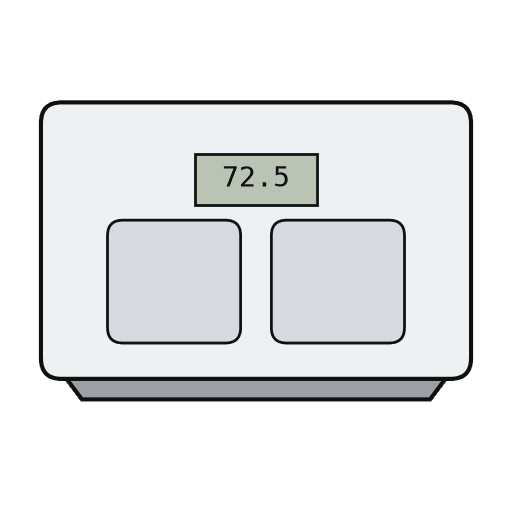
A floor scale only as thick as two plates. Four flat load cells sit in the corners between a base and a top plate; their strain gauges are wired into one bridge, so the signal is the sum of the four loads wherever you stand.
Result: a low digital bathroom scale reading in pounds or kilograms. The patent gives under 0.05 % non-linearity, hysteresis and non-repeatability, and under 0.1 % error from off-centre loads; its feet let it stand on thick carpet.
Source: S. Angel, US Patent 4,993,506 (1991). Unknown: the plate material and size, the maximum load, and the circuit. Ours: ebonite for the hard rubber, epoxy, the amplifier and display parts. Picture: patent drawing (Fig. 5).
Advanced
2 days
Instructions
1
1
Mount the four load cells
Mount the four load cells
Put one load cell in each corner of the rigid base plate. Screw each one down to small flat raised pads on the plate. Place the pads away from the edge of the cell's beam, so that fixing the cell does not change its sensitivity. Under each cell, tap two holes through the base for the overload screws. Not given: the plate material and size.
Materials for this step:
 Load Cell4 pieces
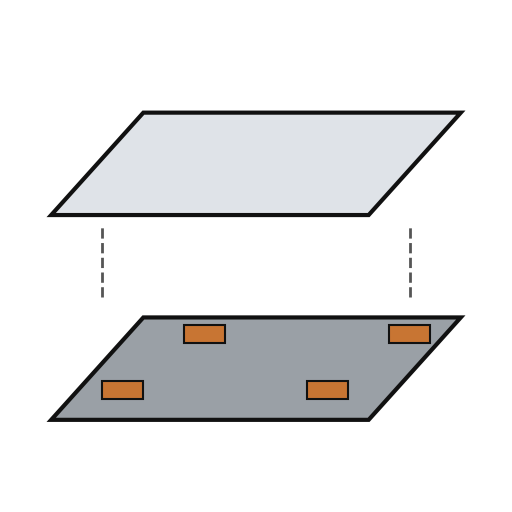 Scale Base and Top Plate1 base and top plate
 Machine Screws8 cell screws
Tools needed:
 Tap and Die Set
 Screwdriver Set
 Unknown Dimensions
2
2
Wire one bridge and the readout
Wire one bridge and the readout
Each cell's two gauges are half a Wheatstone bridge. Join the four halves into one full bridge, one half at each corner, so the bridge gives a signal in step with the sum of the four loads. The signal is amplified, turned into numbers by an analog-to-digital converter, worked into pounds or kilograms and shown on a display. Put the electronics and batteries in the space between the plates. Not given: the circuit. Ours: an op-amp and a segment LCD.
Materials for this step:
 Op-Amp IC1 amplifier
 Analog-to-Digital Converter1 piece
 Segment LCD Panel1 piece
 Battery1 as the circuit needs
 Hookup Wire1 as needed
 Solder Wire1 a little
Tools needed:
 Soldering Iron
3
3
Fit the top plate on hard rubber pads
Fit the top plate on hard rubber pads
Glue four flat round pads of a rigid but slightly yielding material, such as hard rubber, under the top plate. Give each pad small round studs that snap into the two load holes of its cell, so the weight goes in at the centres of those holes. The pads soften impacts when something is dropped on the scale and take up sideways forces as the top plate bends. The snaps let the top plate be pulled off for repairs. Ours: ebonite and epoxy.
Materials for this step:
 Ebonite Rod1 four pads
 Two-Part Epoxy Adhesive (Quick Set)1 a little
Tools needed:
 Hacksaw
4
4
Fit the feet
Fit the feet
Under the base, below each cell, fix a shallow foot of flexible material such as hard rubber, rounded underneath. Put its lowest point exactly below the centre of the cell's beam: the floor then pushes up at the beam's centre without bending it, and the scale works on thick carpet or uneven floors. Ours: ebonite.
Materials for this step:
Ebonite Rod1 four feetTwo-Part Epoxy Adhesive (Quick Set)1 a littleTools needed:
Hacksaw5
5
Set the overload stops
Set the overload stops
Load the scale to its maximum capacity. Turn the short screws in from below until they just touch the arms of each cell's loading element, then lock them with adhesive. Any heavier load now rests on the screws instead of bending the cells further. Not given: the maximum capacity. Ours: calibration weights and epoxy.
Materials for this step:
Machine Screws8 overload screwsTwo-Part Epoxy Adhesive (Quick Set)1 a littleTools needed:
 Calibration Weight SetScrewdriver Set
Materials
11- 4 piecesPlaceholder
- 1 base and top platePlaceholder
- 8 overload screwsPlaceholder
- 1 amplifierPlaceholder
- 1 piecePlaceholder
- 1 piecePlaceholder
- 1 as the circuit needsPlaceholder
- 1 as neededPlaceholder
- 1 a littlePlaceholder
- 1 four feetPlaceholder
- 3 a littlePlaceholder
Tools Required
6- Placeholder
- Placeholder
- Placeholder
- 2 vendors sell this, none ship to you yetPlaceholder
- Placeholder
- Placeholder
Connected Blueprint Materials
This blueprint makes
Related Blueprints
These blueprints share knowledge with this one — techniques, materials, or principles that connect them in the learning graph.

CC0 Public Domain
This blueprint is released under CC0. You are free to copy, modify, distribute, and use this work for any purpose, without asking permission.
Support the Maker by purchasing products through their Blueprint where they earn a Maker Commission set by Vendors, or create a new iteration of this Blueprint and include it as a connection in your own Blueprint to share revenue.