ART
BEAUTY & WELLNESS
CRAFT
CULTURE & HISTORY
ENTERTAINMENT
ENVIRONMENT
FOOD & DRINKS
REVERSE ENGINEERING
SCIENCES
SPORTS
TECHNOLOGY
WEARABLES
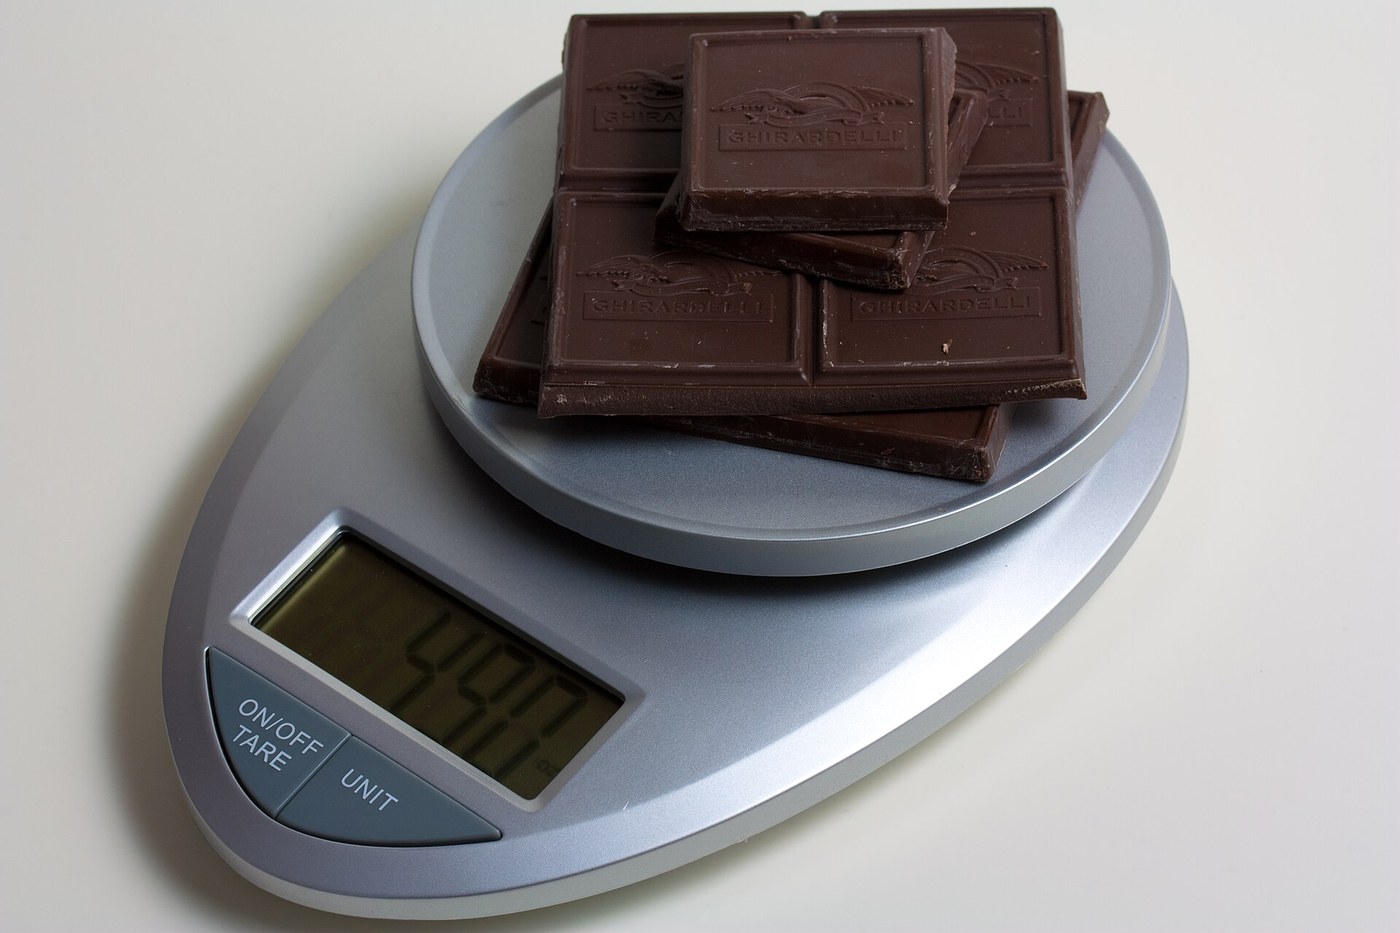

Digital Kitchen Scale: a Cantilever Load Cell in a Sealed Dual Housing (Edlund, 2009)
A digital scale built to survive a kitchen: spills, washing and being dropped. The load cell is a short cantilever with a strain sensor on top, and the electronics sit in a sealed compartment. Both are in a plastic chassis held loosely inside a second, outer housing of stainless steel and plastic, with crushable spacers between the two.
Result: a digital kitchen scale with a removable pan, sealed display and touchpad, battery power and an overload stop under the load cell.
Source: R. S. Whitney (Edlund Company), US Patent 7,554,043 (2009). Unknown: sizes, capacity, resolution and the electronics; the patent says suitable force transducers are readily available. Ours: the display and button types. Picture: Wikimedia Commons.
Advanced
2 days
Instructions
1
1
Mount the cantilever load cell
Mount the cantilever load cell
In the load-cell cavity of the plastic chassis, screw a base plate to the cavity floor. Screw the cantilever support to the base plate; a support plate on the cantilever carries the posts for the pan. A strain transducer on top of the cantilever senses the top stretching as it bends under a load. A window in the base plate leaves the cavity floor just below the free end, so an overload bottoms out there instead of breaking the transducer.
Materials for this step:
 Load Cell1 cantilever type
 Plastic1 chassis
 Machine Screws1 set
Tools needed:
 Screwdriver Set
 Unknown Dimensions
2
2
Seal in the electronics
Seal in the electronics
On the other side of the chassis, fit the display electronics behind one opening and the touchpad electronics behind another, wired to the strain transducer through sealing bushings. Fit a battery holder. Close the compartment with its cover on gaskets, so the electronics stay dry. Not given: the circuit, the display and the battery. Ours: a segment LCD and push buttons.
Materials for this step:
 Integrated Circuit1 weighing and display electronics
 Segment LCD Panel1 piece
 Push Button1 touchpad keys
 Battery1 piece
 Gasket2 pieces
 Hookup Wire1 short
 Solder Wire1 a little
Tools needed:
 Soldering IronScrewdriver Set
3
3
Close it in the outer housing
Close it in the outer housing
Place the chassis, unfastened, between the two halves of the outer housing: a stainless-steel top with downturned sides, and a plastic bottom. Spacers moulded on the chassis sides press against the housing sides. They take a blow if the scale is dropped, and may crush on purpose to save the load cell and electronics. A sealed window of plastic or glass shows the display. A flexible sheet covers the touchpad. Fit four height-adjustable feet.
Materials for this step:
 Stainless Steel Sheet1 upper housingPlastic1 lower housing
 Unknown Material1 window, touchpad sheet, four feet
Tools needed:
Screwdriver SetUnknown Dimensions4
4
Fit the pan and check
Fit the pan and check
Screw the pan support to the four supports of the load cell. Rest the removable pan on it, or snap it on, so it lifts off for washing. A flexible boot can seal each support where it passes through the housing. Ours: check the reading with calibration weights.
Materials for this step:
 Weighing Pan1 metal or plasticMachine Screws1 set
Tools needed:
Screwdriver Set Calibration Weight Set
Materials
13- 1 cantilever typePlaceholder
- 1 lower housingPlaceholder
- 2 setsPlaceholder
- 1 weighing and display electronicsPlaceholder
- 1 piecePlaceholder
- Placeholder
- 1 piecePlaceholder
- 2 piecesPlaceholder
- 1 shortPlaceholder
- 1 a littlePlaceholder
- 1 upper housingPlaceholder
- 1 window, touchpad sheet, four feetPlaceholder
- 1 metal or plasticPlaceholder
Tools Required
4- Placeholder
- Placeholder
- 2 vendors sell this, none ship to you yetPlaceholder
- Placeholder
Connected Blueprint Materials
10% Attribution
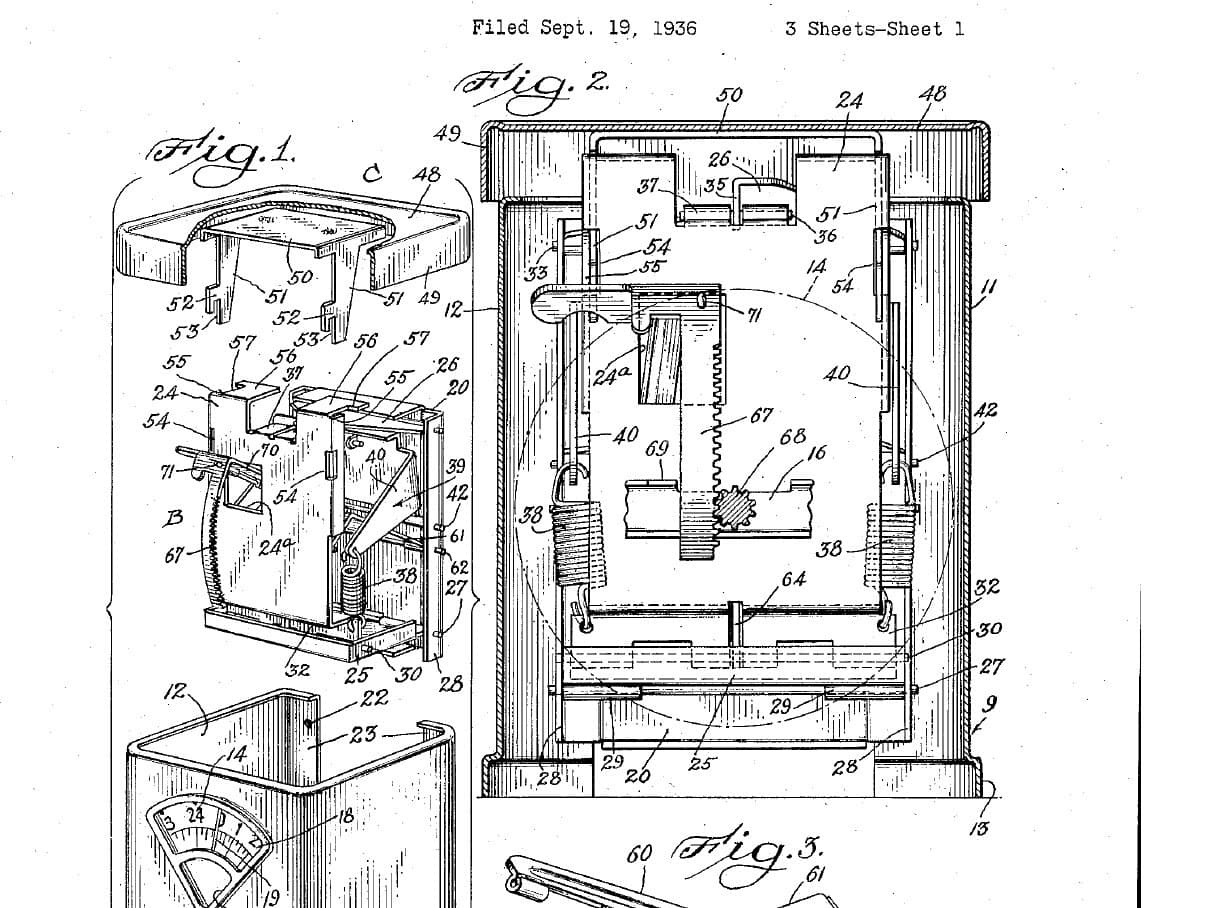
Mechanical Kitchen Scale: Sheet-Metal Case, Guided Plate and Two Springs to a Dial (Hansen, 1939)
by Penny
Mechanics
0
0
0
0
1
0
10% Attribution
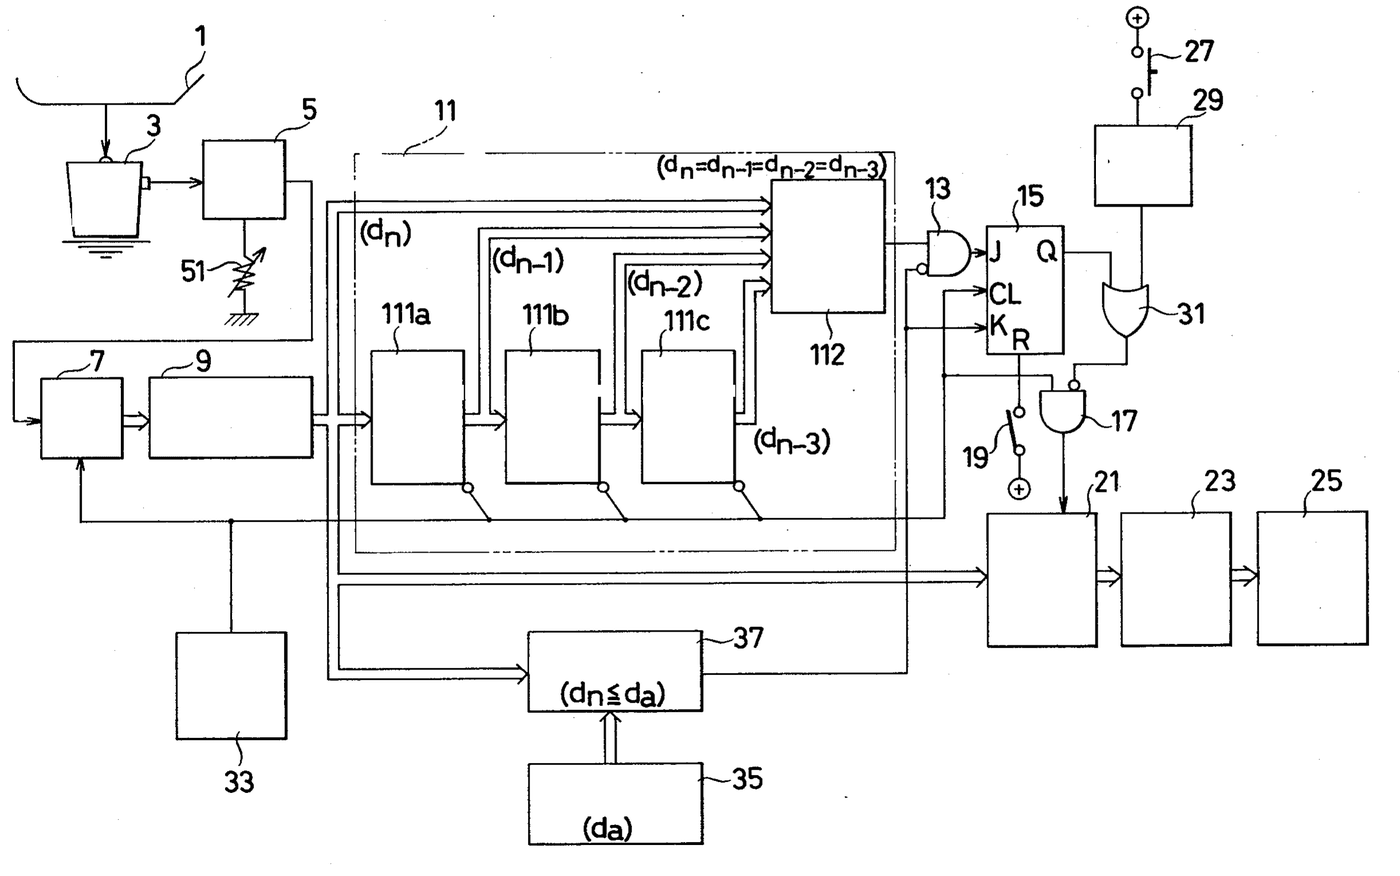
Electronic Baby Scale That Holds a Steady Reading: Hino & Itani, 1981
by Penny
Electronics
21
0
0
0
2
0
10% Attribution
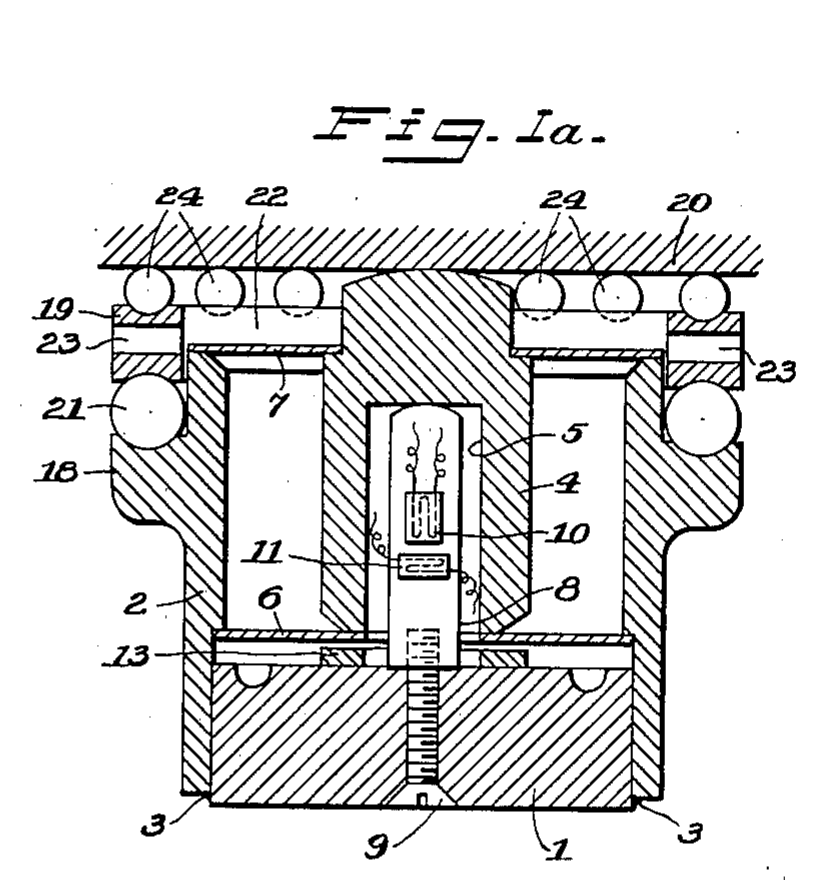
Strain-Gauge Load Cell with Floating Piston: Ruge, 1949
by Penny
Electronics
26
0
0
0
3
0
This blueprint makes

Related Blueprints
These blueprints share knowledge with this one — techniques, materials, or principles that connect them in the learning graph.
CC0 Public Domain
This blueprint is released under CC0. You are free to copy, modify, distribute, and use this work for any purpose, without asking permission.
Support the Maker by purchasing products through their Blueprint where they earn a Maker Commission set by Vendors, or create a new iteration of this Blueprint and include it as a connection in your own Blueprint to share revenue.