Colaboração
ARTE
BELEZA E BEM-ESTAR
ARTESANATO
CULTURA E HISTÓRIA
ENTRETENIMENTO
MEIO AMBIENTE
COMIDA E BEBIDAS
ENGENHARIA REVERSA
CIÊNCIAS
ESPORTES
TECNOLOGIA
TECNOLOGIA VESTÍVEL
Hinged-Arm Frame Churn: An Arm That Swings Back Holds the Dasher's Top, Its Forked Brace Holds the Cover Down
Buttercup

Criado por

Buttercup

11. novembro 2026IE
9
0
0
0
0

Hinged-Arm Frame Churn: An Arm That Swings Back Holds the Dasher's Top, Its Forked Brace Holds the Cover Down

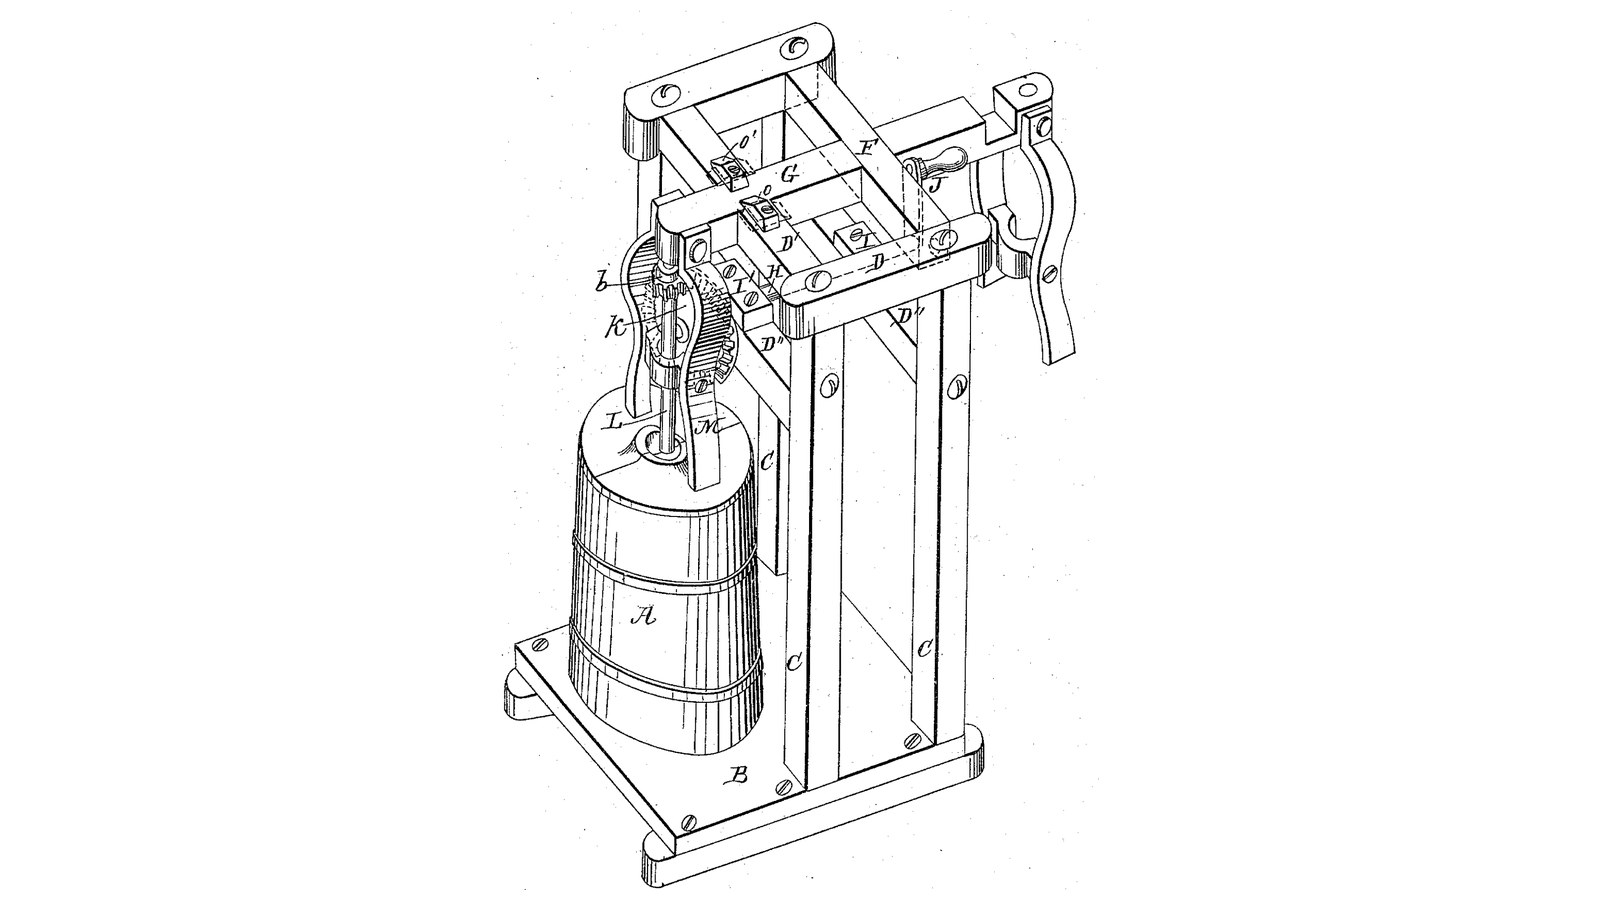
John Stilwell of Griffin, Georgia, received US 32,388, dated 21 May 1861, for a stand that turns the dasher of an upright churn. The churn stands on a base in front of a frame; an arm fixed to a cross bar turning in the frame's top reaches over it and holds the dasher's top, while a crank shaft on the frame turns the dasher through bevel gearing. A forked brace hinged to the arm presses the two half covers and the churn down. Turn the brace up to look in, or loosen two buttons and swing the arm back to take the churn out. The patent gives no sizes; every size here is ours.
Intermediário
About 3 days

Instruções

1

Swinging the arm clear

A carregar o notebook Jupyter…
2

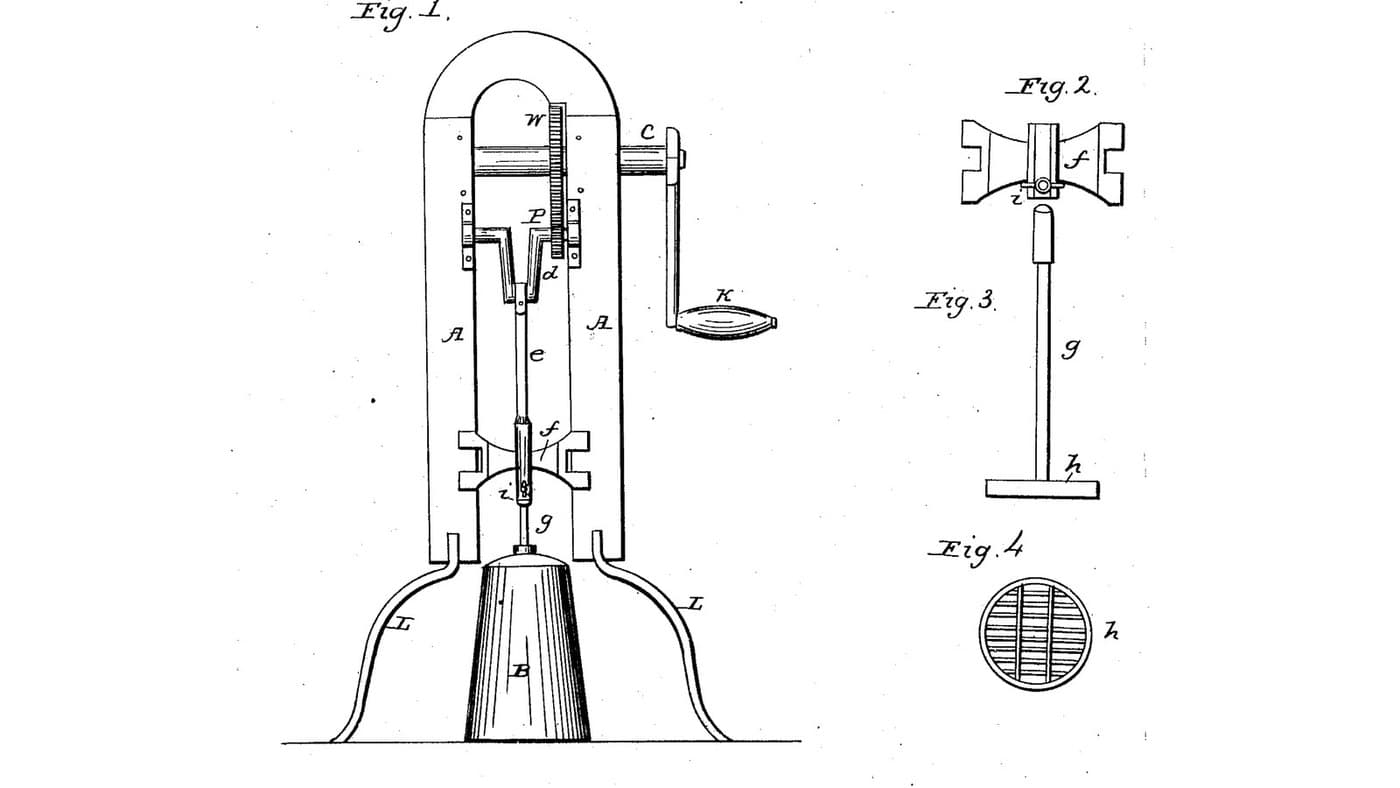
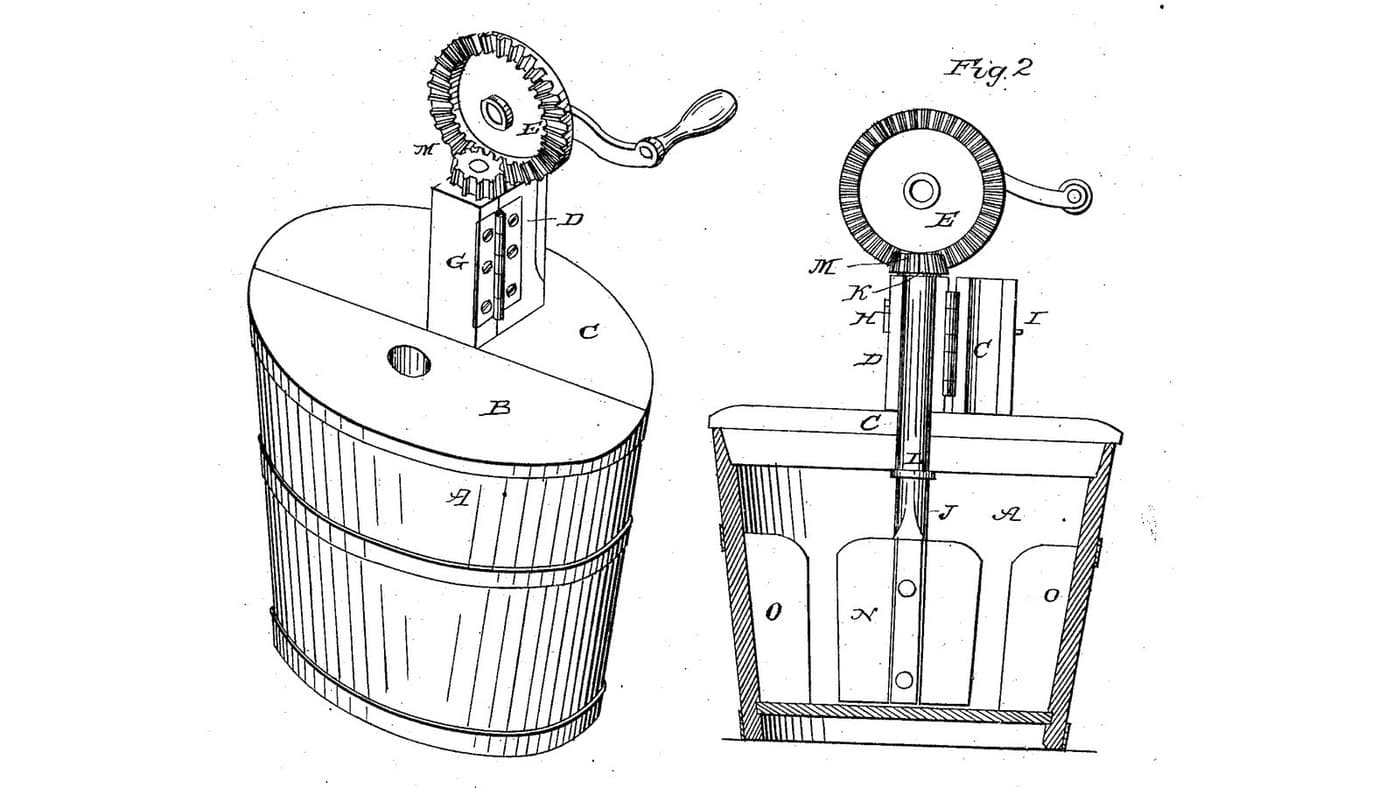
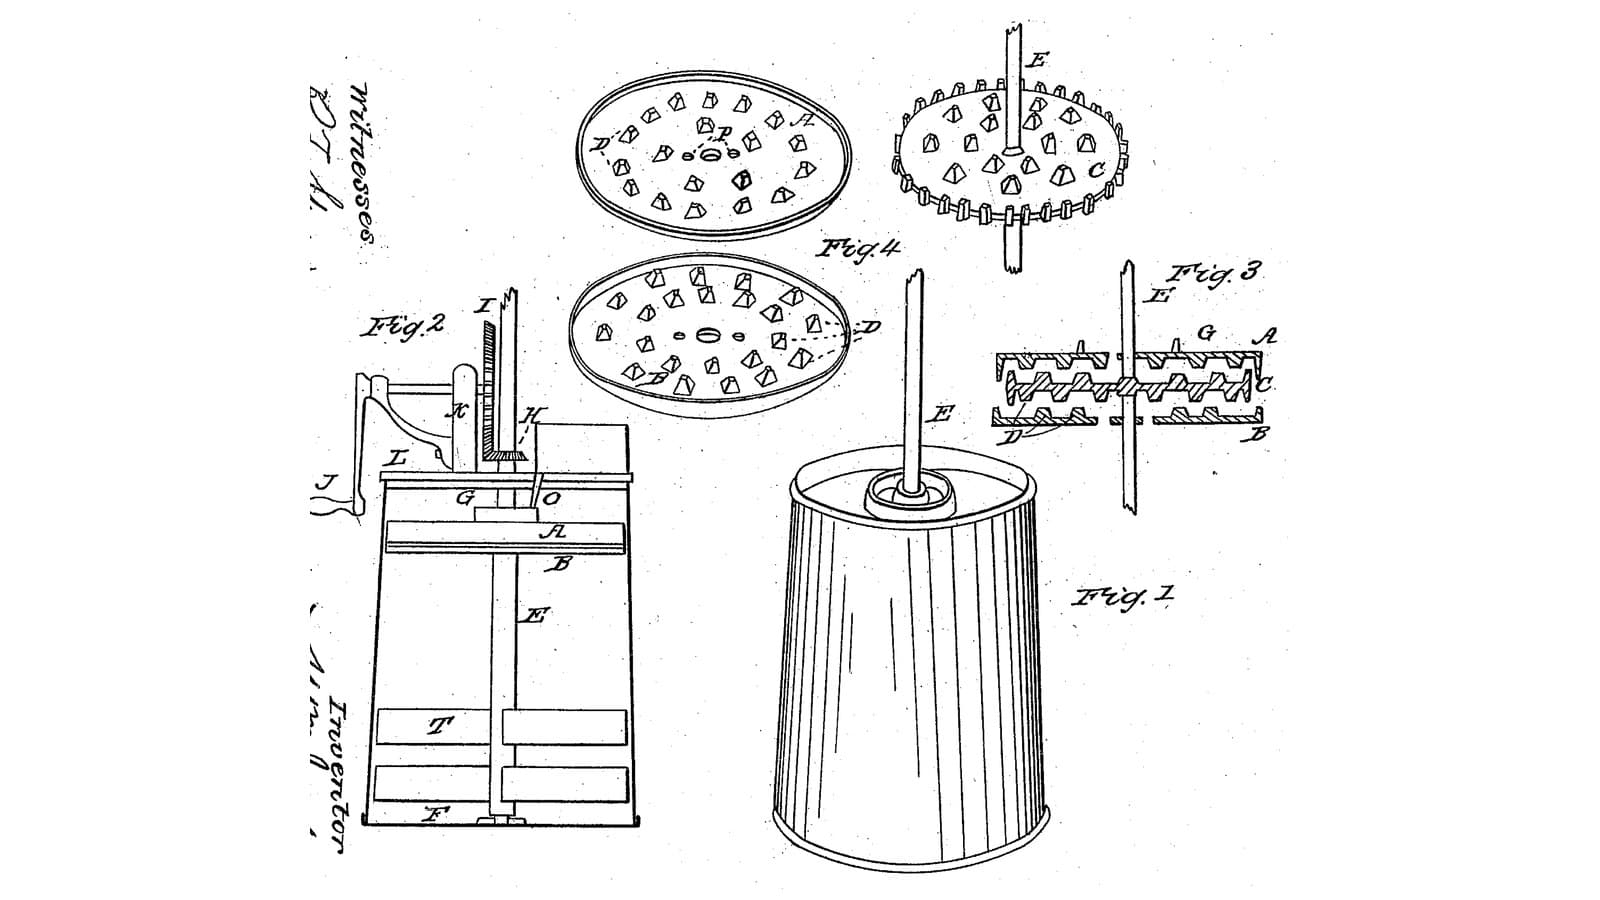
A hinged bearing over the churn, a year before

Mitchell hangs the dasher from a hinged journal box. Stilwell steps it in the churn and holds its top in an arm that swings back.
3

Read US 32,388

"By means of the forked brace bar the churn is held in position in the frame without other fastening and the cover firmly fastened thereon, thus preventing the cream from being thrown out by the action of the beaters. The brace bar also serves to steady the end of the arm in which the beater shaft is stepped."
4

Base B, uprights C and cross ties D, D', D''

Glue up a hardwood base B 400 x 600 x 30 mm. Mortise four hardwood uprights C 40 x 40 mm, 603 long, into it at the back, 220 mm apart side to side, in pairs 100 mm apart front to back, 230 mm behind where the churn's centre will be. Join each side pair at the top with a cross tie D 40 x 30, 160 long, bored 20.6 mm across 40 mm from its front end for the cross bar's journals; join the front pair with a cross tie D' 260 long, 30 below the top; and join each pair 430 mm up with a cross tie D'' 260 x 40 x 20 for the crank shaft's boxes.

Materiais para este passo:

Tábua de madeira de leiTábua de madeira de lei4 peças
Cola de madeiraCola de madeira1 peça
Parafusos para madeiraParafusos para madeira24 peças

Ferramentas necessárias:
Serra de mesaSerra de mesa
Conjunto de formões para madeiraConjunto de formões para madeira
TupiaTupia
Berbequim sem fiosBerbequim sem fios
Jogo de brocasJogo de brocas
Conjunto de brocas de páConjunto de brocas de pá
Sargento de barraSargento de barra
Fita métricaFita métrica
5

Cross bar F, arm G, buttons O, O' and brace bar M

Run a 20 mm stainless rod 270 mm long as the cross bar F through both cross ties D. Cut a hardwood arm G 40 x 30 mm, 310 long, bore it across 20.4 mm 20 mm from its back end, and pin it on F so it reaches forward over the churn's centre resting on the tie D'. Glue a hardwood block 40 x 40 x 40 under its front end, bored 16.6 mm 30 deep from below for the staff's top. Screw two hardwood buttons O, O' on the tie D' either side of the arm, to turn over it. For the brace bar M, cut two hardwood legs 20 x 20 mm, 250 long, and a foot bar 110 x 20 x 12 notched for the staff, and hang the legs either side of the arm on a 12 mm stainless pin through it above the staff, so the foot presses the cover.

Materiais para este passo:

Varão de aço inoxidávelVarão de aço inoxidável2 peças
Tábua de madeira de leiTábua de madeira de lei1 peça
Cola de madeiraCola de madeira1 peça
Parafusos para madeiraParafusos para madeira6 peças
ContrapinoContrapino4 peças

Ferramentas necessárias:

Serra de mesaSerra de mesa
Berbequim sem fiosBerbequim sem fios
Jogo de brocasJogo de brocas
Conjunto de brocas de páConjunto de brocas de pá
Serra de arco para metaisSerra de arco para metais
Limas (lima de mão)Limas (lima de mão)
Conjunto de chaves de fendasConjunto de chaves de fendas
6

Print the step

The step in the churn's bottom: 40 mm across, 12 high, with a 16.8 mm hole 8 deep. PETG, 0.2 mm layers, 30 % infill, 4 walls.
Arquivo de designSTLCC0 - Free
7

Print the pinion b

The pinion on the staff: 14 teeth, module 2.5, 16.2 mm bore. PETG, 0.2 mm layers, 30 % infill, 4 walls.
Arquivo de designSTLCC0 - Free
8

Print the bevel wheel K

The driving wheel K: a crown wheel of 42 teeth, module 2.5, 16.2 mm bore. PETG, 0.2 mm layers, 30 % infill, 4 walls.
Arquivo de designSTLCC0 - Free
9

Churn A, covers, staff L, shaft H, wheel K and crank J

Use a 20-litre food-grade bucket as the churn A on the base in front of the frame, with the step in its bottom. Cut a 12 mm HDPE cover to it and saw it in two halves through a 17 mm centre hole. Cut a 16 mm stainless staff L 586 mm long, screw two crossed hardwood slats 240 x 30 x 8 mm on hubs 70 and 170 mm above its foot as the dasher, and pin the pinion b on it 420 mm above the churn's floor. Screw two hardwood boxes I, I' 50 x 24 x 47 mm on the D'' ties, bored 16.6 mm across 23 mm above them. Run a 16 mm stainless shaft H 410 mm long through them with the wheel K pinned on its front end meshing b, a shaft collar behind the front box, and a crank J of mild steel flat bar, 100 mm throw, with a hardwood handle at the back.

Materiais para este passo:

Balde de 20 litrosBalde de 20 litros1 peça
Chapa de PEADChapa de PEAD1 peça
Varão de aço inoxidávelVarão de aço inoxidável2 peças
Tábua de madeira de leiTábua de madeira de lei1 peça
Cavilhas de madeira duraCavilhas de madeira dura1 peça
Parafusos para madeiraParafusos para madeira8 peças
Shaft CollarShaft Collar1 peça
ContrapinoContrapino3 peças
Barra chata de aço macioBarra chata de aço macio1 peça
Filamento PETGFilamento PETG1 peça

Ferramentas necessárias:

Impressora 3D de filamento (FDM)Impressora 3D de filamento (FDM)
BússolaBússola
Serra tico-ticoSerra tico-tico
Conjunto de brocas de páConjunto de brocas de pá
Berbequim sem fiosBerbequim sem fios
Jogo de brocasJogo de brocas
Serra de arco para metaisSerra de arco para metais
Limas (lima de mão)Limas (lima de mão)
Torno de bancadaTorno de bancada
Conjunto de chaves de fendasConjunto de chaves de fendas
10

The build in 3D

FreeCAD model of this build, the churn cut open: the base and frame, the cross bar with the arm and its bearing block, the buttons, the forked brace bar on the covers, the staff with its slats and pinion, and the crank shaft with the bevel wheel running back through the frame to the crank.
Arquivo de designBLENDCC0 - Free
11

Churn

With the arm turned back, stand the churn on the base with the staff in its step, pour in about 10 litres of heavy cream at about 15 °C, checked with the thermometer, and lay on the half covers. Swing the arm down over the staff's top, turn the buttons over it and let the brace bar rest on the covers. Turn the crank steadily, timing it. To look in, turn the brace up and lift a half cover. When the butter comes, turn the buttons, swing the arm back, lift out the staff, take out the butter, pour the buttermilk into a bowl, wash the butter in cold water until it runs clear, salt and weigh it.

Materiais para este passo:

Natas para baterNatas para bater10 l
Sal marinho grossoSal marinho grosso1 peça
ÁguaÁgua1 peça

Ferramentas necessárias:

Termómetro de sonda permanenteTermómetro de sonda permanente
CronómetroCronómetro
Balança digital de cozinhaBalança digital de cozinha
Taça grande de aço inoxidávelTaça grande de aço inoxidável
12

Troubleshooting

Hinged-arm churn troubleshooting.

Flow

Loading...
13

History and honest limits

**John Stilwell** of Griffin, Spalding County, Georgia, US 32,388, 21 May 1861, "Churn". He claimed "the combination of the brace bar M, hinged arm G, buttons O, O', with a vertical barrel churn and rotary dasher shaft L". He neither drew nor described the dasher on the shaft; ours is two crossed slats. His churn was a hooped barrel and his gears bevel wheels; ours are a bucket and a printed crown wheel and pinion. The patent gives no sizes; every size here is ours.

Materiais

14

Ferramentas necessárias

19

Ficheiros de design

4

CC0 Domínio Público

Este blueprint é liberado sob CC0. Você é livre para copiar, modificar, distribuir e usar este trabalho para qualquer finalidade, sem pedir permissão.

Apoie o Maker comprando produtos através do Blueprint, onde ele ganha uma Comissão Maker definida pelos vendedores, ou crie uma nova versão deste Blueprint e inclua-o como conexão no seu próprio Blueprint para compartilhar receita.

Discussão

(0)

Entrar para participar da discussão

Carregando comentários...