Making Treenails — Wooden Pegs for Timber Framing and Shipbuilding
Before iron nails were cheap, wood was fastened with wood. A treenail (pronounced 'trunnel') is a cylindrical wooden peg driven into a bored hole to lock a timber joint together. Treenails held together medieval roof trusses, Viking longships, and post-and-beam barns for centuries. In many applications they outperform iron nails — they do not rust, they swell when wet to tighten the joint, and they flex with the timber instead of working loose.
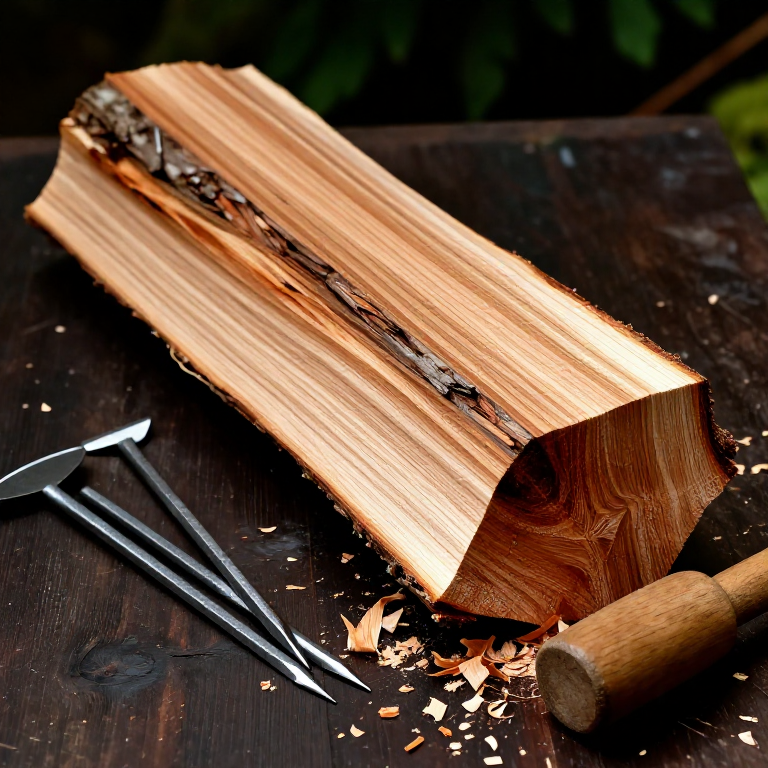
Treenails are always made from a wood harder or at least as hard as the timber they join. Oak treenails in oak frames, or locust treenails in softwood construction. They are riven from straight-grained stock, never sawn — riving preserves the grain continuity that gives the peg its shear strength. A sawn peg has cut fibres that snap under load.
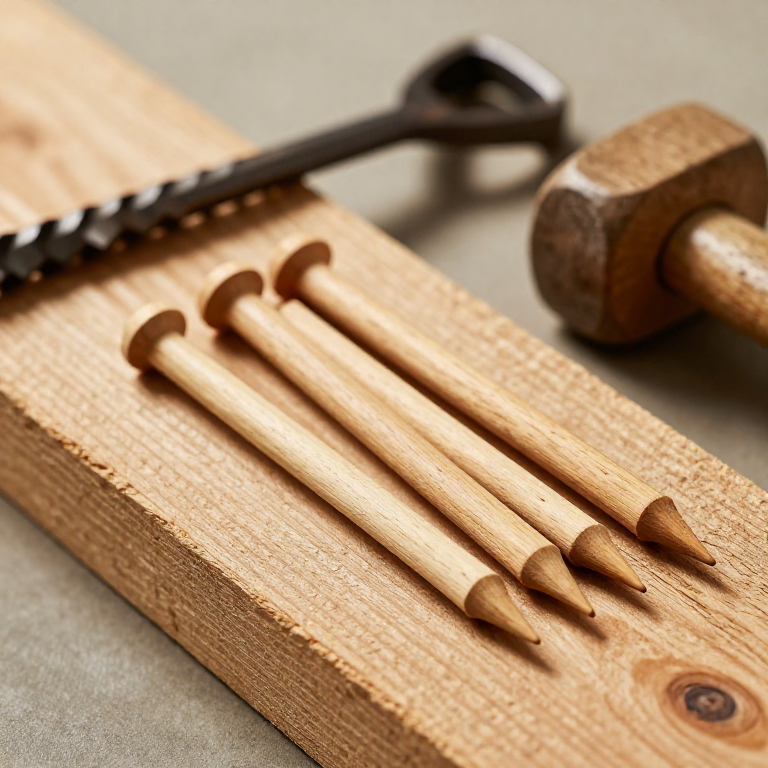
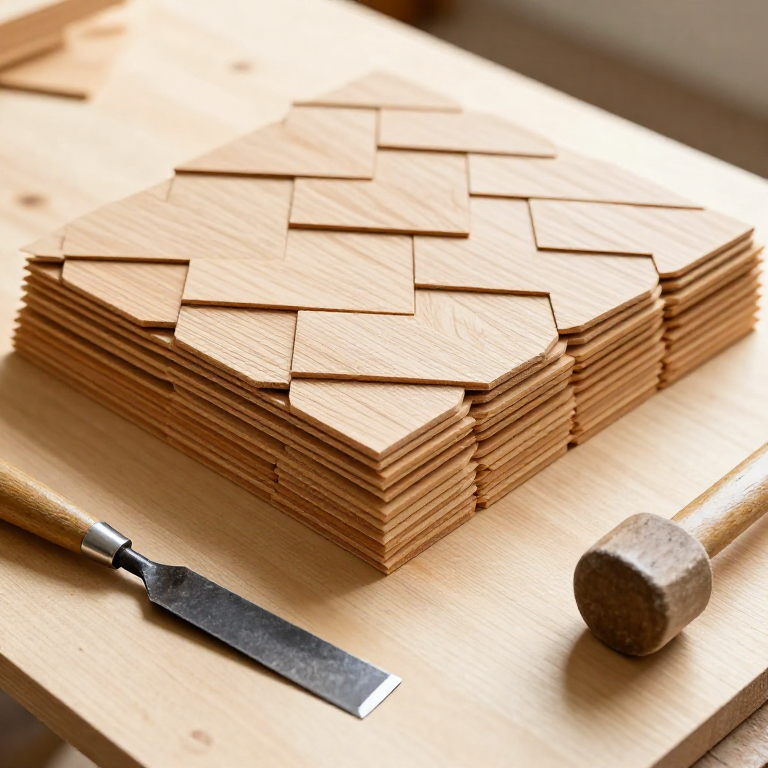
The technique is simple: rive a billet into rough square sections, then round them by driving through a steel plate with a round hole (a rounding die) or by shaving with a drawknife. The finished treenail is slightly tapered so it can be started in the hole and driven home with a mallet. Some traditions split the protruding end and drive a small hardwood wedge into the split, locking the treenail permanently.
手順
Select straight-grained hardwood
Select straight-grained hardwood
Rive the billet into square blanks
Rive the billet into square blanks
必要な工具:
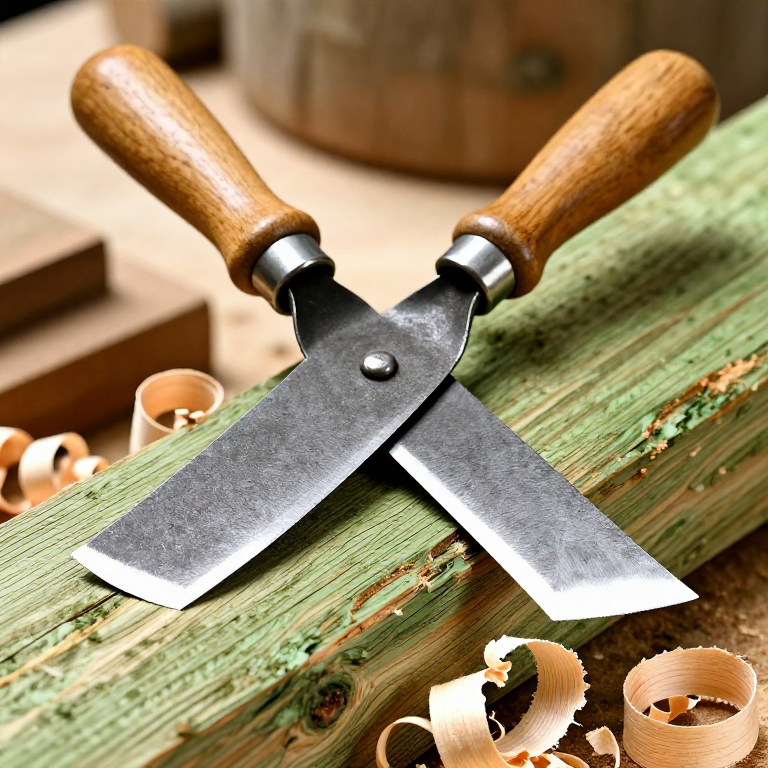
 Froe
FroeRound the blanks
Round the blanks
Taper the leading end
Taper the leading end
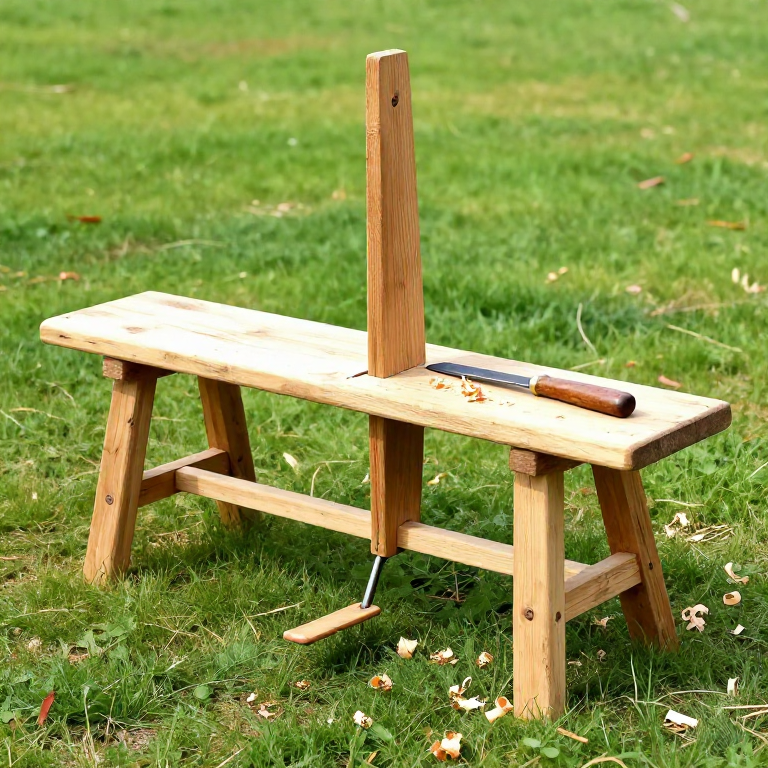
Bore the holes and drive the treenails
Bore the holes and drive the treenails
必要な工具:
 Hand Auger
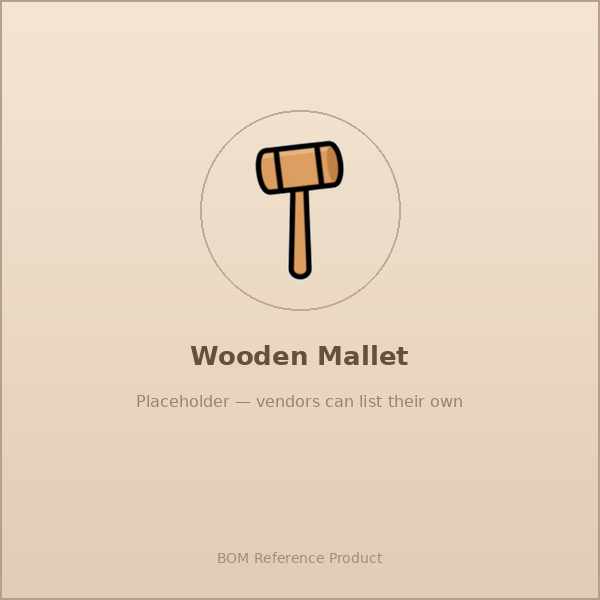 Wooden Mallet
Wedge the protruding end (optional lock)
Wedge the protruding end (optional lock)
接続ブループリントの材料
関連ブループリント
これらのブループリントは知識を共有しています — 技術、材料、原理
Related blueprints
Other builds that share materials, tools, or techniques with this one.
CC0 パブリックドメイン
このブループリントはCC0で公開されています。許可を求めずに、自由にコピー、修正、配布、あらゆる目的で使用できます。
メイカーを応援するには、ブループリント経由で製品を購入してください。メイカーには メイカーコミッション がベンダーにより設定されています。または、このブループリントの新しいイテレーションを作成し、自分のブループリントにコネクションとして含めて収益を共有できます。