
ART
BEAUTY & WELLNESS
CRAFT
CULTURE & HISTORY
ENTERTAINMENT
ENVIRONMENT
FOOD & DRINKS
REVERSE ENGINEERING
SCIENCES
SPORTS
TECHNOLOGY
WEARABLES
Fume Hood (Ducted): Sloping Stone Baffle Set from Outside by a Crank (Liptay, US 2,779,265, 1957)
Penny

Created by

Penny

3. November 2026DK
1
0
0
0
0

Fume Hood (Ducted): Sloping Stone Baffle Set from Outside by a Crank (Liptay, US 2,779,265, 1957)

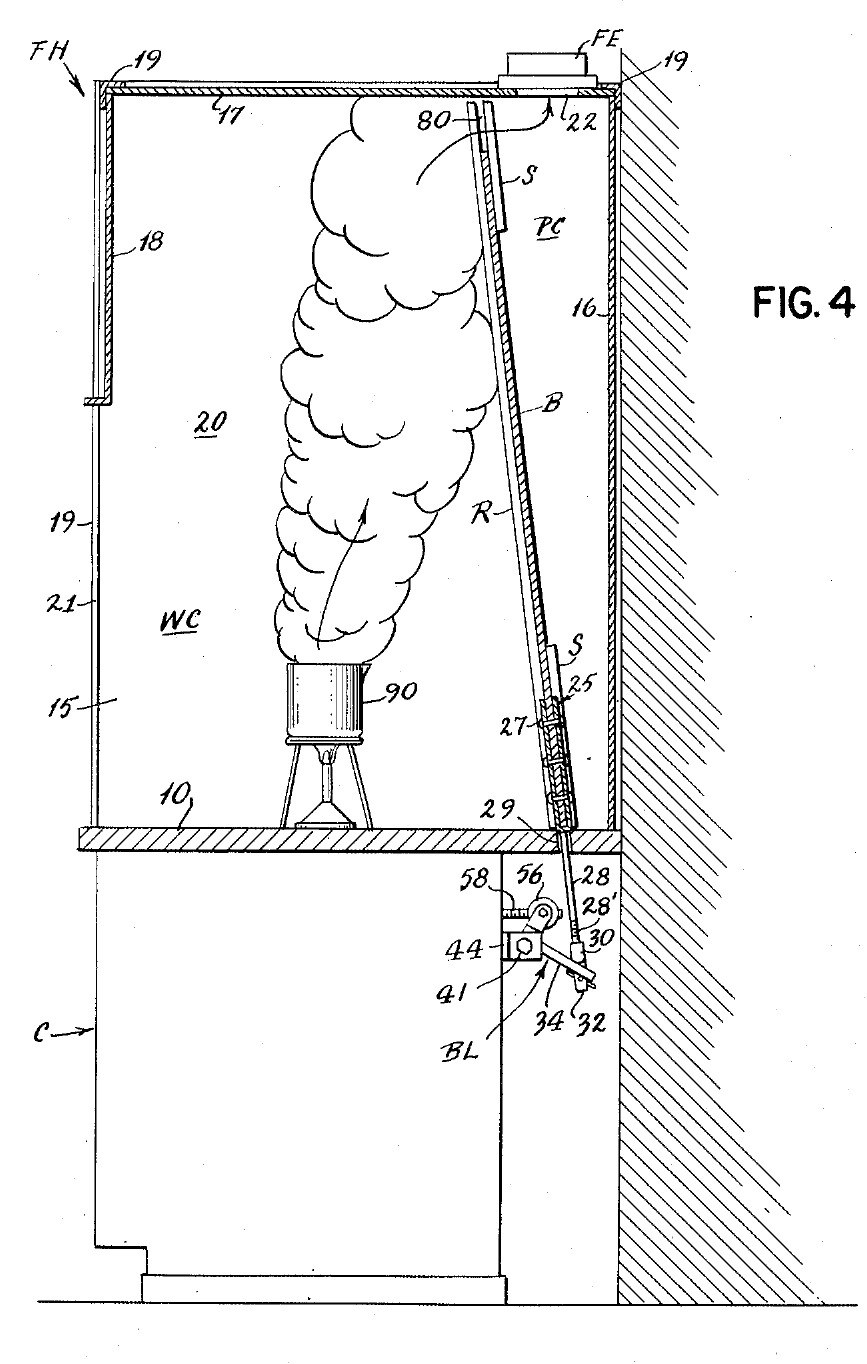
A bench fume hood on a stone counter, drawn off through a duct with a fan. Inside, a sloping stone baffle leaves a gap at the top and one at the bottom. A crank under the counter slides the baffle: one gap grows as the other shrinks, so the air sweeps light fumes out at the top or heavy fumes out at the bottom, with no one reaching inside. Result: a ducted hood whose air flow can be set for light or heavy fumes during work. Source: J. M. Liptay, US 2,779,265 (1957). Unknown: sizes, air flow, the fan and most materials. Picture: the patent drawing.
Advanced
Unknown

Instructions

1

Build the cabinet and stone counter

Build a sheet metal cabinet. Fix spaced sheet metal channels to its front panel and rear wall, and lay a stone slab on them as the counter. Bore a hole through the slab near the back, at the middle, for the baffle's lifting rod. Not given: sizes, the metal.

Materials for this step:

Unknown MetalUnknown Metal1 cabinet and channels
Flat Stone SlabFlat Stone Slab1 counter

Tools needed:

Tin SnipsTin Snips
Drill PressDrill Press
Unknown DimensionsUnknown Dimensions
2

Build the hood

On the counter, make a frame of corner angle irons. Fix to it two sides, a rear wall, a roof and a front panel. Leave the front open below the front panel: this is the large opening where you work and where air comes in. Cut the fume outlet in the roof, towards the back. Not given: the panel material, sizes.

Materials for this step:

Mild Steel Angle IronMild Steel Angle Iron1 corner frame
Unknown MaterialUnknown Material1 sides, rear wall, roof, front panel

Tools needed:
HacksawHacksaw
Unknown DimensionsUnknown Dimensions
3

Fit the exhaust pipe and fan

Fix an exhaust pipe over the roof outlet, with a fan in it, to draw the fumes out. Not given: the pipe, the fan, the air flow.

Materials for this step:

DuctworkDuctwork1 exhaust pipe
Air BlowerAir Blower1 fan

Tools needed:

Adjustable SpannerAdjustable Spanner
4

Fit the sloping baffle

Make a solid stone baffle almost as wide as the hood. Set it sloping up and forward from the rear wall, so it splits the inside into the work space in front and a duct behind that widens upward to the outlet. Guide it on sloping rails in front and strips behind, fixed to the sides, so it can slide. Leave a gap between its top and the roof, and one between its bottom and the counter. Not given: the rails' metal, sizes.

Materials for this step:

Flat Stone SlabFlat Stone Slab1 baffle
Unknown MetalUnknown Metal1 rails and strips

Tools needed:

Unknown DimensionsUnknown Dimensions
5

Make the lifting rod

Cut a notch in the middle of the baffle's lower edge. Make a V-shaped yoke whose legs straddle the baffle front and back, rivet the legs to it, and give the yoke a rod that hangs down through the hole in the counter. Thread the rod's lower end. Not given: the metal.

Materials for this step:

Unknown MetalUnknown Metal1 yoke, rod, rivets

Tools needed:

Rivet SetRivet Set
Tap and Die SetTap and Die Set
6

Fit the bell crank

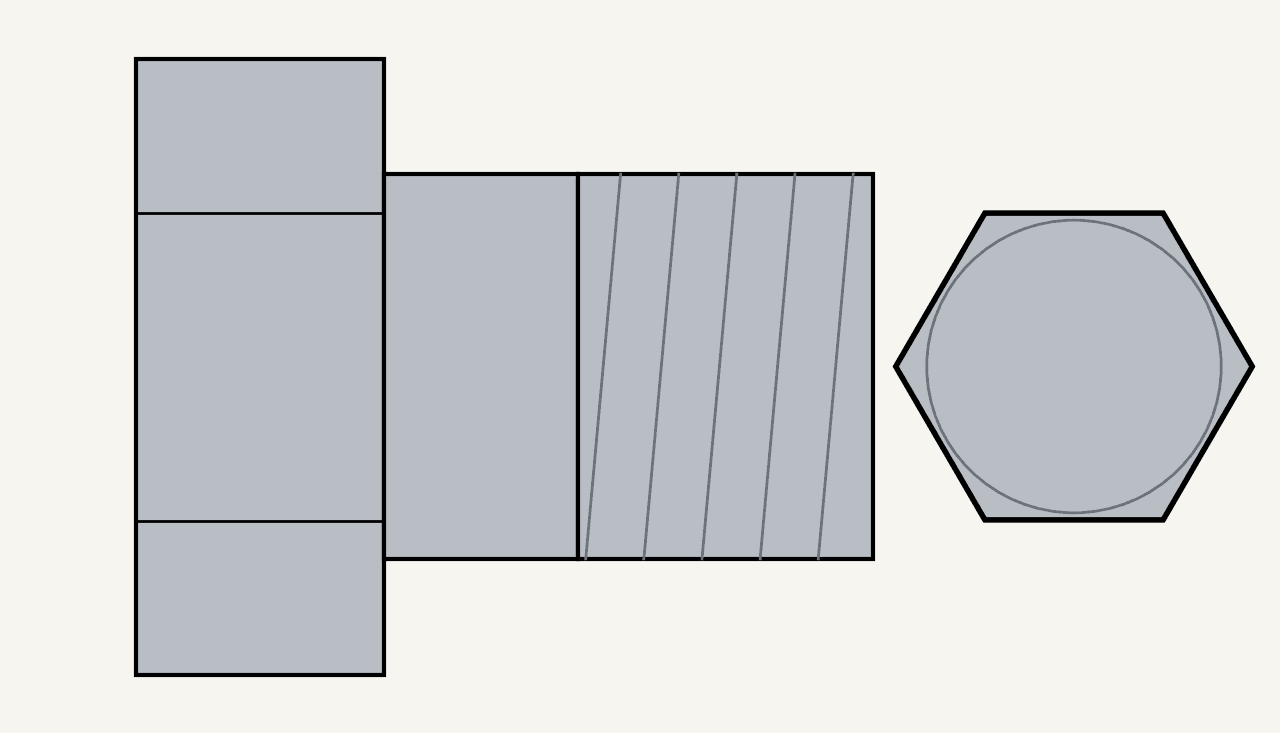
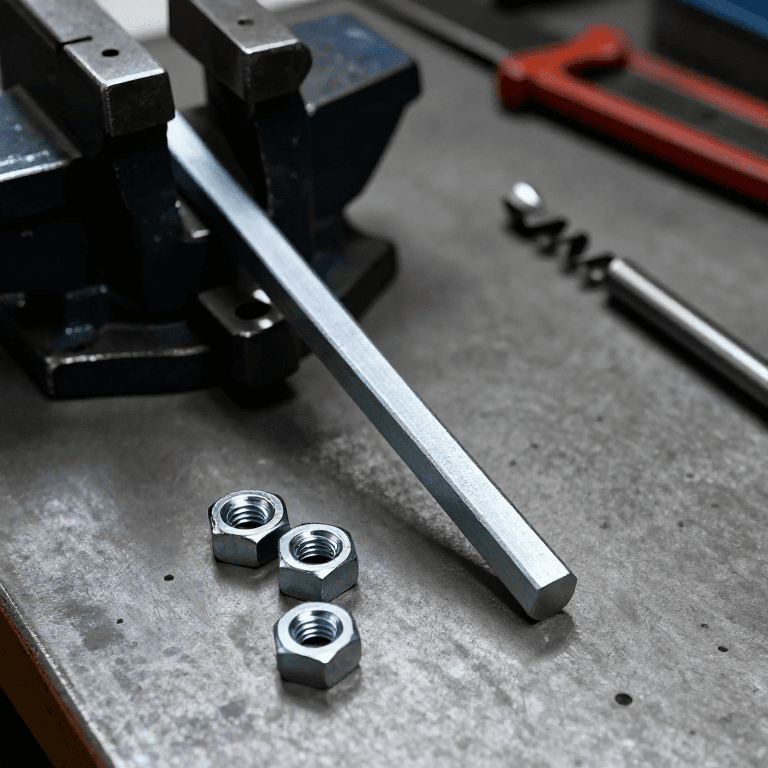
Under the counter, pivot a bell crank lever on a bolt through the lugs of a bracket fixed to the cabinet's rear channel. Screw a coupling onto the rod's threaded end. The coupling's two curved lips rock on the lever's long arm, and its tongue hangs through a slot in the arm, held by a cotter pin. On the short arm, a yoke turns on two bolts set fast in the threaded cross-holes of a round nut. Ours: hex bolts and nuts.

Materials for this step:

Right-Angle LeverRight-Angle Lever1 bell crank
Unknown MetalUnknown Metal1 bracket, coupling, round nut
Hex Bolt AssortmentHex Bolt Assortment3 pieces
Hex NutHex Nut1 piece
Split PinSplit Pin1 piece

Tools needed:

Tap and Die SetTap and Die Set
Adjustable SpannerAdjustable Spanner
7

Fit the crank and set the baffle

Screw a metal operating rod through the round nut and run it forward to the cabinet front. Screw its front socket onto the shaft of a hand crank and pin it with a cotter pin. Weld an angle iron to the inside of the front panel to stiffen it. Clamp a bushing through the panel with a nut, and set a ball bearing between two rings on the shaft, between the bushing and the crank. Turning the crank tips the bell crank, which raises the rod and baffle or lets them slide down by their own weight: as one gap grows the other shrinks. Air comes in at the front; the upper stream carries light fumes to the top gap, the lower stream heavy fumes to the bottom gap. Open the top fully for light fumes, the bottom fully for heavy ones, or set any point between, without reaching inside. A sliding safety sash may be fitted over the front opening, to watch dangerous reactions safely.

Materials for this step:

Unknown MetalUnknown Metal1 operating rod, crank, bushing
Split PinSplit Pin1 piece
Hex NutHex Nut1 piece
Mild Steel Angle IronMild Steel Angle Iron1 stiffener
Thrust Ball BearingThrust Ball Bearing1 piece

Tools needed:
Arc WelderArc Welder
Tap and Die SetTap and Die Set
Adjustable SpannerAdjustable Spanner

Materials

11

Tools Required

8

Related Blueprints

These blueprints share knowledge with this one โ€” techniques, materials, or principles that connect them in the learning graph.

CC0 Public Domain

This blueprint is released under CC0. You are free to copy, modify, distribute, and use this work for any purpose, without asking permission.

Support the Maker by purchasing products through their Blueprint where they earn a Maker Commission set by Vendors, or create a new iteration of this Blueprint and include it as a connection in your own Blueprint to share revenue.

Discussion

(0)

Log in to join the discussion

Loading comments...